30 January 2015
I checked off another item on my 60 Before 30 list!
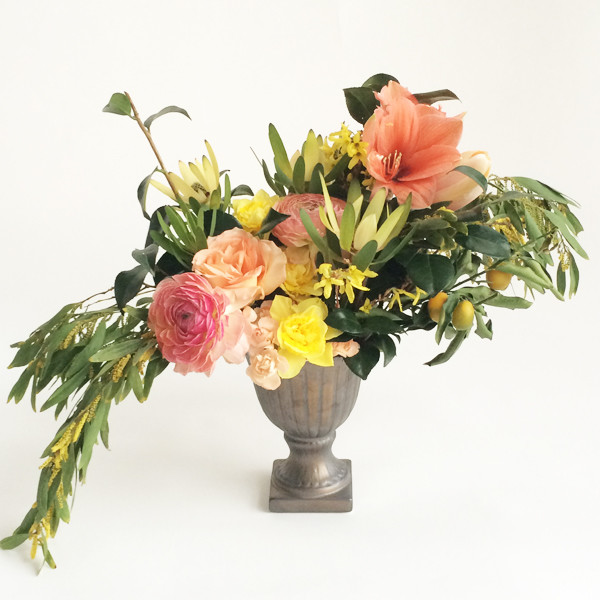
Though I’ve had a few opportunities to try my hand at floral arranging, I never felt like I actually gained any skills I could put to use on my own. Thanks to the wonderful Kelly Perry, that’s no longer the case! I created the vase of happiness above with her super kind instruction, and best of all, I feel like I’ll be able to use her simple tips to create more arrangements in the future! If you ever get the chance to learn from Kelly, I’d jump on it.
Now to plant peonies, dahlias, garden roses, camellias, ranunculus, forsythia, etc. etc. etc. in my yard…
4 November 2014
Holy moly, friends! Did you see that Minted makes fabric now?? I would never have guessed it, but of course, now that they’ve done it, it seems like a completely natural move. Unsurprisingly, they’ve done a stunning job, sourcing from the most talented independent artists to curate the most lovely designs, just like they did with paper. Man, this company can do no wrong. A few of my favorite patterns:
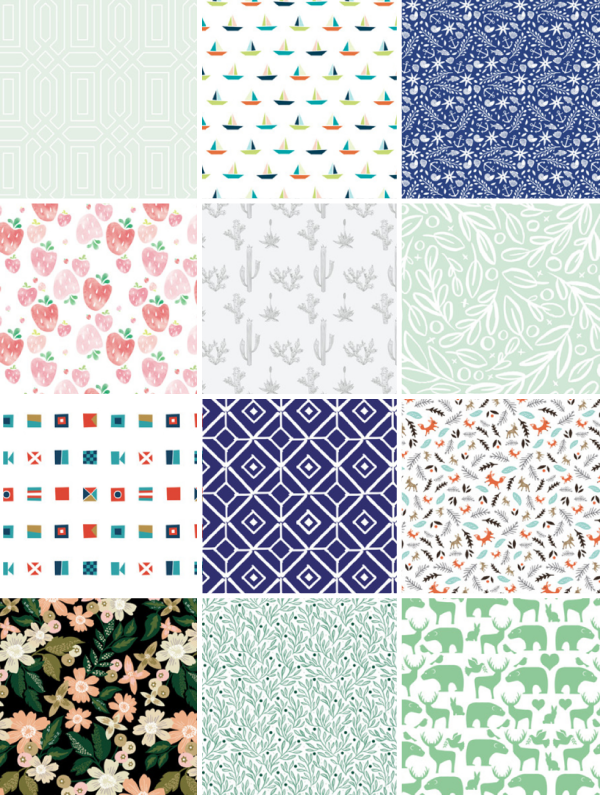
All of these patterns are available in four or more colorways, and each design is available in cotton canvas for $32/yard or linen-cotton blend for $34/yard (which is not cheap, but not that expensive considering the customization options and the cuteness factor). I’m seeing pillow covers, roman shades, crib skirts… so many exciting options, my head is spinning!
P.S. More Minted coming your way soon… it’s almost time to choose our 2014 Christmas card!!
28 July 2014
The run-up to Natalie and Joe’s wedding was remarkably calm, from my perspective, but there was one aspect of the festivities that was a little nerve-wracking – my other sister-in-law’s due date, which was one week after the wedding! Today is our nephew’s official due date, but despite dancing up a storm at the reception he still hasn’t made an appearance. Though I’m not sure Marget would agree at this point, I’m glad I’m able to make a report of the shower in his mama’s honor before he arrives!
We held the shower in New York, where my sister-in-law lives. We went with a loose “adventurous little boy” theme, since that’s (loosely) the theme of the nursery. Here’s the invite I made to send to guests:
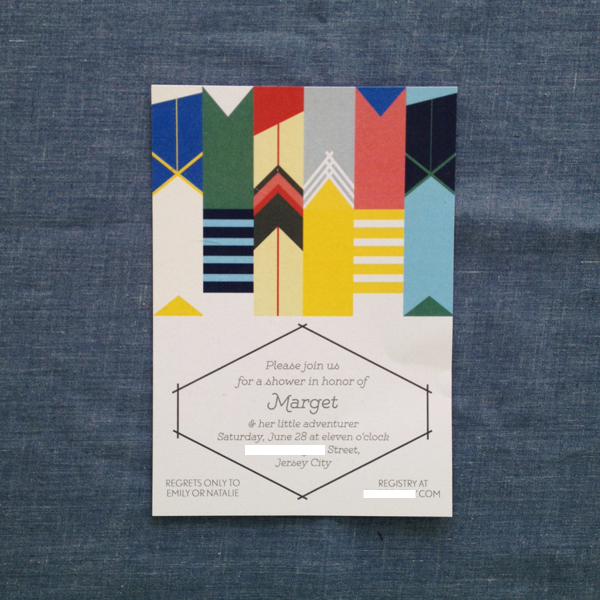
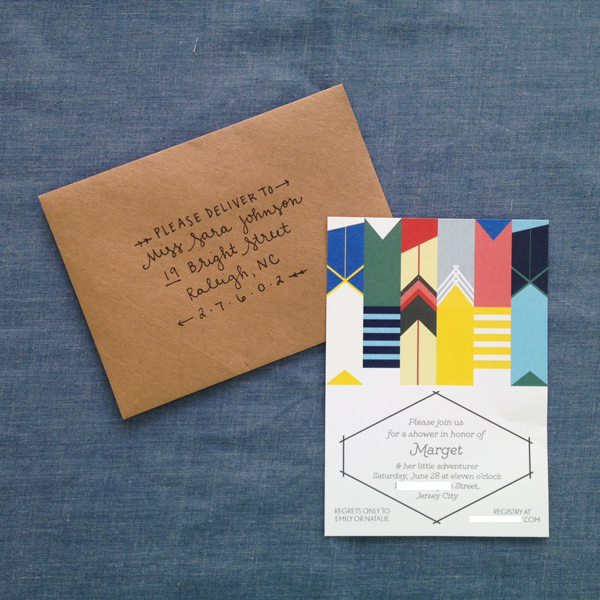
I printed the invitations at FedEx, and sent them out in kraft envelopes from Paper Presentation I had on hand. I actually decided to list these as a download in my Etsy shop, so if you have a use for them, they’re right here!
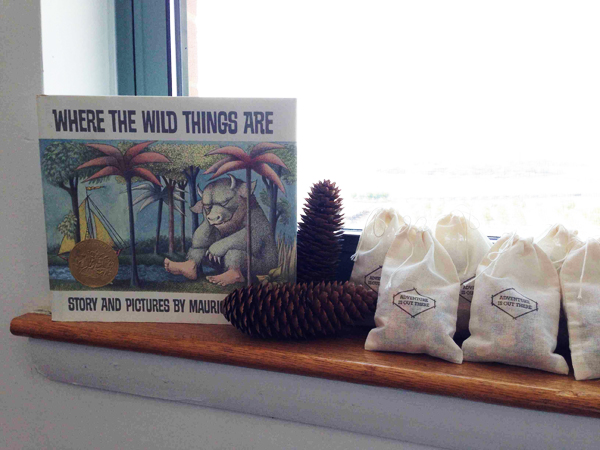
We kept the decor fairly minimal: one of M’s friends made an adorable gingham garland, we arranged colorful yarrow into little tin buckets, and we displayed some adventurous books, pine cones, and wooden woodland animals. (They were part of my shower gift to Marget – maybe the start of a collection!) I also picked up a few tree trunk slices from A.C. Moore (easy to travel with!) for displaying food and made a special sign with nephew’s nickname.
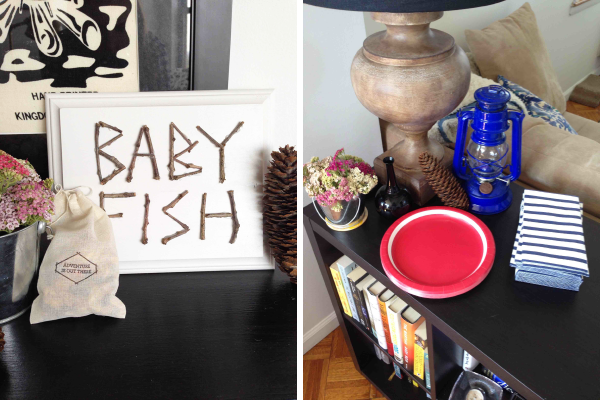
To make the sign, I spraypainted a wooden craft store plaque white, then hot glued on twigs. Easy!
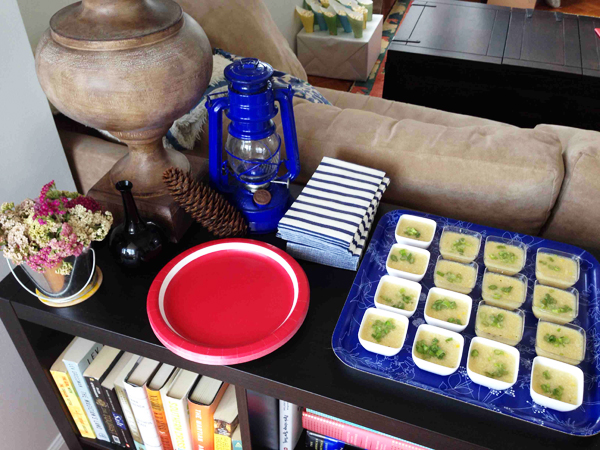
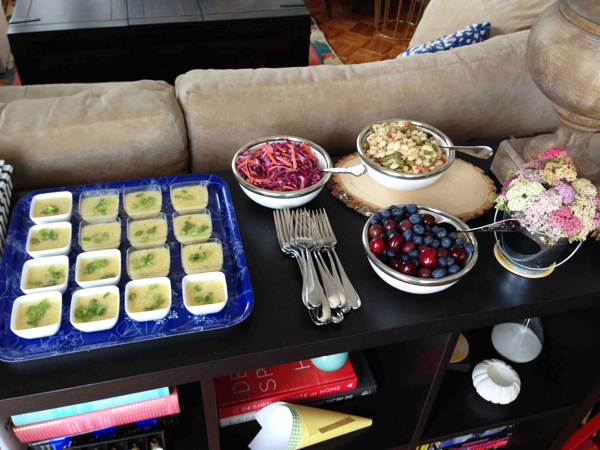
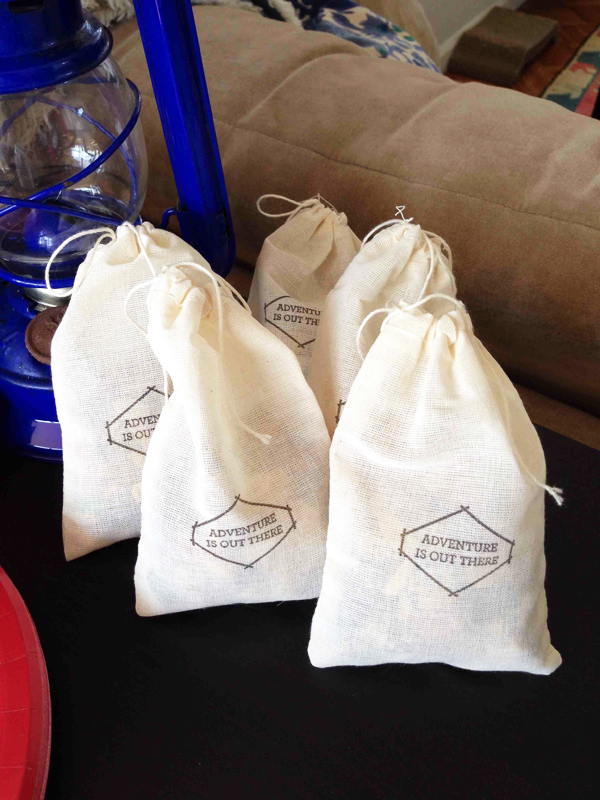
The favors were little muslin bags stamped with “Adventure is out there” and filled with trail mix! I used a self-inking stamp from RubberStamps.com and it worked beautifully on the fabric.
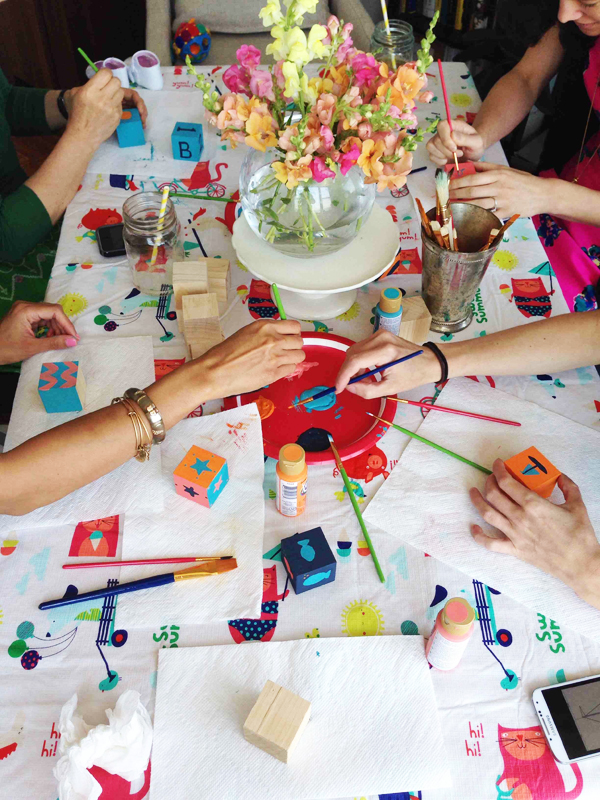
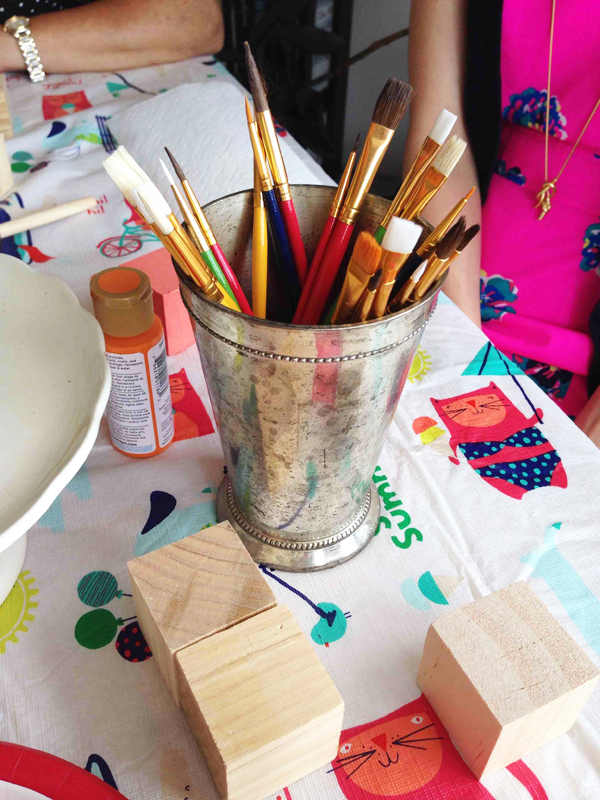
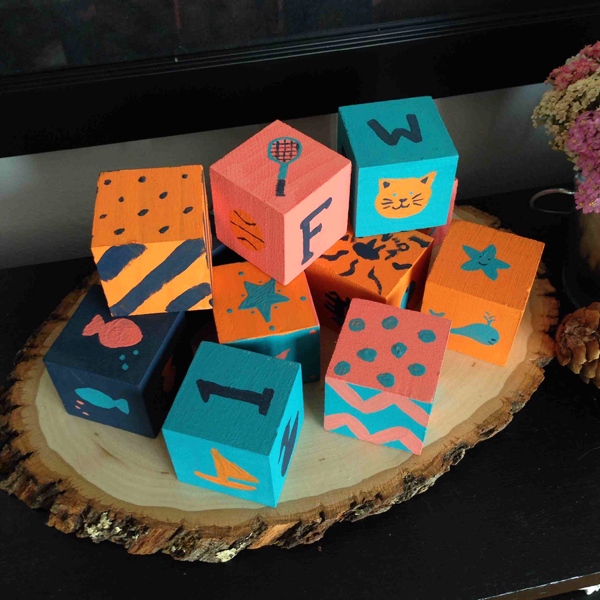
I really dislike most baby shower games, so we went simple and just had one activity aside from eating, socializing, and opening gifts: we painted blocks for the baby! The blocks were from A.C. Moore, and I picked up craft paint in the nursery accent colors and a multi-pack of brushes. It seemed to go over well; my brothers-in-law even picked up a brush to complete the set post-shower. As a side note, if you’re trying this and planning to have a really young child who might put them in his mouth play with them, I’d recommend adding a food-safe sealant after they’re dry.
Now we just wait eagerly for news of our nephew’s arrival!!
13 February 2014
It’s easy to do something nice for nearby friends on Valentine’s Day — just make them something sweet! I wanted to do something for my faraway friends, too, but treats don’t travel so well. After a bit of brainstorming, I settled on a longer-lasting project that will hopefully help them feel the love long after Valentine’s Day.
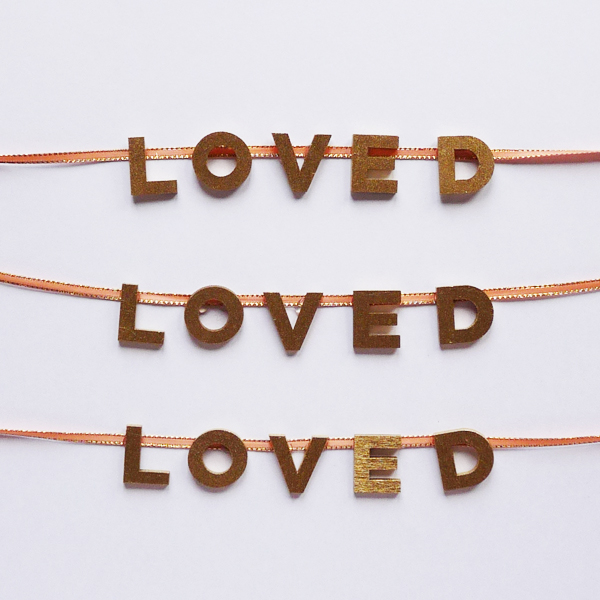
I started with several sets of chipboard letters (3/4″ tall) from AC Moore. I spray-painted them gold, then hot glued them to some thin, vintage ribbon I had in my stash. The completed garlands got washi taped to a simple cardstock rectangle penned in gold sharpie. I already had the kraft boxes on hand, but padded mailers would have worked well, too!
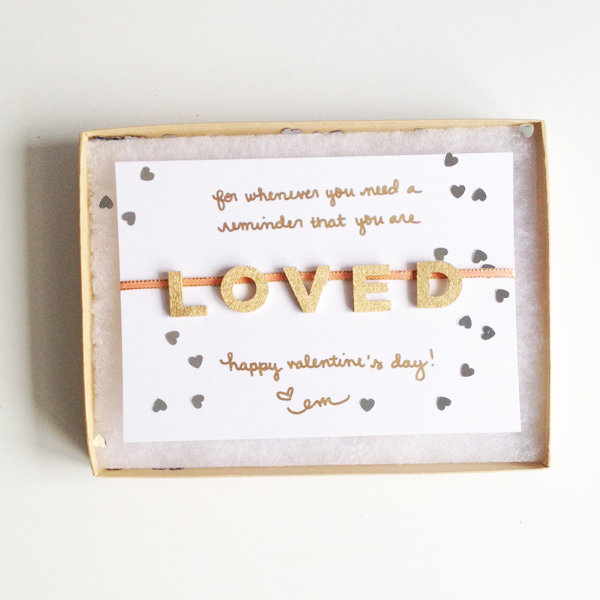
I’m imagining them pinned to a bulletin board or taped to a mirror or refrigerator, but obviously the gals are free to hang them wherever they’d like. Hoping they go over as well as something sugary!


