Hello, friends! How are you feeling? We are fine – mostly staying home, playing outside in our neighborhood or going for a hike, and taking the whole idea of working-remotely-with-kids one day at a time. This weekend, I worked on a few projects around our home: tidying corners where clutter had built up, sorting out spring clothes for both kiddos, and continuing to work on our loft. We’ve also FaceTimed family, worked on the invite for my meal-planning potluck (something to look forward to many weeks from now!), read more than usual, and watched Bridge of Spies. Thinking of getting a puzzle next :)
Ready for a little distraction? This post seems particularly appropriate for the times we’re in. It’s a project you can do at home, that makes the home you’ll be spending a lot of time in more lovely! Today, I’m sharing the full process of rehabbing my desk with chalk paint (some of you may have seen peeks on Instagram already!). I hope it’s helpful, especially if you’ve considered a similar project but felt intimidated, like I did.
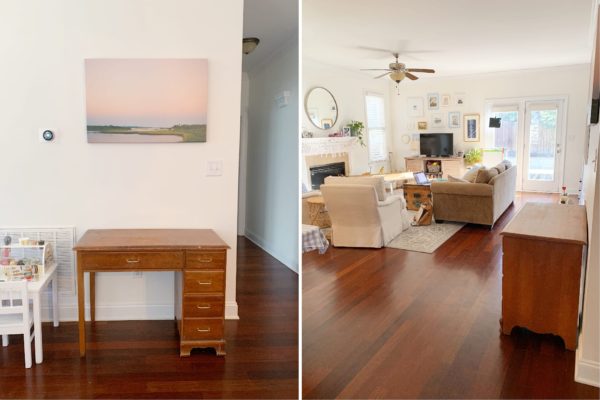
Here’s the before. This desk was in my childhood bedroom (and my Dad’s childhood home before that!), so it’s been around the block. For most of its North Carolina life it’s lived upstairs in our loft, but in a game of furniture musical chairs it was moved downstairs in the hopes that it could become something of a command center and work-from-home spot for me.
Once we decided we liked it in that spot (yay!), I considered my painting options. I had already decided to try Annie Sloan Chalk Paint – which, despite the name, is not chalkboard paint but a unique finish that can paint over existing surfaces (including stains) without any prep work.
Annie’s paint has a more limited palette, so I quickly narrowed my choices down to Louis Blue (a gray-blue) and Oxford Navy (a dark navy). Instagram was split when I polled, but in the end I thought navy was the more fail-proof, classic choice (and nicely picked up some of the navy tones in our gallery wall).
Though I may appear it from the outside, I actually don’t consider myself a particularly crafty person, and I was nervous to dive into this project – it seemed like there was no going back once I put brush to desk! I did ask my local retailer a few questions before getting started, and I also watched one of Annie’s beginner videos online, which was confidence-building :)
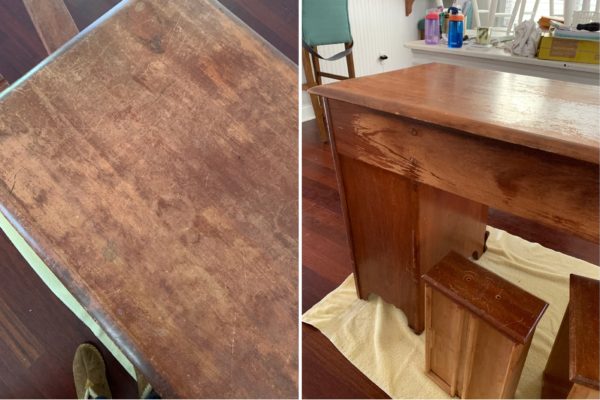
Of course, as soon as I splashed on the first brush stroke, I immediately said to John, “this was a great idea,” ha! The vibrant paint reminded me that the desk, while serviceable, was actually not in very good condition and didn’t have much to recommend it in terms of finish. It was scratched, stained, written on, and faded, as you can see:
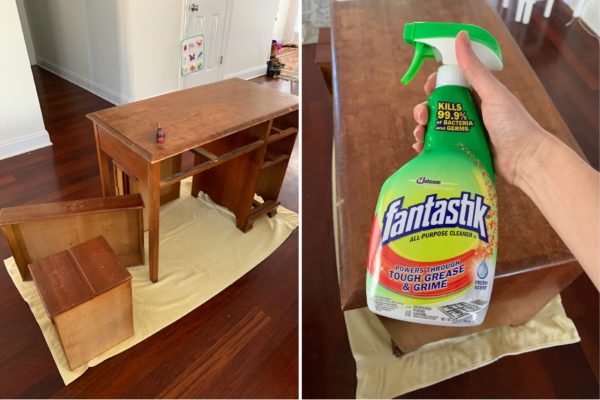
But let’s back up. The first step was to take everything out of the drawers, remove the hardware, and wipe everything down (my paint retailer recommended Fantastik). The neat thing about chalk paint is that it has zero odor, so it’s safe and palatable to do this project indoors!
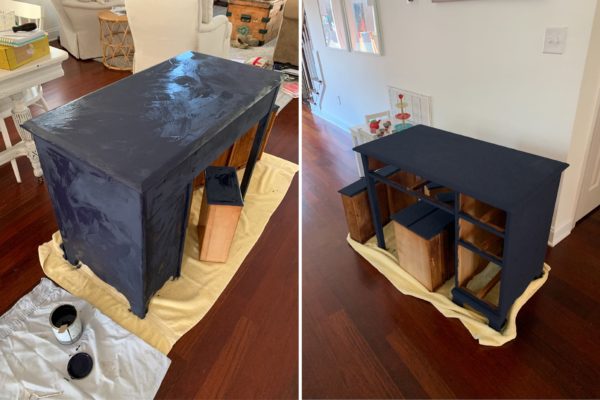
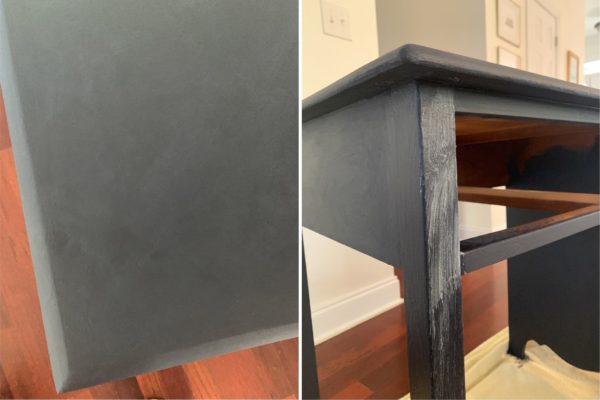
Next, I brushed on the first coat of paint. You can buy a (very expensive) Annie Sloan brush, but I just used my preferred wall painting brush, one with a short handle like this. The paint washed out of it easily with soap and water. Per Annie’s advice, I splashed the paint on liberally and casually, brushing a fairly thick coat in all directions (but trying to smooth away globs when I saw them). Here’s what it looked like immediately after two coats, and the next morning:
A few days later, I added the wax layer. (A tricky part: you have to make sure that you do NOT touch the piece before you apply the wax – even minor touches show up as white scuffs.) To apply the wax, I used a cheap wooden brush. I found it hard to get the wax out of the bristles, so I just used two (they’re like fifty cents) and threw them away after use.
Disclaimer: this was my first chalk paint project, and I’m still not exactly sure I did the wax layer 100% correctly, ha! They say to use a “lint-free cloth” to buff it in, which does seem to be important because the first cloth I used shed some fibers. I switched to an old pillow case we’d cut up as a rag, and that seemed to work fine. (I threw away the pieces I used after each layer here, too.) As opposed to the paint, the wax was a bit stinky.
I rubbed in the two layers of wax a few days apart. I considered doing a third on the top just to give it additional layer of “hardness,” but the paint retailer shared that I likely wouldn’t get any further protection, because each layer of wax kind of melts the layer underneath it. Here’s a snap of the desk before the wax went on, and then the amount of wax I applied before rubbing it in:
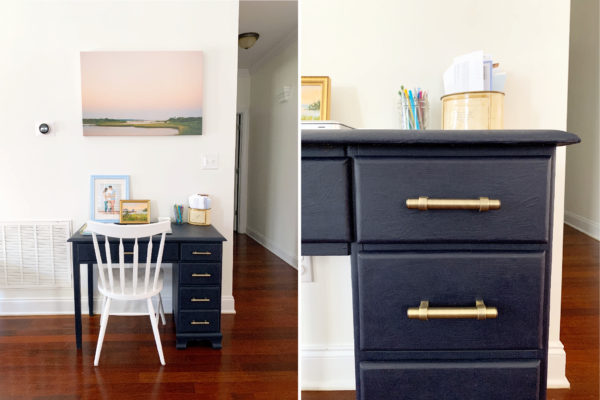
Any chalk paint experts want to tell me if I was using the right amount of wax? :) After both coats were applied, I waited the full two weeks to reassemble the desk and place things on top, which allowed the finish to harden. In the meantime, I ordered this more subtle brushed hardware, and I really like how it looks with the piece!
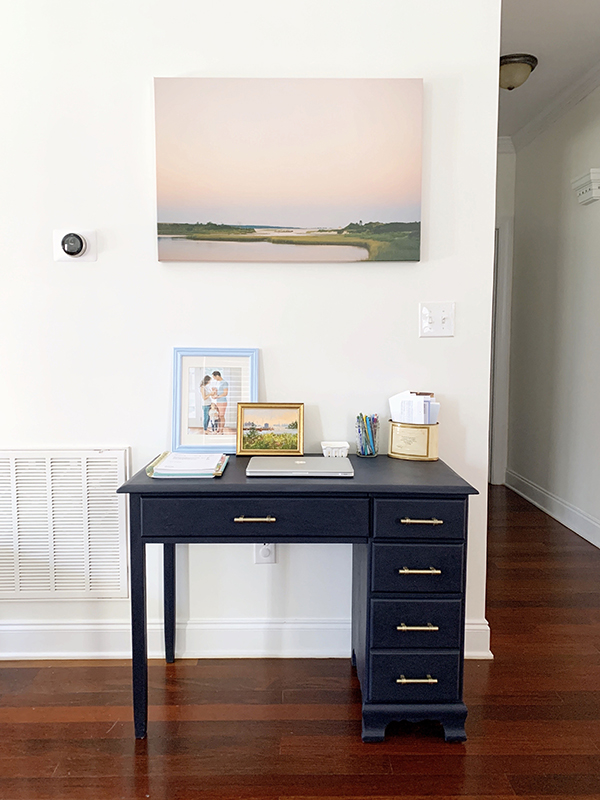
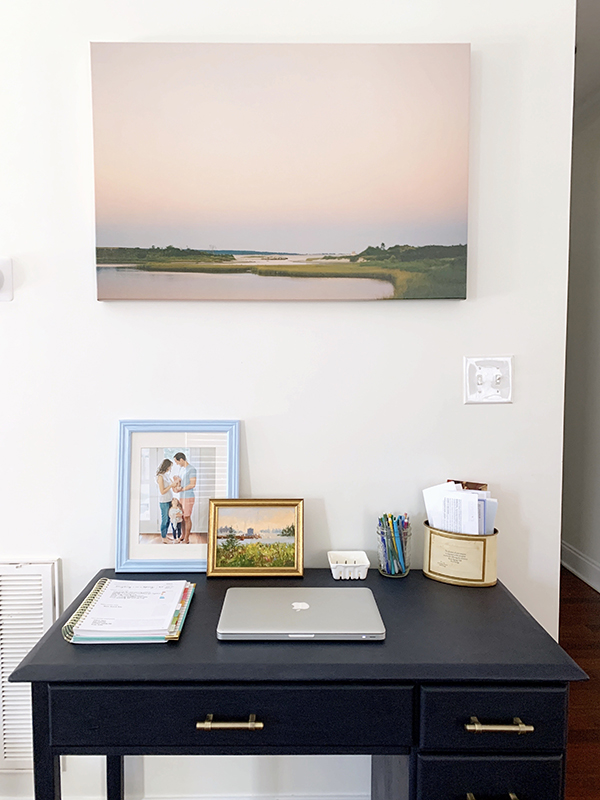
I’ve used the desk for a few weeks now, and I’m happy to say the finish holds up really well – no scuff marks or dings or anything like that. I think chalk paint was a great choice for this piece and I’d definitely use it again! Here’s my breakdown of the pros and cons of chalk paint, and a few photos of the finished look.
Pros: — Easy to use, despite my initial hesitations. — A more limited palette of colors to choose from, which helps with paint chip paralysis. — The painting technique itself is freeing and fun! It doesn’t really seem like you can do it wrong. — You don’t have to do ANY sort of surface prep, which majorly cuts down on time and effort for an older piece. — It’s odorless, so you can paint indoors. — Seems to be good quality and hold up well, at least so far.
Cons: — The paint is more expensive than normal wall paint, plus you have to buy the wax, too. — The paint colors are limited. — The finish is not smooth – it has a texture to it. I don’t mind it, but it wouldn’t be right for all projects. — It seems to attract lint and fuzz, or at least, it seems to show up more to the eye. This might be because I chose a dark color!
So far, I’ve just pulled up one of our dining room chairs whenever I’ve wanted to sit at the desk. I’m considering tucking a little stool underneath instead, but this has been working great so far!
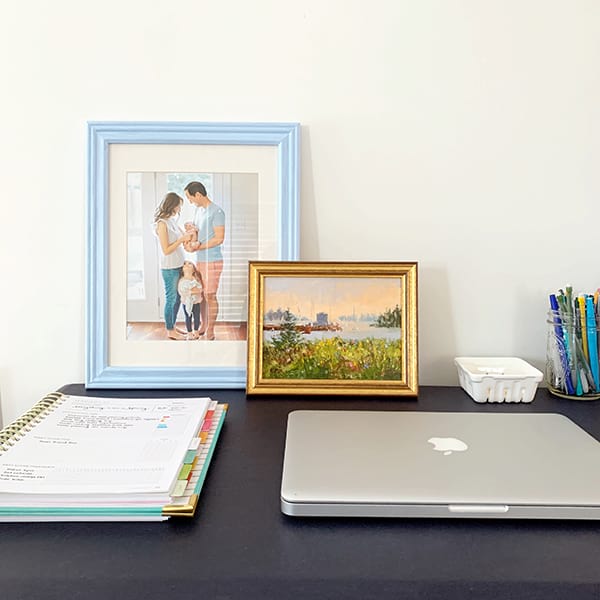
Curious what I’ve stashed in the drawers? The wide one has post-it notes, notebooks, notepads, notes and samples for work, tape, and a stapler. The top drawer has washi tape and sticker books. The middle drawer holds cards, postage, our address stamp, and my perpetual birthday calendar. The bottom drawer holds my hard drive, larger envelopes, my label maker, a crossword puzzle book, and various other supplies. On top, I have my favorite pens, my PowerSheets, and my laptop, and in the tin, I keep coupons and paperwork that needs action.
It has been exactly the little command center I needed and I’m so happy to have this stuff right where it’s most useful!
I’d love to hear: have you ever used chalk paint? Do you have a piece you’d try it on? Do you have a command center, and if so, what to you do/keep there?
I’ve mentioned a “Life List book” a few times now (in my January goals post, most recently), and thought some of you might be wondering what the heck that is!
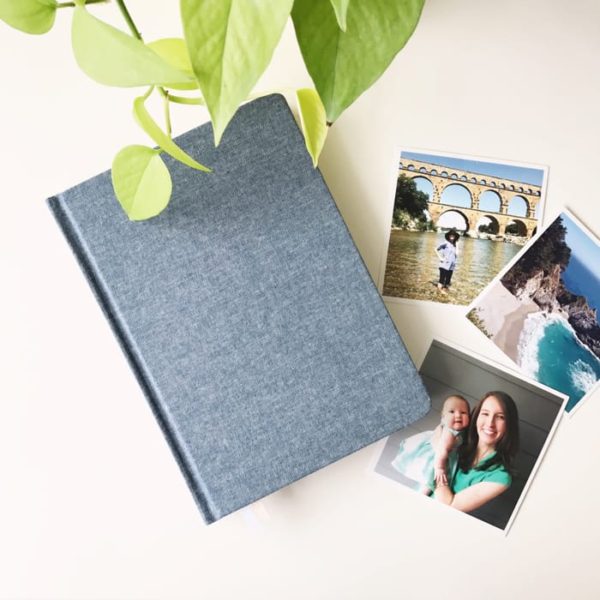
I first spotted the idea on Valerie’s blog, and instantly fell in love with it. As someone who is goal-oriented and experience-driven, I never want to skip over the beauty of trying something significant for the first time, or accomplishing something for which I worked hard! The Life List Book helps with that – instead of adding more to your bucket list, it’s a way to record and celebrate the amazing things you’ve done in your life.
To get started, I purchased a simple chambray journal with lined pages. Then, I just started writing! My Type A side hesitated, wanting all the things to be in chronological order, but I forced myself to just dive in.
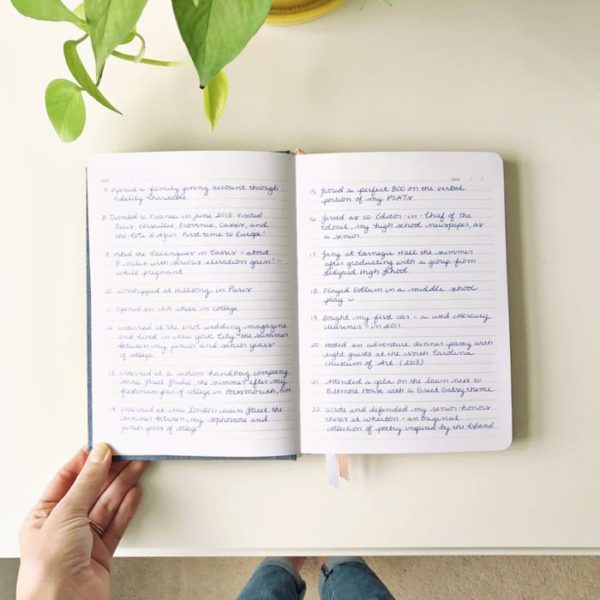
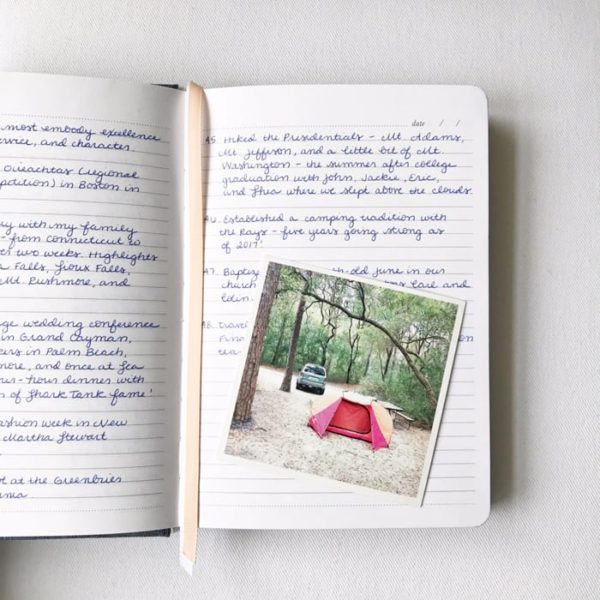
Among the items I’ve included so far: “Married the love of my life,” “Birthed a baby,” “Camped overnight on Cumberland Island with wild ponies,” “Hiked the Mist Trail in Yosemite,” “Worshipped at Hillsong in Paris,” “Scored an 800 on the verbal portion of the PSAT” (#humble :)), “Hosted an adventure dinner party,” “Played Gollum in a middle school play” (yes, that happened), and “Saw a live taping of The Martha Stewart Show in NYC.” Who knows what could be next?!
Now that the initial backlog is recorded, this little book sits on my bedside table for easy access whenever I complete a goal, hit a milestone, or have an experience that feels especially meaningful. The first 50 items only took up six pages, so surely I’ll have room to record seventy more years of my one wild and beautiful life, right? :)
A question for you: I’m not in love with the title “Life List Book,” so I’m curious if anyone has a better suggestion? I’m thinking something with record, but not sure…
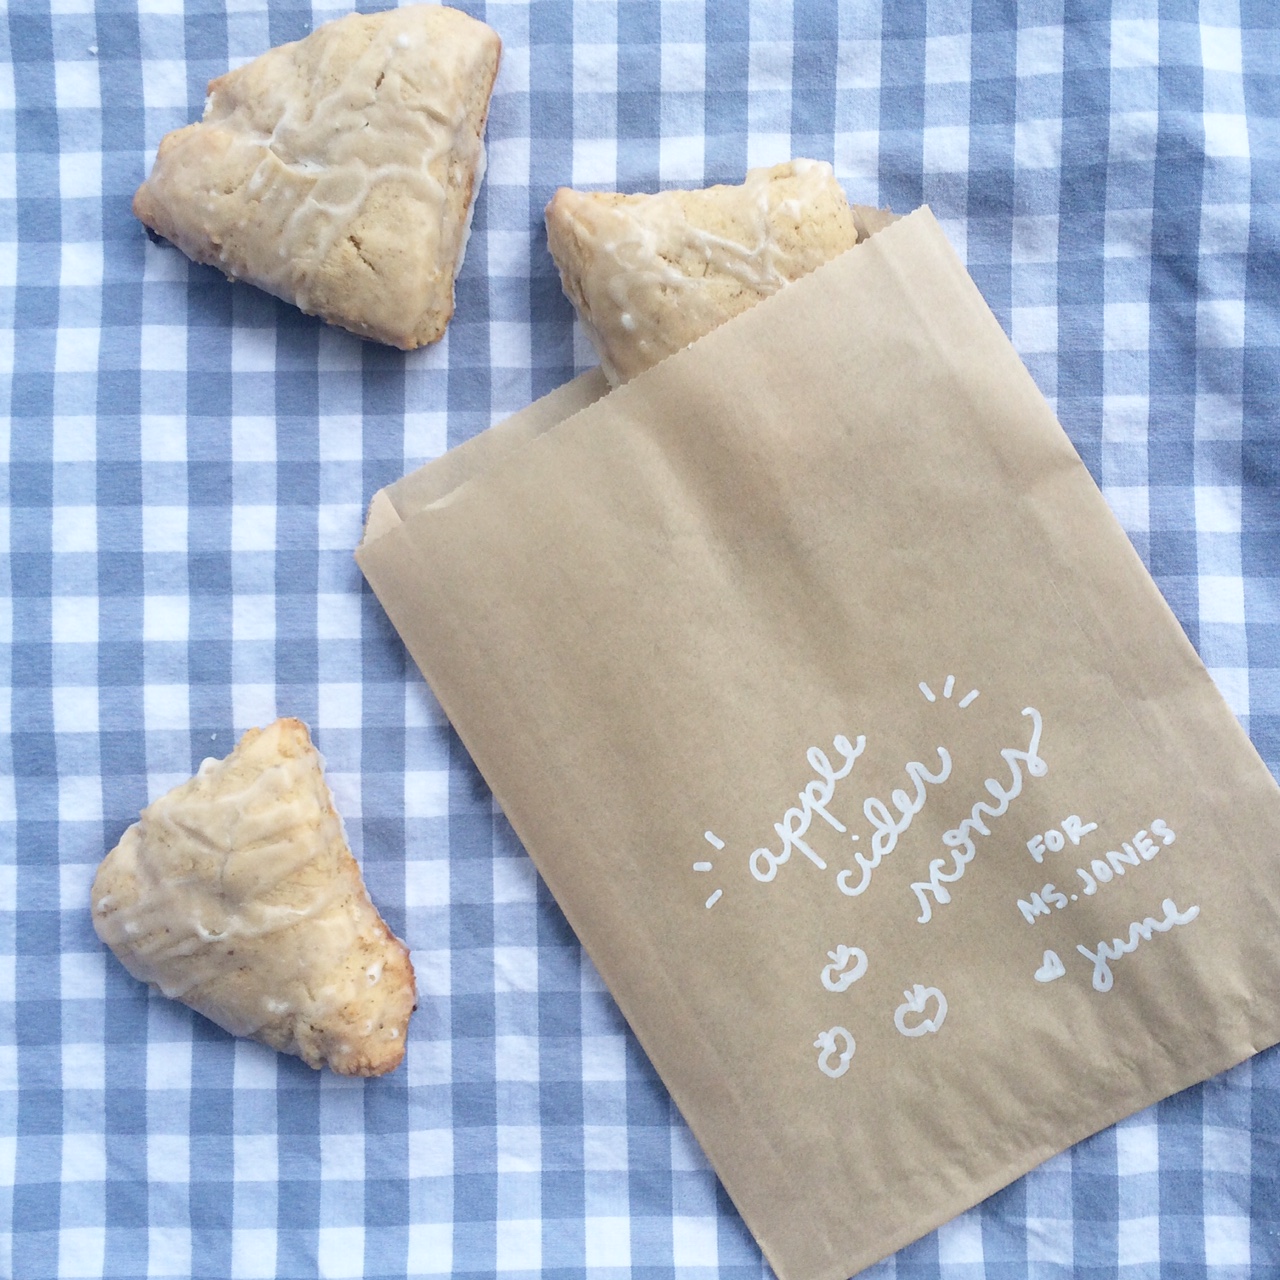
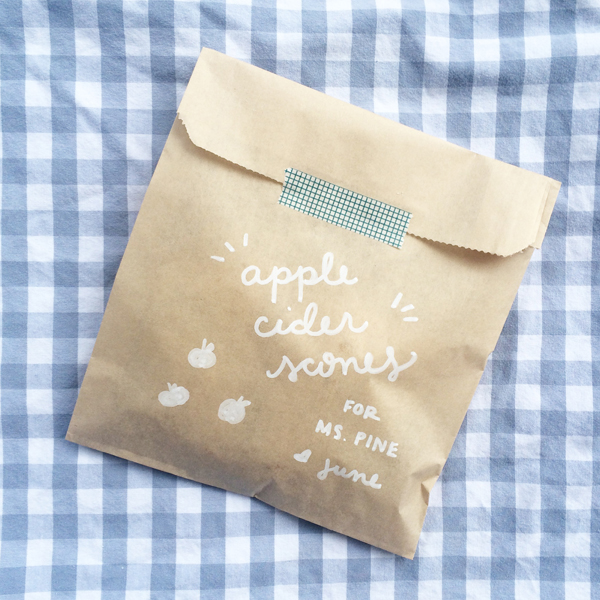
Last week, I made apple cider scones and brought them into school for June’s teachers on the first day of fall. The scones were really delicious, if I do say so myself, and her teachers were really touched by them!
It was a really good reminder for me. Sometimes I see things on Instagram or a blog and think, I could never have time to do that. I wonder if anyone thought the same thing when I posted on Thursday. But the truth is, from start to finish, the whole project took about an hour. I bought the ingredients with the rest of our groceries, I made the scones after June went to bed, and it took just a few minutes to find my white paint pen and draw the designs on the kraft paper bags. If I had bought a treat instead of making it, my time would have been down to about ten minutes. (BTW, store-bought treats are totally legit – no shame here!)
And you know the best part? The scones were delicious, but it was hands-down the personalized bags. The teachers were so wowed and clearly touched by them. I’m not saying that to toot my own horn (ha!), but because it’s a lesson I learned right after we had June. Lots of people brought us food, and we were grateful for ALL of it. But one friend went above and beyond in terms of presentation — she wrapped the Rice Krispees treats in parchment paper and twine, she poured the blueberries into a mason jar, the chicken salad and rolls were in a kraft paper box, and she even added a bottle of sparkling cider. I was blown away!
I have brought food to lots of people over the years, but it had honestly never occurred to me to do anything special with the presentation (and good presentation is practically what I do for a living!!). No more. My friend’s extra touches made me feel so taken care of and thought of and loved that ever since, I’ve tried to add a little beauty just because whenever I can.
The easiest way to do this? Make it easy! Keep simple supplies on hand, like ribbon, glassine bags, washi tape, fun pens, and kraft paper boxes. It sounds obvious, but once you have a collection, it only takes a few more minutes to make something pretty. I got a lot of mine from Jenny Hobick’s store (and it’s only appropriate that my scone recipe was from her, too, because she is the poster child for elevating everyday occasions! Lots of inspiration on her blog.).
Go forth and make things beautiful, friends! You are guaranteed to make someone’s day in the process :)
I’m interrupting our Paris adventure to bring you this past weekend’s big doing: Natalie and Joe’s baby shower! I loved this event so much that I just had to report in ASAP. My co-host for this shindig was the lovely Marget, Natalie’s sister and my sister-in-law. It seems like just last month we were planning Natalie’s bridal shower, so we work together like a well-oiled machine by now!
We knew family would be traveling in for the festivities, so we decided to make it a co-ed shower so everyone could attend. Marget had the idea to make it an adventure dinner party, and picked out the perfect corner of a Lower East side park, right on the water, as the location. Aside from the scenic views, there was easy road access just a few hundred yards away — always an important consideration when toting in chairs and tables!
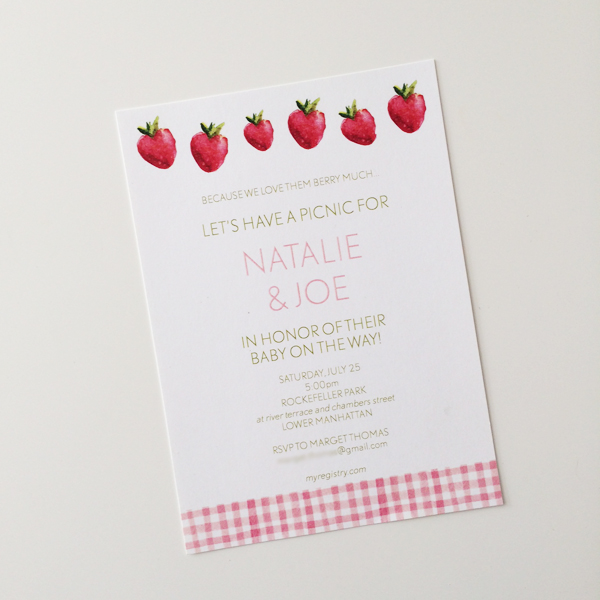
We batted around a few aesthetic options, including red striped nautical and Liberty print, before settling on a perfect compromise — summer strawberry! We wanted something sweet and a little bit girly (they are expecting a girl!), but not too girly (it was a co-ed shower!). Here’s the invitation I designed:
Our first inclination was to rent chairs, tables, and linens, because we wanted to seat everyone at one long table. After calling around to many rental companies in Jersey City and Manhattan, we could not find a single one who would let us pick up our small order at their warehouse – and the lowest delivery fee was $250. This was a surprise to me, since my local rental company here in Raleigh will let me do this, but apparently it’s not that easy everywhere!
So, we regrouped and decided to buy slim Ikea stools (on Jordan’s suggestion) and folding tables from Target. We also purchased Ikea Tekla dish towels (perfect with the red stripe!) and planned to use white tablecloths I already had. Done and done!
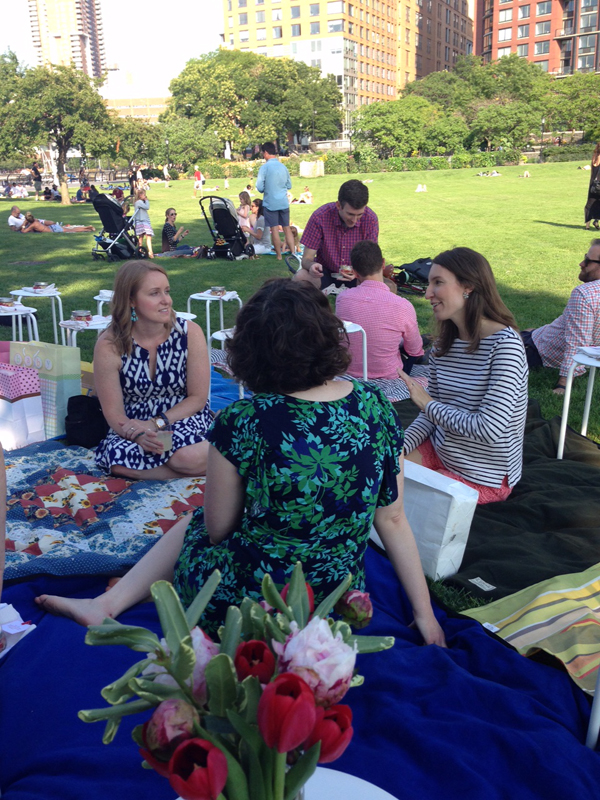
Except that the day before the party, Marget decided to check the NYC Parks Department one more time to see if there was anything we missed. To our dismay, there was — the first time around, we had read that if you have fewer than 20 people in your party, you’re okay to have chairs and tables… but in the fine print, it said you had to have a permit — and you have to get permits 20+ days in advance! A quick call to a friend at the department confirmed that our park is patrolled frequently and they would definitely shut us down with no permit :( Agh! Several anxious texts later, we decided we would return the tables and instead group the stools around picnic blankets.
Friends, this turned out to be a blessing in disguise. When we arrived on Saturday evening to set up, the park was packed, and I think we might have attracted more attention than we wanted had we been setting up tables. The only thing that would have been nice would have been to have one table to arrange the food on – it would have been a little easier to serve if it had been higher up!
Alright, enough details — on to the photos! As you can see, we had the most beautiful day. The weather was perfect!!
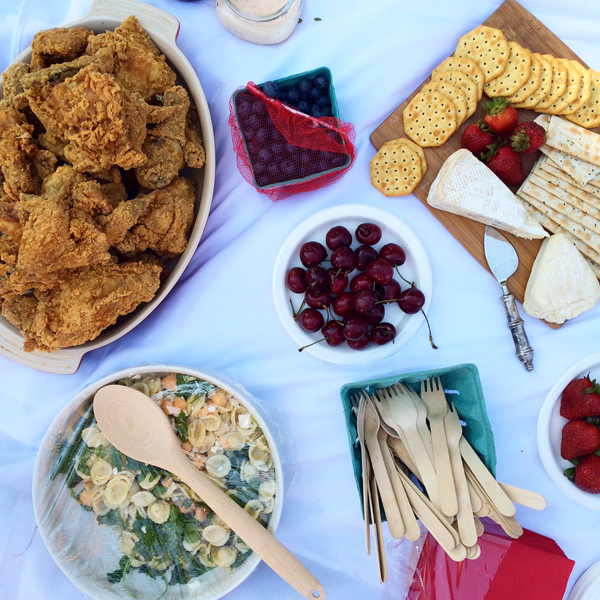
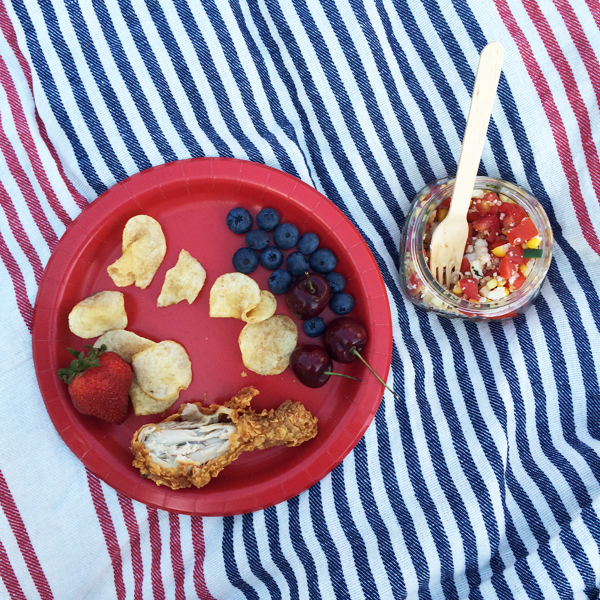
Our menu: mild and spicy fried chicken (picked up from Popeyes and plated in a pretty baking dish!); grilled corn salad in mini mason jars (loosely based on this recipe); good potato chips and ranch dip; a cheese platter with fruit; pasta salad with cantaloupe and feta; homemade brownies, strawberry tarts, and strawberry ice cream; and root beer, sparkling water, and strawberry lemonade to drink.
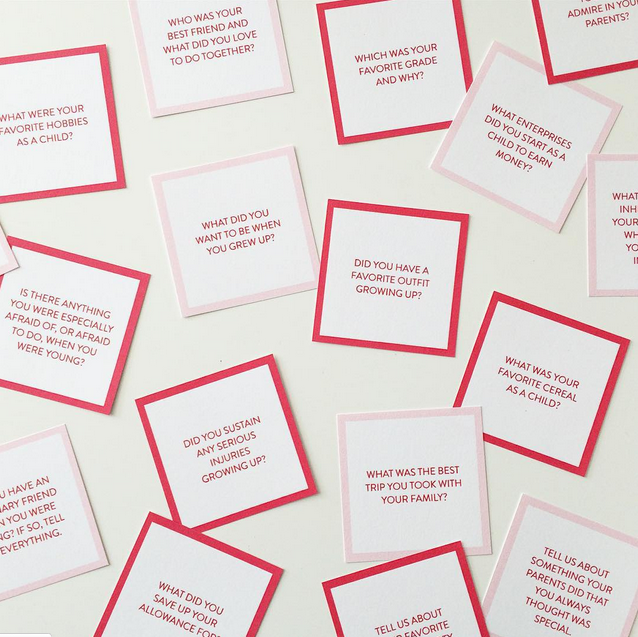
Since we had a group diverse in age where not everyone knew each other, we decided to make conversation squares to grease the wheels. They were focused on childhood and parents — appropriate for a shower, and topics everyone has experience with!
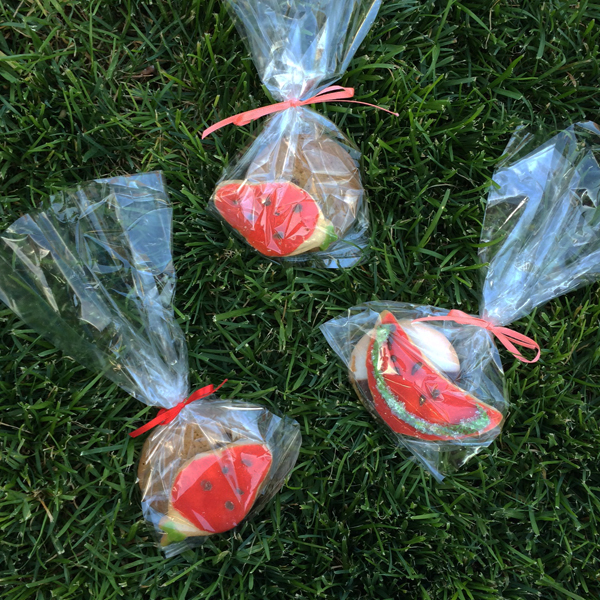
We sent guests off with cookie treat bags – everyone got a sugar cookie shaped like a strawberry (the Gianna’s brand at Whole Foods!) and either a black and white cookie (in honor of New York) or a chocolate chip cookie (because everyone loves them).
It was so good to spend time with some of my favorite people. Just T-one month until baby girl arrives! (Hopefully!) Can’t wait to meet our new niece!!