A bright and cheerful kids’ bathroom
Welcome to our happy little bathroom, friends! This turned out to be such a fun space and I’m thrilled to share it with you today. Though the major elements stayed the same (layout, flooring, vanity and fixtures), this refresh included several mini projects, so I thought it might be helpful to walk you through them one at a time. But first, let’s look back at where we started!
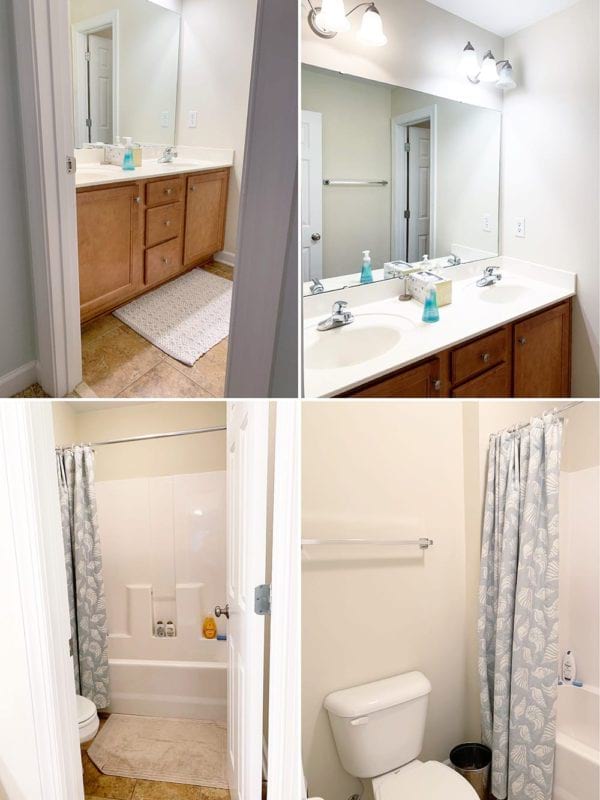
Since moving in, this upstairs bathroom was almost completely untouched, aside from hanging a shower curtain and occasionally changing lightbulbs :) This room doesn’t get heavy daily use, but eventually will be used mostly by our kids (as they get more independent), as well as guests. I wanted it to feel fun and youthful, but still polished! Here’s the design plan I eventually landed on:
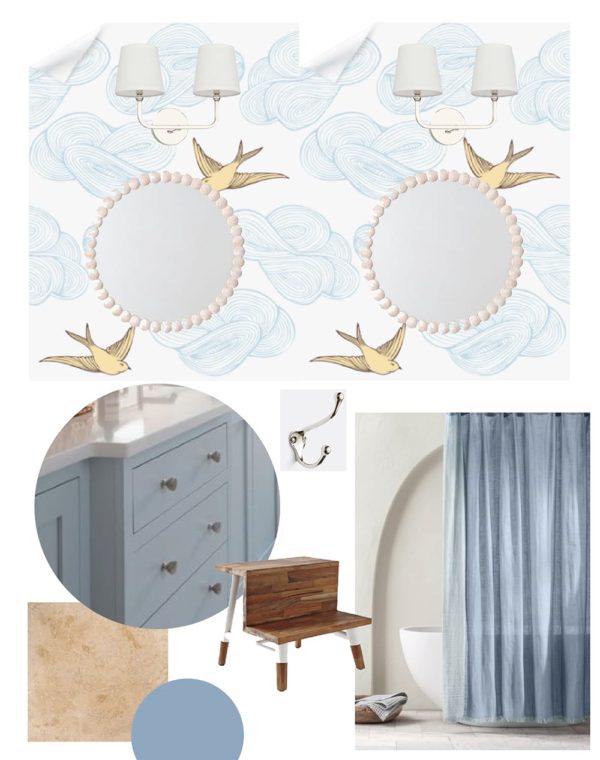
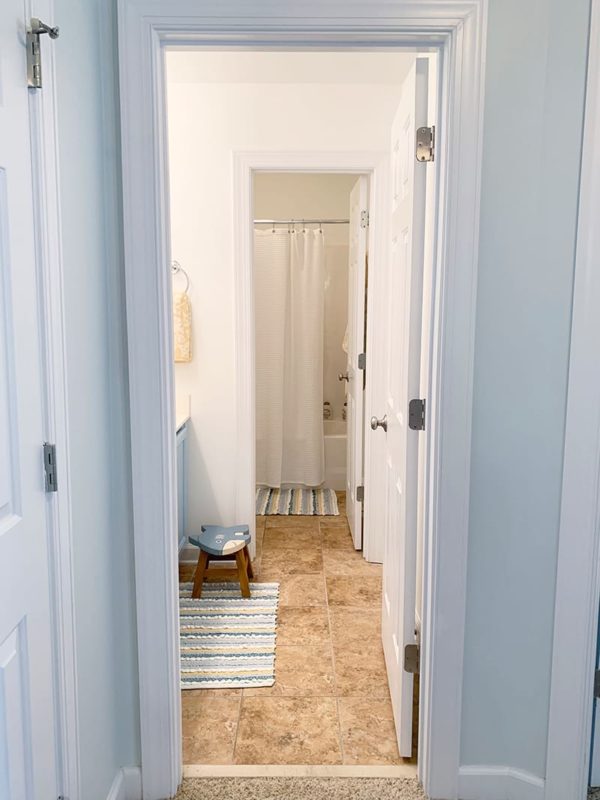
And here’s where we ended up!!
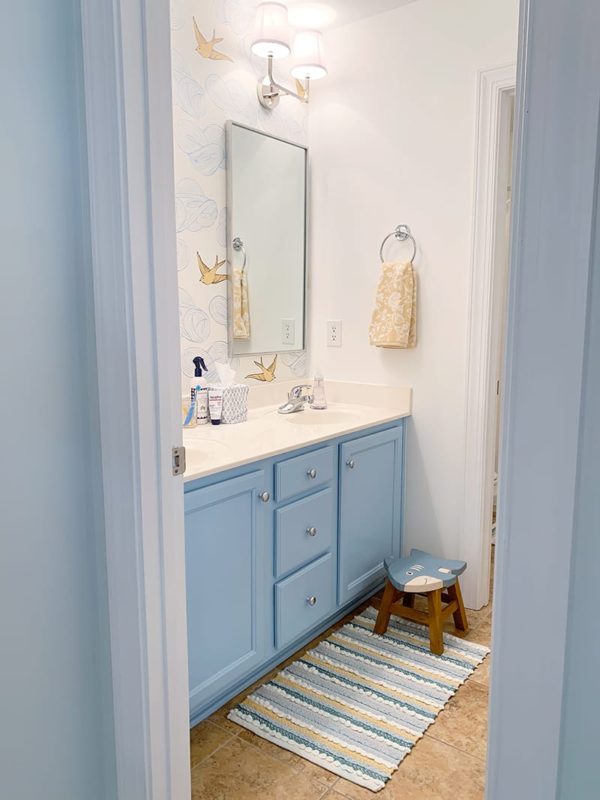
Here are a few more photos, along with brief rundowns of the mini projects, the grades I’d assign them, and any tips I collected along the way!
Paint the bathroom walls
Who did it: Our handyman
Rating: A
Thoughts: In this season of life, I have accepted that painting is something I can do, but is well worth trading my money in exchange for my time. (Don was here for two hours to complete the job, whereas it would have taken us a full weekend!) We also asked him to remove the builder-grade mirror (we were able to give it to someone in our neighborhood!), remove the towel bars (donated those to Habitat!), repair the drywall, and fill in a few places of caulk. The color is Benjamin Moore “Chantilly Lace,” which I think is the perfect white-white without any undertones.
Paint the vanity and change out hardware
Who did it: I did!
Rating: A+
Thoughts: I loved this project and I’d do it again in a heart beat! I don’t think I’d tackle a project as extensive as kitchen cabinets, but a small vanity like this was totally doable and very satisfying.
I splurged on the Benjamin Moore cabinet paint and it went on like a dream! (I did two layers of primer and two layers of paint.) The color is “Palatial Skies.” The only change I would make next time is to paint the backs of the cabinet doors as well as the fronts. It would have taken a few days longer, but the end result would have been a little more professional, I think! As recommended, we left the doors off to “cure” for about a week before reattaching them and adding hardware – I chose these chrome knobs.
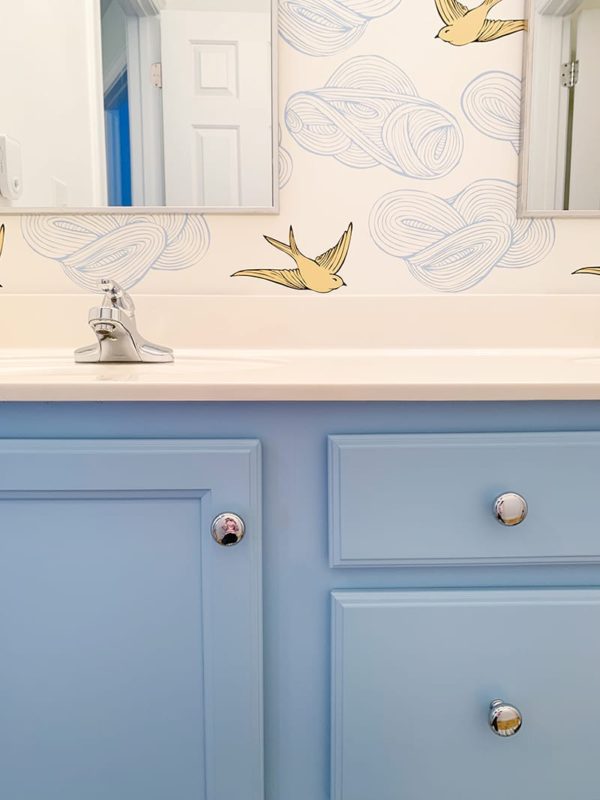
Wallpaper accent wall
Who did it: John and I, much to his chagrin
Rating: C+
Thoughts: While I still love the pattern (Julia Rothman’s “Daydream” in Sunshine) and am mostly happy with the end result, the application was fairly atrocious. This was our first time with a project like this, so I’m totally willing to take responsibility for my part, but I’m just not sure how we went wrong. Basically, to get the pattern to line up, we had to offset the panels themselves, so there is a half centimeter gap across the middle of the wall on the two outside panels??? We patched it with extra strips of wallpaper, ha! Thankfully, because of the positioning (mostly behind the mirrors) and the fact that the wall is also white, it’s not too noticeable, but still annoying. Even without this snafu, the whole process was just sweaty and fumbly, and some tense words may have been exchanged.
Note: it seems like Hygge & West no longer carries the removable wallpaper we used? Just wanted to note that we used the removable tiles, not the permanent rolls!
Change out light fixtures
Who did it: John and I, again to his chagrin
Rating: B-
Thoughts: This was fine, it just took a couple tries to get the wiring right, which is always frustrating. We used two of these polished nickel fixtures!
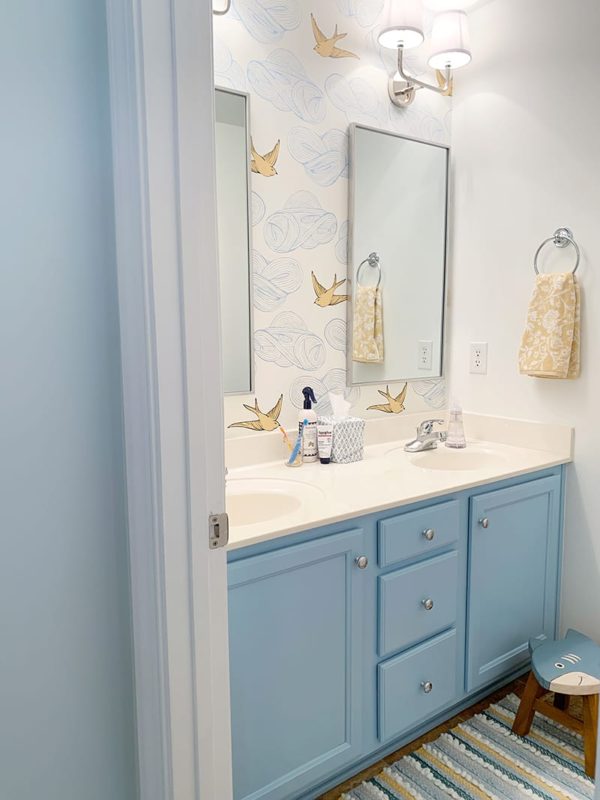
Hang new mirrors
Who did it: John and I, mostly willingly
Rating: B+
Thoughts: Sadly, my beloved round mirrors were too wide for this space, so we went with these narrow silver mirrors instead. They are HEAVY suckers but went up without much trouble!
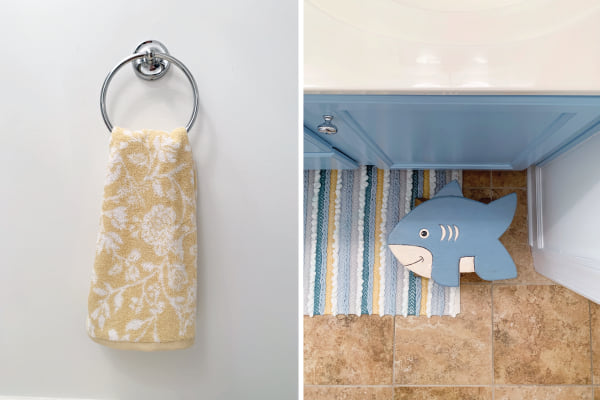
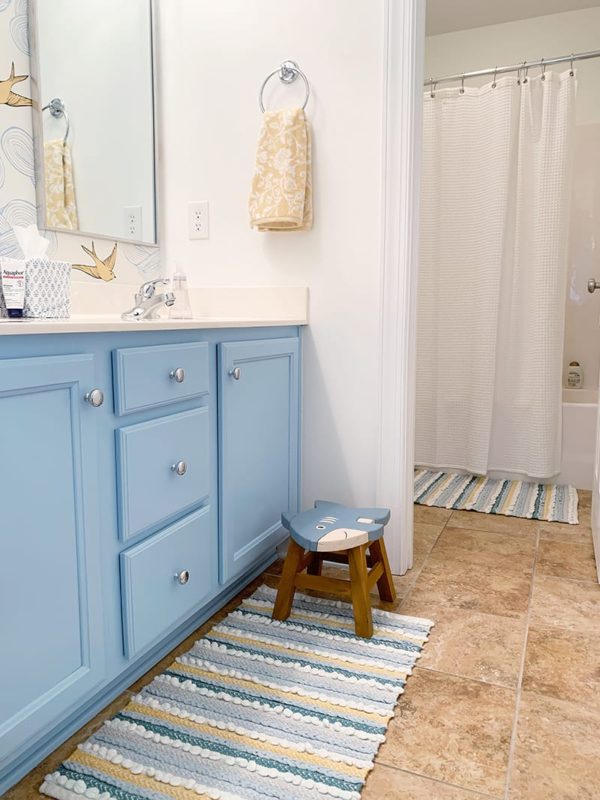
Add decorative accessories
Who did it: I did!
Rating: A
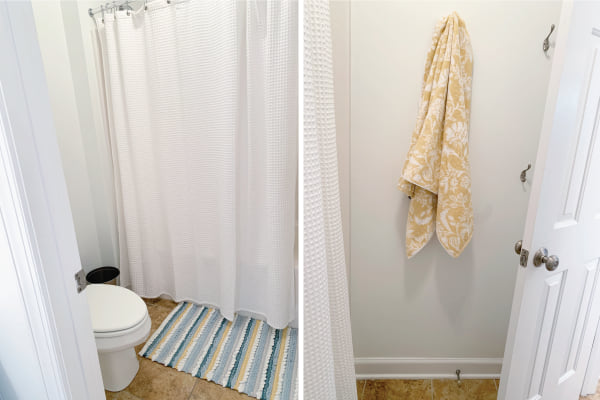
Thoughts: The fun and easy part! These bathmats were a miraculous Target find (how perfect?!). I added this white waffle weave shower curtain (with these rings), these floral towels and hand towels (on this towel ring), four hooks in the shower room, and June helped me pick out the cutest shark step stool at HomeGoods. While I still love the Serena & Lily beaut, this one was a steal at $16 and can easily be switched out as the kids grow! The tissue box is from Amanda Lindroth.
The last thing I would like to add is framed photos of our kiddos’ sweet faces in the bath, likely in the shower room. Still on the hunt for the right square frames!
So there you have it – our fun little bath refresh! Well under $1000 and it makes me smile every time I walk by. Y’all know it takes me ages to finish a home project (6 months and counting for this one…), so I’m thrilled to finally be able to share with you!
I’d love to hear: are you working on a home project right now? Or do you have one in mind you’d love to tackle next?
Affiliate links are used in this post!


Thank you for sharing this delightful refresh with us, along with the steps you took to make it happen (often the part I forget when wishfully looking at future home renovations/designs :)). That wallpaper is absolute MAGIC! I am spending the next several months trying to convince my husband that our (one!) bathroom is worth upgrading…mainly swapping the shower/bath combo for a walk-in shower. Hoping to save up each month and maybe give it as a gift to each other for Christmas ha!
After a few months I have mostly gotten over my grumpiness about the install and am back to purely enjoying it, ha! It really is spectacular! (And your bathroom plan sounds perfect!)
It looks SO GOOD!!! The wallpaper is beautiful, but I think my favorite part is actually the cabinet color–it’s so fun!
Also, this post made me laugh out loud multiple times, so thanks for that :)
If you couldn’t tell since I gave it the only A+, I am a BIG fan of that project! I’m scheming about the next cabinet I can get my hand on…
I know I’ve seen this redo in some photos you shared previously with me BUT seeing it here makes it even more beautiful because of your thoughtful commentary. Well done, Thomas family. Despite some of the challenges and perhaps choice words exchanged, you did it! It’s beautiful.
Thank you so much, friend!!
Thank you for sharing! This is perfect timing – I’m about to do a refresh on our bathroom. Any tips for hanging heavy mirrors?
How exciting! We weren’t able to attach to studs, but I know that’s always good to do if you can! We used the included hardware.
Soo cute! And I recognized the little HomeGoods stool because we have it too but ours is a strawberry! My friend saw it there and bought it for me. :) The whole bathroom looks lovely! Great job team!
We saw the strawberry, too! Soooo cute!!
Such a fun bathroom! I absolutely love the shark stool! We have a total of 1 bathroom in our house and recently purchased an ocean themed shower curtain for it since our daughter is still so obsessed with Octonauts (on sale for $7 at Target) and have a shark bath mat too. While there is nothing polished about it, it still makes me smile. Love the way you mixed a polished look with a bit of fun. Well done!
Thanks, friend! Way to rock a single bathroom!
Love this! And I have been wanting to paint my master bathroom cabinet. I think your review on the project has convinced me to try it, maybe with a bit of help from my Dad who is super handy. Let me know if you have any tips for that project! Thank you for sharing! It looks delightful!
I am generally hesitant about home projects but that one really was a slam dunk! Go for it!!
[…] I know many of you follow my dear friend Emily, so you may have already seen this, but her kids’ bathroom refresh turned out SO well! It’s always encouraging to me to see room makeovers that didn’t […]
What a transformation! You did a great job. Amazing how small improvements can reap such a big pay off!! I like that is just a tad whimsy yet still feels sophisticated for a grown up to use.
Thanks, Caitlin!! It turned out a little different from the initial vision but I’m really happy with the balance we were able to strike!
You’ve inspired me to tackle our kids’ bathroom cabinet! xoxo
Do it!!
Aw Em, this is so beautiful!! I love these colours and the dreamy wallpaper x
Em! This looks SO beautiful! Well done! I appreciate the breakdown of who did what and how it went along the way – so realistic when considering the difference between planning a project and actually executing it, LOL!