My chalk paint desk and downstairs command center
Hello, friends! How are you feeling? We are fine – mostly staying home, playing outside in our neighborhood or going for a hike, and taking the whole idea of working-remotely-with-kids one day at a time. This weekend, I worked on a few projects around our home: tidying corners where clutter had built up, sorting out spring clothes for both kiddos, and continuing to work on our loft. We’ve also FaceTimed family, worked on the invite for my meal-planning potluck (something to look forward to many weeks from now!), read more than usual, and watched Bridge of Spies. Thinking of getting a puzzle next :)
Ready for a little distraction? This post seems particularly appropriate for the times we’re in. It’s a project you can do at home, that makes the home you’ll be spending a lot of time in more lovely! Today, I’m sharing the full process of rehabbing my desk with chalk paint (some of you may have seen peeks on Instagram already!). I hope it’s helpful, especially if you’ve considered a similar project but felt intimidated, like I did.
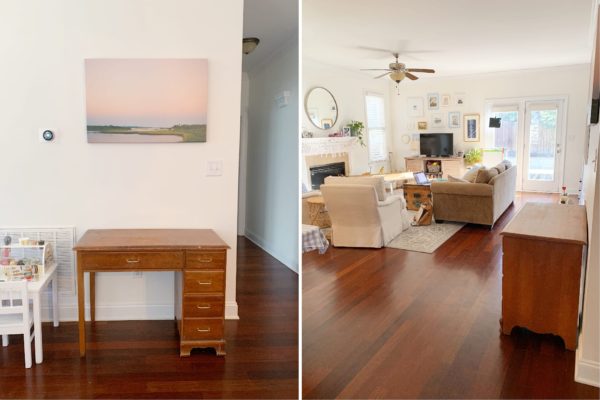
Here’s the before. This desk was in my childhood bedroom (and my Dad’s childhood home before that!), so it’s been around the block. For most of its North Carolina life it’s lived upstairs in our loft, but in a game of furniture musical chairs it was moved downstairs in the hopes that it could become something of a command center and work-from-home spot for me.
Once we decided we liked it in that spot (yay!), I considered my painting options. I had already decided to try Annie Sloan Chalk Paint – which, despite the name, is not chalkboard paint but a unique finish that can paint over existing surfaces (including stains) without any prep work.
Annie’s paint has a more limited palette, so I quickly narrowed my choices down to Louis Blue (a gray-blue) and Oxford Navy (a dark navy). Instagram was split when I polled, but in the end I thought navy was the more fail-proof, classic choice (and nicely picked up some of the navy tones in our gallery wall).
Though I may appear it from the outside, I actually don’t consider myself a particularly crafty person, and I was nervous to dive into this project – it seemed like there was no going back once I put brush to desk! I did ask my local retailer a few questions before getting started, and I also watched one of Annie’s beginner videos online, which was confidence-building :)
Of course, as soon as I splashed on the first brush stroke, I immediately said to John, “this was a great idea,” ha! The vibrant paint reminded me that the desk, while serviceable, was actually not in very good condition and didn’t have much to recommend it in terms of finish. It was scratched, stained, written on, and faded, as you can see:
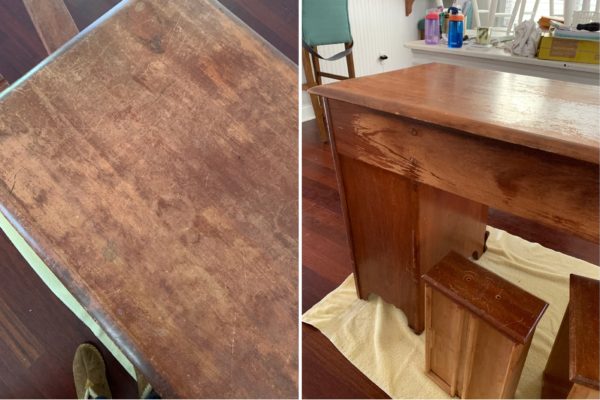
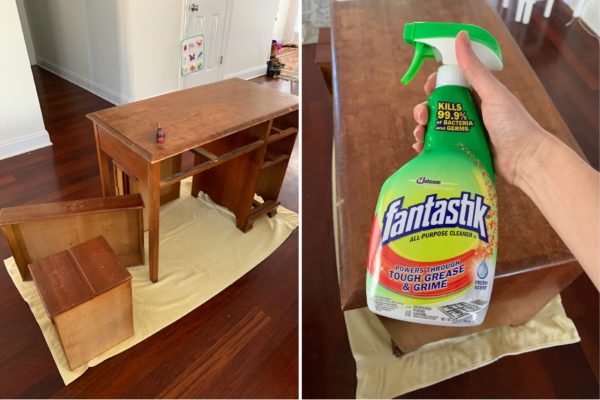
But let’s back up. The first step was to take everything out of the drawers, remove the hardware, and wipe everything down (my paint retailer recommended Fantastik). The neat thing about chalk paint is that it has zero odor, so it’s safe and palatable to do this project indoors!
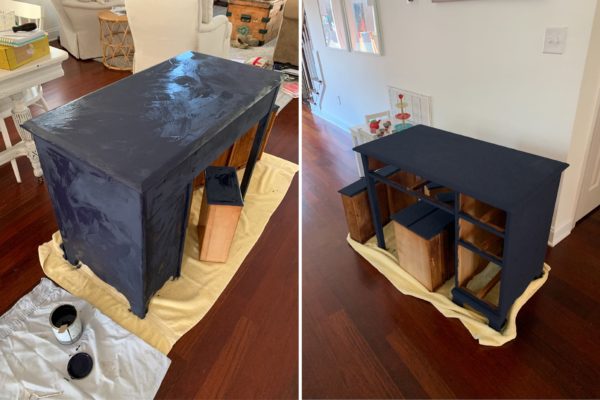
Next, I brushed on the first coat of paint. You can buy a (very expensive) Annie Sloan brush, but I just used my preferred wall painting brush, one with a short handle like this. The paint washed out of it easily with soap and water. Per Annie’s advice, I splashed the paint on liberally and casually, brushing a fairly thick coat in all directions (but trying to smooth away globs when I saw them). Here’s what it looked like immediately after two coats, and the next morning:
A few days later, I added the wax layer. (A tricky part: you have to make sure that you do NOT touch the piece before you apply the wax – even minor touches show up as white scuffs.) To apply the wax, I used a cheap wooden brush. I found it hard to get the wax out of the bristles, so I just used two (they’re like fifty cents) and threw them away after use.
Disclaimer: this was my first chalk paint project, and I’m still not exactly sure I did the wax layer 100% correctly, ha! They say to use a “lint-free cloth” to buff it in, which does seem to be important because the first cloth I used shed some fibers. I switched to an old pillow case we’d cut up as a rag, and that seemed to work fine. (I threw away the pieces I used after each layer here, too.) As opposed to the paint, the wax was a bit stinky.
I rubbed in the two layers of wax a few days apart. I considered doing a third on the top just to give it additional layer of “hardness,” but the paint retailer shared that I likely wouldn’t get any further protection, because each layer of wax kind of melts the layer underneath it. Here’s a snap of the desk before the wax went on, and then the amount of wax I applied before rubbing it in:
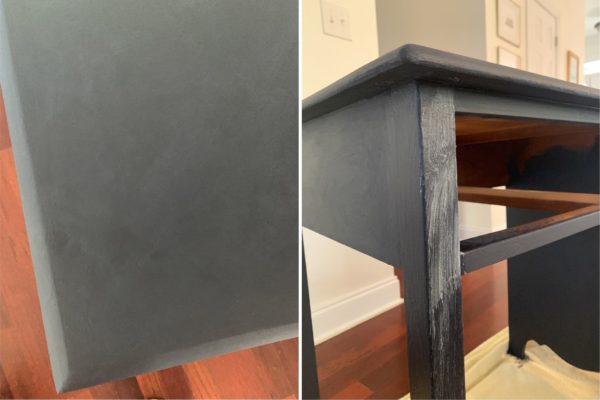
Any chalk paint experts want to tell me if I was using the right amount of wax? :) After both coats were applied, I waited the full two weeks to reassemble the desk and place things on top, which allowed the finish to harden. In the meantime, I ordered this more subtle brushed hardware, and I really like how it looks with the piece!
I’ve used the desk for a few weeks now, and I’m happy to say the finish holds up really well – no scuff marks or dings or anything like that. I think chalk paint was a great choice for this piece and I’d definitely use it again! Here’s my breakdown of the pros and cons of chalk paint, and a few photos of the finished look.
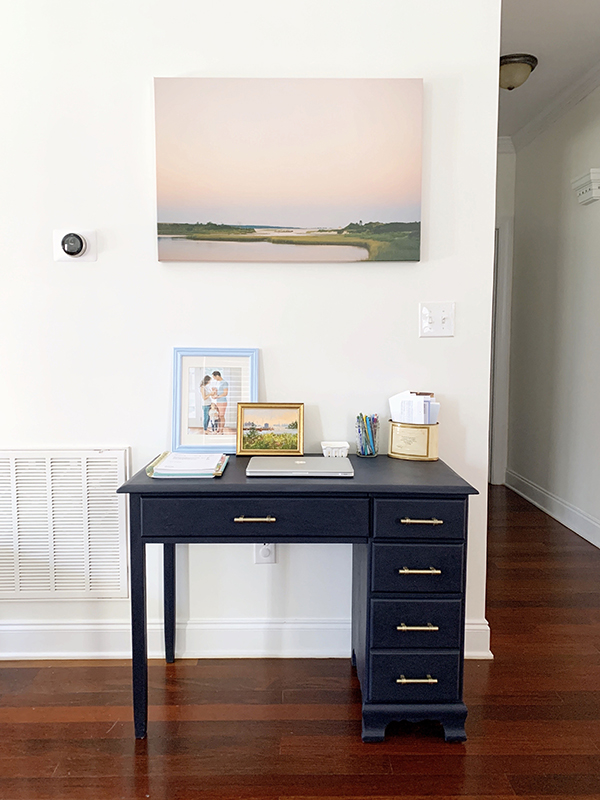
Pros:
— Easy to use, despite my initial hesitations.
— A more limited palette of colors to choose from, which helps with paint chip paralysis.
— The painting technique itself is freeing and fun! It doesn’t really seem like you can do it wrong.
— You don’t have to do ANY sort of surface prep, which majorly cuts down on time and effort for an older piece.
— It’s odorless, so you can paint indoors.
— Seems to be good quality and hold up well, at least so far.
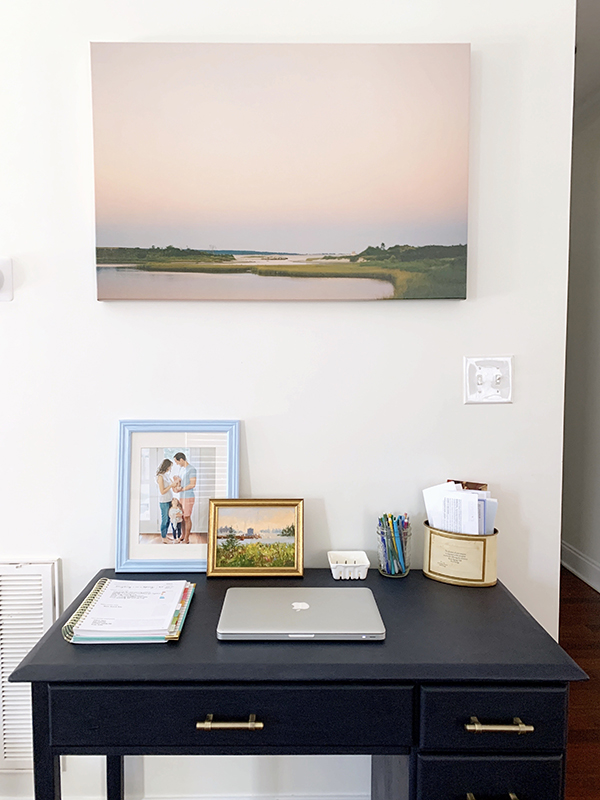
Cons:
— The paint is more expensive than normal wall paint, plus you have to buy the wax, too.
— The paint colors are limited.
— The finish is not smooth – it has a texture to it. I don’t mind it, but it wouldn’t be right for all projects.
— It seems to attract lint and fuzz, or at least, it seems to show up more to the eye. This might be because I chose a dark color!
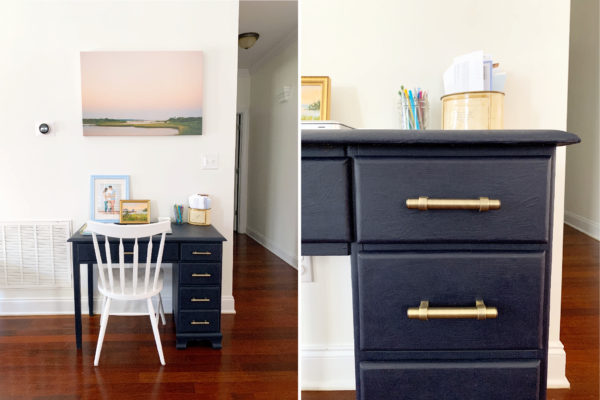
So far, I’ve just pulled up one of our dining room chairs whenever I’ve wanted to sit at the desk. I’m considering tucking a little stool underneath instead, but this has been working great so far!
Curious what I’ve stashed in the drawers? The wide one has post-it notes, notebooks, notepads, notes and samples for work, tape, and a stapler. The top drawer has washi tape and sticker books. The middle drawer holds cards, postage, our address stamp, and my perpetual birthday calendar. The bottom drawer holds my hard drive, larger envelopes, my label maker, a crossword puzzle book, and various other supplies. On top, I have my favorite pens, my PowerSheets, and my laptop, and in the tin, I keep coupons and paperwork that needs action.
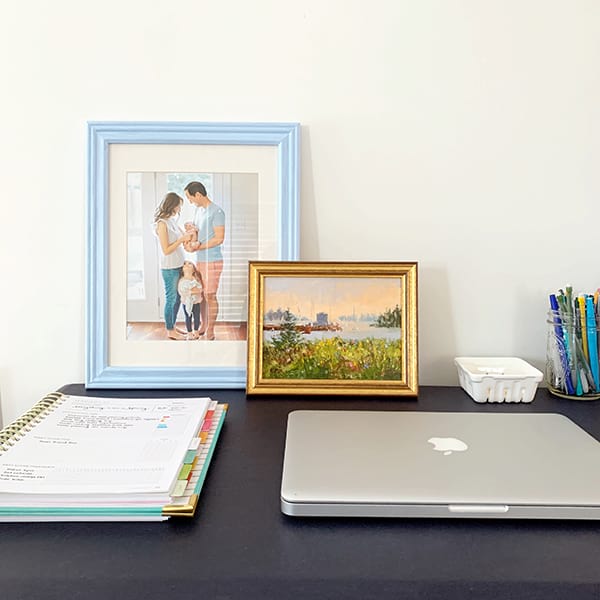
It has been exactly the little command center I needed and I’m so happy to have this stuff right where it’s most useful!
I’d love to hear: have you ever used chalk paint? Do you have a piece you’d try it on? Do you have a command center, and if so, what to you do/keep there?
Affiliate links are used in this post!





It looks perfect, Em! I love the classic color choice and how beautiful it looks against your wood floors. Well done!
your desk is adorable! the color is perfect! no command center here and i’ve never used chalk paint but i love to see how others are using it.
Oooh, it turned out so well! Navy was definitely the right choice! Your experience has me convinced to use chalk paint on my master bedroom mirror (though I’m thinking it was previously chalk painted royal blue with white wax, after seeing that sample in the store, so hopefully chalk paint still works well over other chalk paint :)).
[…] a tea at the Carolina Inn with friends for me. We unveiled the sand table on our front porch and my newly-painted desk, played in the snow, completed our second ER trip (this time with ambulance ride!), and celebrated […]
I use chalk paint a lot destressing furniture you have done a brilliant job xx