Em’s guide to photo organization, part three: printed photo albums
Part One: Physical Photos
Part Two: Digital Photos
Though I was glad to have our photos organized (and VERY glad to have them backed up), the real culmination of my photo organization project was this: making printed photo albums of our life together. You all know how important family stories are to me, and having an actual book to look through to help us tell those stories was the next logical step – and to me, well worth the time and expense.
In turning to the project of family photo albums, my first decision was at what interval to print them. The vast majority of people seem to do yearly albums, but to me that seemed a bit excessive when I considered the full span of our (hopefully long) life together. Do I really want to have 60 photo albums on a shelf one day? While I would be exceedingly grateful to have 60 years of memories, I don’t think I need 60 albums.
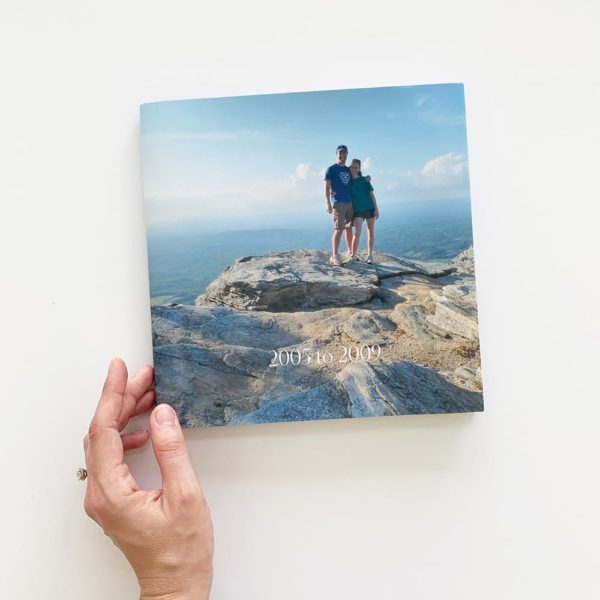
I settled on one album for every five years, beginning with the year we began dating (our senior year of high school). The first album would run 2005-2009, the second, 2010-2014, the third, 2015-2019, and on from there. I readily admit the editing is only going to get harder in the thick of these family years, but I like that a five-year boundary forces me to focus on the best, most poignant, and most illustrative memories. The albums will be heftier than they would be if we were to do annual albums, but in a more concise package!
With our photos organized and the interval set, I found myself procrastinating on making that first album earlier this year. It took me a bit to figure out why, but I eventually realized: I was afraid of missing something. Unlike a folder on a computer or a blog post, I can’t just go back and make an edit if I realize I left out an important event or a killer shot a few months down the road. That was paralyzing!
What eventually tipped me over the edge? I believe it was one of you who posed the question: wouldn’t you rather have 95% of your memories and favorite photos in book form as opposed to 0%? When framed that way, the answer, of course, was and is yes. While not perfect, I also realized I could always slip loose photos into the album pages down the line if I later found a gem that HAD to be included.
To help ease my mind, I did send a quick query to a few friends and siblings who I knew might have snaps from our earliest years together, in the hopes of gathering up any loose ends. I also scrolled through old Facebook albums to download anything I could find that wasn’t already accounted for. Finally, I had a few dozen printed photos from high school and college that I didn’t have digital copies of, so I brought them to a local photo store to scan.
With my photos at the ready and my mind at ease, it was time to begin designing! But which photo album company to choose? Though I love the idea of using the same company for all of time, I quickly realized that was a bit silly: who knows which company will be in or out of business in 25 years?! So, I made the best choice I could for this first album, and am keeping my mind open for future albums.
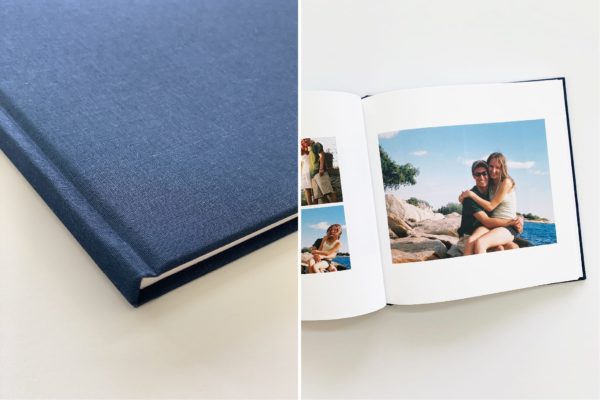
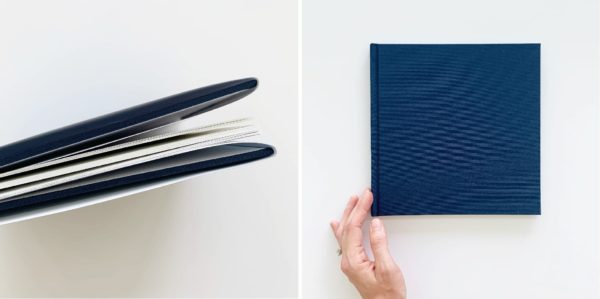
For our 2005-2009 album, I chose Artifact Uprising. AU has an excellent reputation and we had used them for our parent wedding albums with great results, so they were my natural first choice. I chose the Hardcover Photo Book, 8.5×8.5″ size, in Midnight Blue, with 50 base pages and a total of 64 pages. It came out to just over $100 with a promo code. Though I’m happy with the end result, there were pros and cons.
What I loved about Artifact Uprising hardcover photo albums:
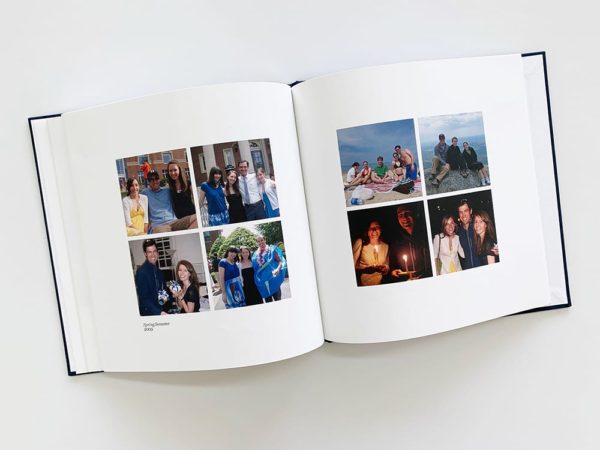
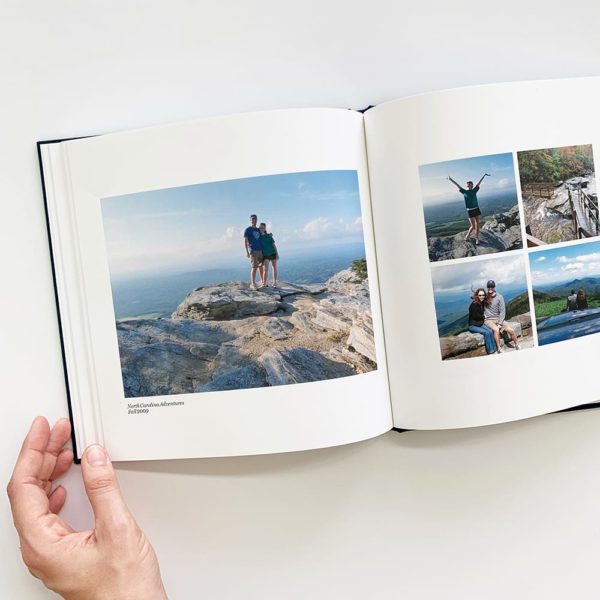
— It would be hard to make an ugly album, even if you don’t fancy yourself a designer. Their layout options are simple and classic.
— The album itself is great quality, and I loved the color options for the cover fabric.
What I did not like about the AU hardcover photo albums:
— When centering text on the cover, there was no way to tell whether it was perfectly centered (heck, they even have guides on Instagram!).
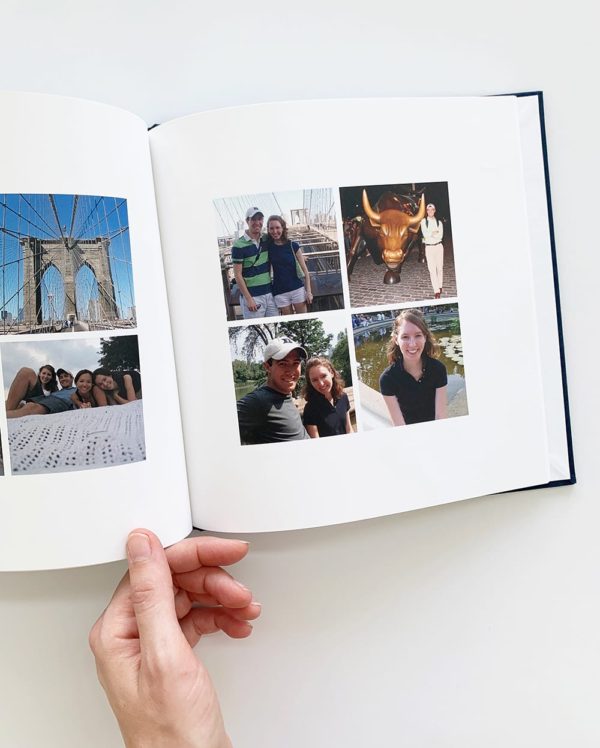
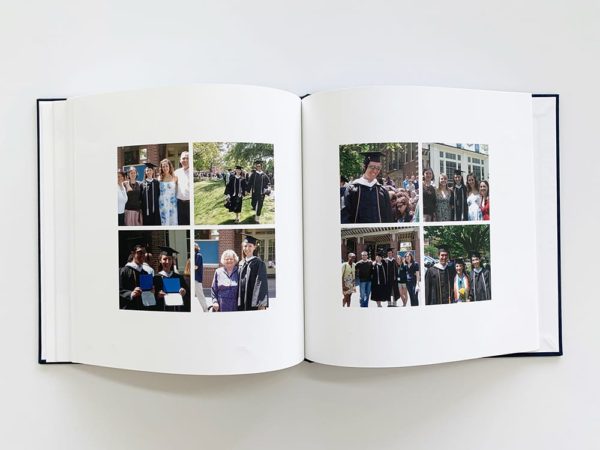
— The most number of photos allowed on a page is four. While I appreciate the restraint of their layouts, there were some events where I really wanted to have a grid of smaller photos, as in our wedding album.
— I would really have preferred to have had an embossed title right on the fabric cover, but that’s only an option in their layflat albums (which didn’t feel right for this book; they’re also more expensive). I’m the type of person who takes dust jackets off books because I find them annoying, but if I did that with this album, it would just be blank.
— Not knowing how many pages I would ultimately end up with, it was hard for me to choose the base number of pages and make sure I was getting the best deal.
— You can only move spreads of pages around within the book, not individual pages.
— It told me a BUNCH of my photos were too low res, which I found insulting, ha! While I appreciate the caution, they seemed to print just fine.
Though the list of cons is longer than the pros, I’m really happy with how our Artifact Uprising album turned out! We’ve loved having it out and flipping through it with the kids (June really likes the picture of me on a carousel, ha!). If you have any questions at all, I’m happy to answer!
For our second album, I’m considering a few other album companies, including Milk Books (who printed our wedding album!), Shutterfly, and Mix Book. If you’ve had experience with any of them, I’d love to hear!
This is also the last post in this photo organization series, so if I left any questions unanswered, ask away! So glad to have these out in the world, and I hope they’ve been helpful!!


I too have been using AU and found the same issues and I felt that the classic look and high quality feel of the book/photos was worth navigating those issues. But when I ordered my book this year many of my images came out darker than I expected. I always edit the images to be lighter due to accommodate this and I previewed the PDF before buying, but still there was a lot of contrast that I didn’t expect to be there. I’m not sure if it was me or them or both, lol.
I used to use Shutterfly. They are simpler in the design process (like you can move individual pages AND you can see the book and the layouts at the same time. This is THE WORST con of AU: when you click to view all pics/layouts, it awkwardly pops out over the book and you can’t see to reference what exactly you need, ugh!)
However, with Shutterfly the pictures come out more pixelated than with AU. So while I hate the way the pics in my Shutterfly books look, I actually love the book itself more because the pages have more design freedom and less white/blank space as my AU books. The Shutterfly book is individual to my style vs my AU book looking just like yours. I wish I could combine the two for one perfect book!
Finally, I was doing two-year increments for my books (50 page book), but I think I will switch to a longer time frame, thanks to your thoughts on that topic! Looking through 25 pages of pics for just 1 year got a bit tedious, and I was glad when I *finally* reached the last page.
I’m behind, but between this and your most recent post, I’m so nostalgic! Love seeing these sweet photos and also loved to see you guys back at the beach with your family – always one of your favorite places!
[…] On the blog, I shared a few reflections upon the first day of school and FINALLY published my photo organization guide!! (Parts one, two, and three!) […]