6 November 2014
Update: We have a winner! Congratulations to Molly L., commenter number 99!
I love Christmas cards! I love browsing potential designs, I love choosing one, I love writing notes, I love sending them, I love receiving them, and I love displaying them in our home. The whole process is one of my favorite holiday traditions! Like the last two years, we’ll be sending a Minted design, and like the last two years, there are too many good options! So once again, I’m enlisting y’all’s help. Which one is your favorite?
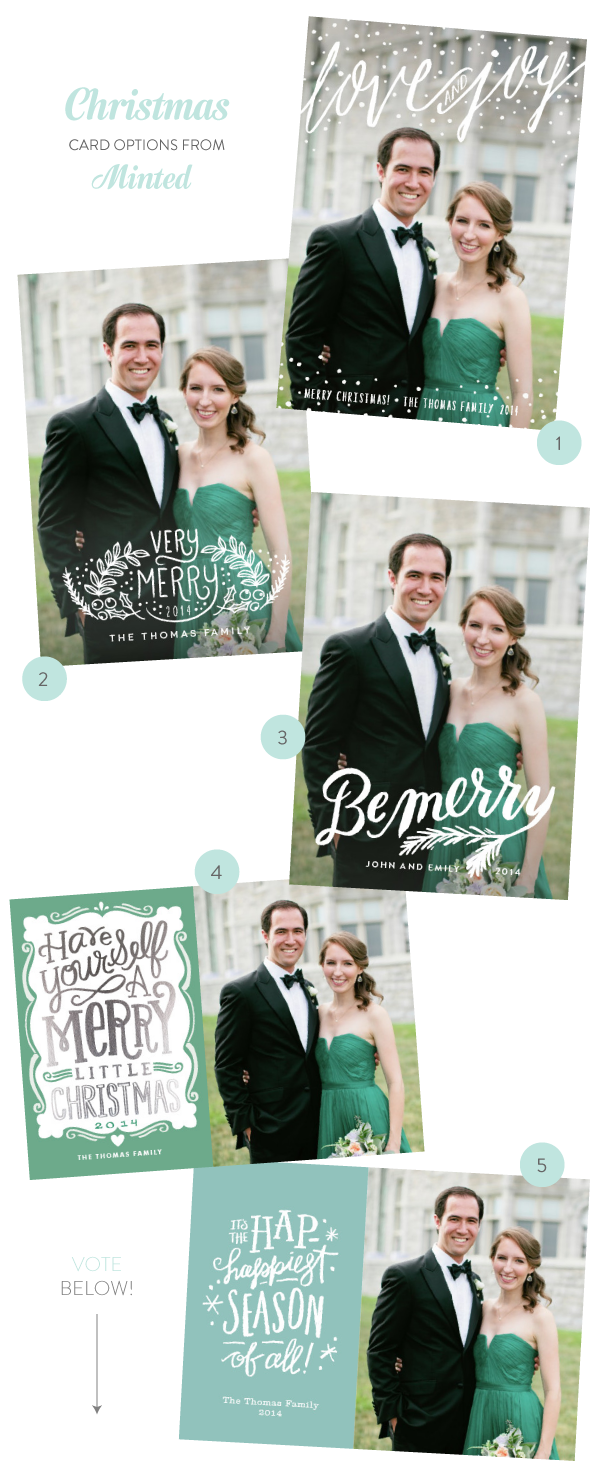
1. Snowy Love and Joy | 2. Very Merry Lettering | 3. Be Merry Pine Branch | 4. Merry Typography | 5. Hap-Happiest Time
Best believe I’m using a photo from Natalie + Joe’s wedding, courtesy of Meredith Perdue! We don’t look this good too often :)
Minted’s editing software is seriously sophisticated – I love that you can adjust your photo and the design elements so easily. Their foil-pressed options are also amazing, but I think the real star this year is their new envelope addressing! The envelope designs coordinate with the card designs, and they offer recipient addressing for free!! I love doing my envelopes in calligraphy, but the designs are ridiculously cute…
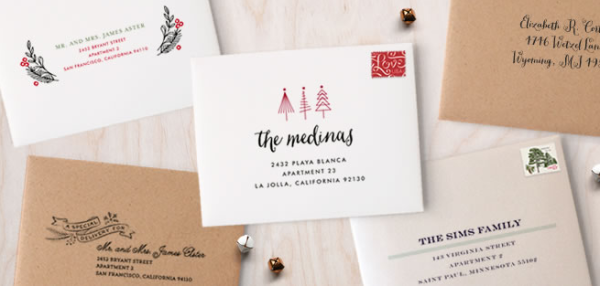
Now for the extra-fun part: I have a $250 Minted gift certificate to give away!! To enter, just comment below with either your favorite option from our Christmas card finalists, or the Minted design you’d most like to order for your family! (Or both!) I’ll randomly choose a winner next Friday!
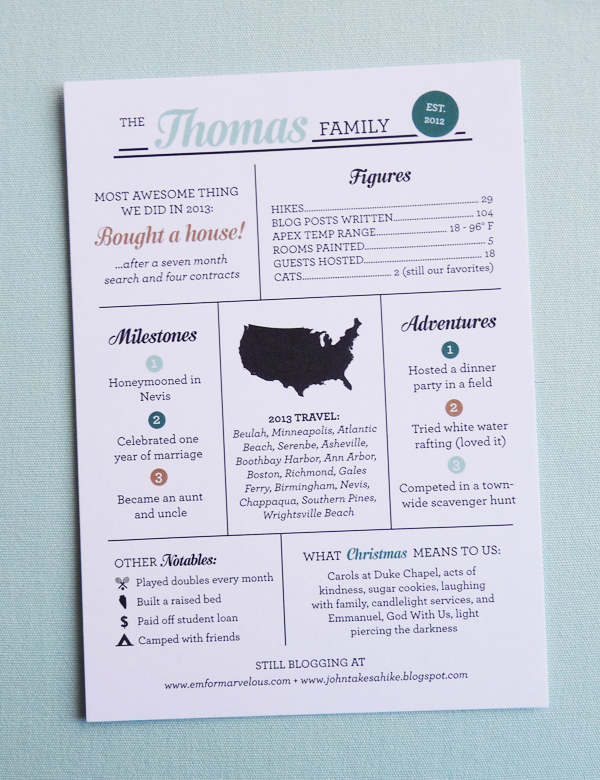
P.S. Yes, our newsletter will be back! I’ve gotten many emails about this, so I wanted to say it here: I’m opening up three spots to design similar newsletters! $100 for a ready-to-print file, customized with your family’s stats and news. Email me at em (at) emformarvelous.com to reserve your spot or ask more questions!
Minted has graciously gifted us our Christmas cards, but I chose to write this post, and the opinions are my own! I have loved everything about Minted — especially their crowd-sourced designs — for many years, and I love sharing what they’re up to with y’all.
4 November 2014
Holy moly, friends! Did you see that Minted makes fabric now?? I would never have guessed it, but of course, now that they’ve done it, it seems like a completely natural move. Unsurprisingly, they’ve done a stunning job, sourcing from the most talented independent artists to curate the most lovely designs, just like they did with paper. Man, this company can do no wrong. A few of my favorite patterns:
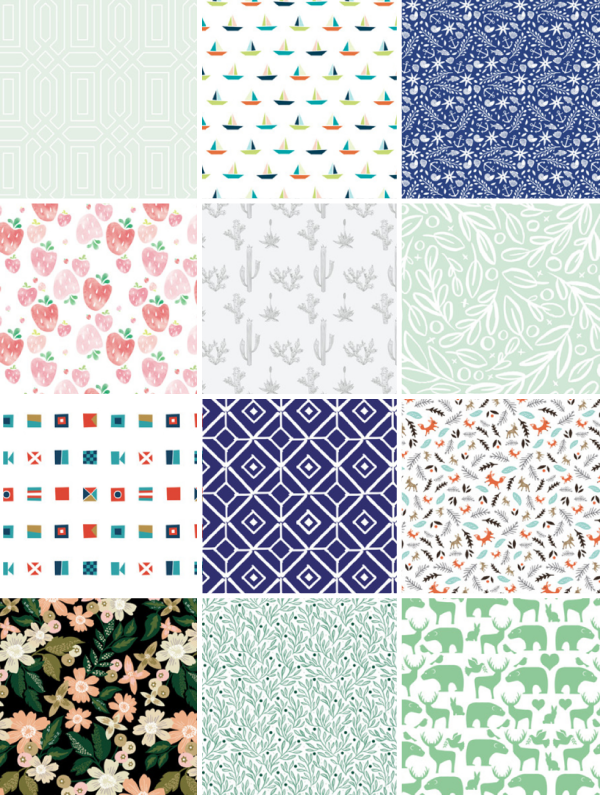
All of these patterns are available in four or more colorways, and each design is available in cotton canvas for $32/yard or linen-cotton blend for $34/yard (which is not cheap, but not that expensive considering the customization options and the cuteness factor). I’m seeing pillow covers, roman shades, crib skirts… so many exciting options, my head is spinning!
P.S. More Minted coming your way soon… it’s almost time to choose our 2014 Christmas card!!
4 September 2014
Have y’all SEEN the new Puffin in Bloom books by Rifle Paper Co? They are perfection.
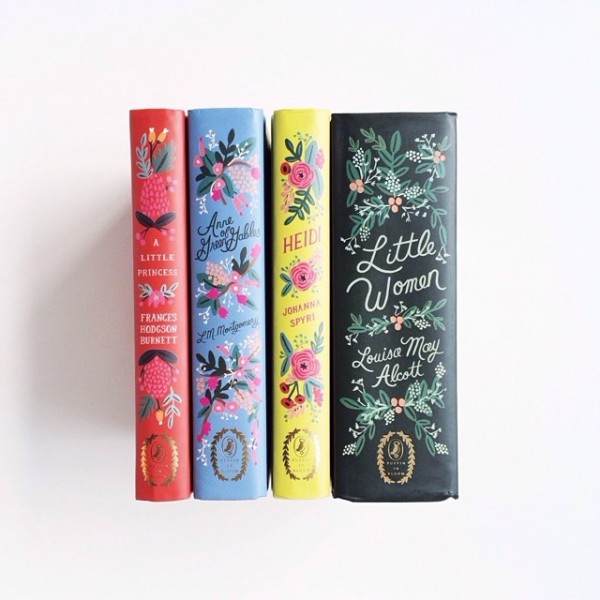
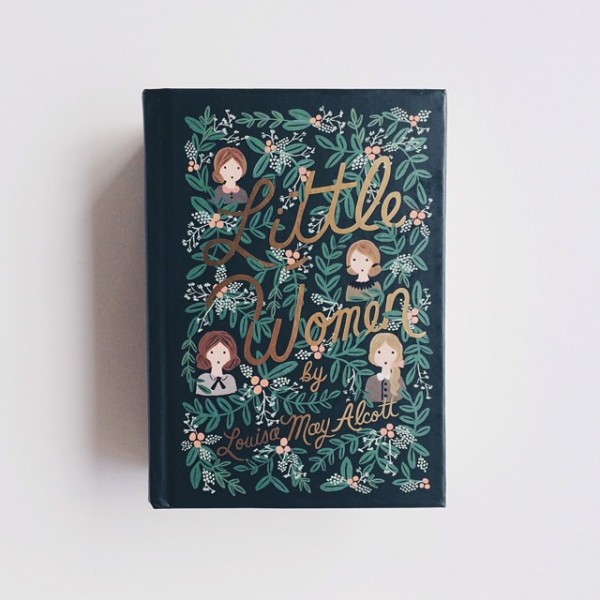
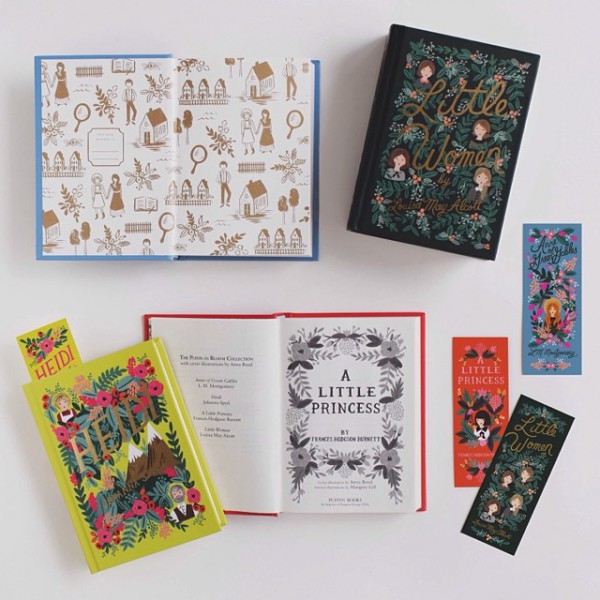
I love almost everything Anna does, and these books are no exception. I think they’re even prettier than the Penguin Classics! Anne of Green Gables is one of my very favorite books (I made an inspiration board here!), and I also love A Little Princess. I actually don’t think I’ve ever read Heidi or Little Women, so I guess that gives me an excuse to buy the books! :) They’re definitely going on my Christmas list.
All four books are available on Rifle’s site for $16 or for about $11 on Amazon.
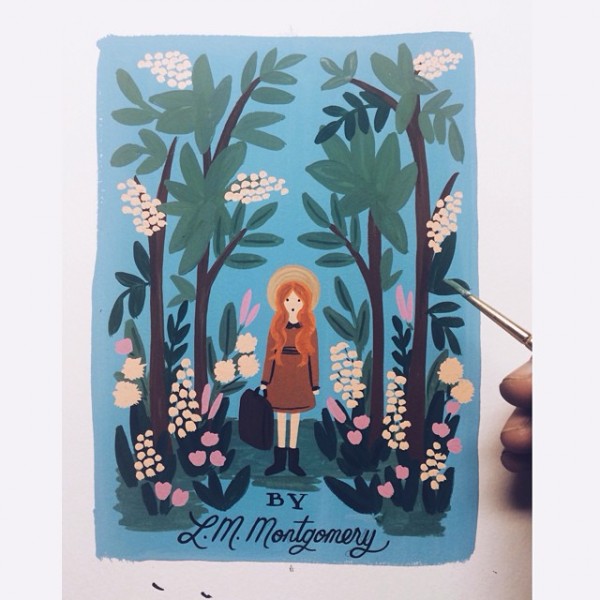
P.S. All of these photos are from Anna’s instagram stream – so neat to see the paintings that became the covers!
P.P.S. My brother-in-law is Anna’s literary agent! So proud of him, too :)
28 July 2014
The run-up to Natalie and Joe’s wedding was remarkably calm, from my perspective, but there was one aspect of the festivities that was a little nerve-wracking – my other sister-in-law’s due date, which was one week after the wedding! Today is our nephew’s official due date, but despite dancing up a storm at the reception he still hasn’t made an appearance. Though I’m not sure Marget would agree at this point, I’m glad I’m able to make a report of the shower in his mama’s honor before he arrives!
We held the shower in New York, where my sister-in-law lives. We went with a loose “adventurous little boy” theme, since that’s (loosely) the theme of the nursery. Here’s the invite I made to send to guests:
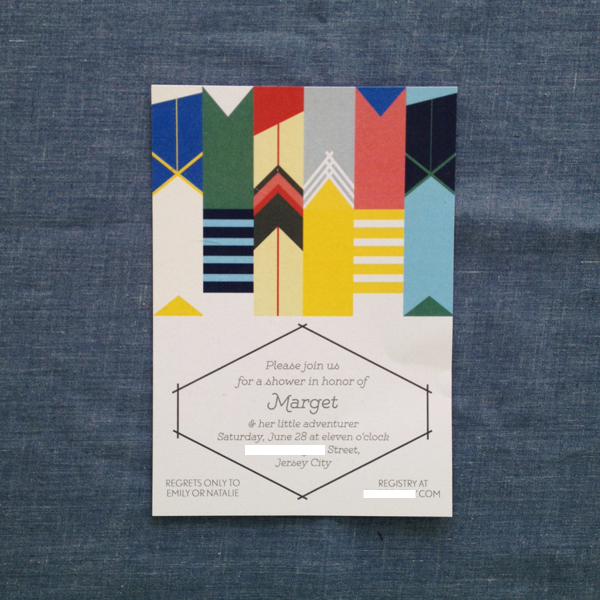
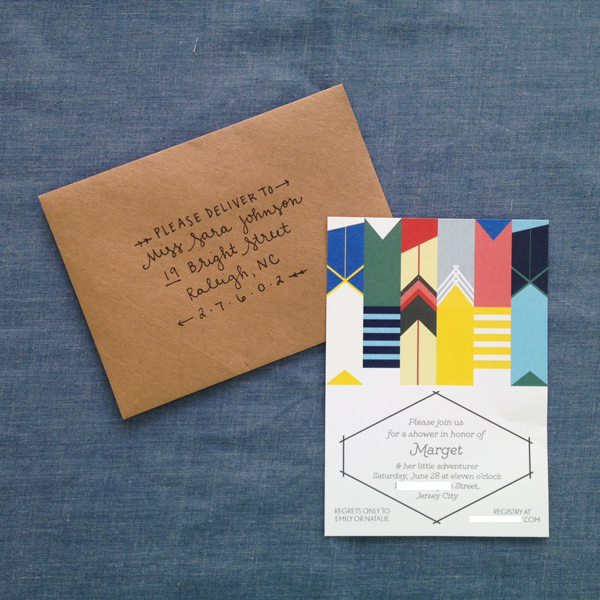
I printed the invitations at FedEx, and sent them out in kraft envelopes from Paper Presentation I had on hand. I actually decided to list these as a download in my Etsy shop, so if you have a use for them, they’re right here!
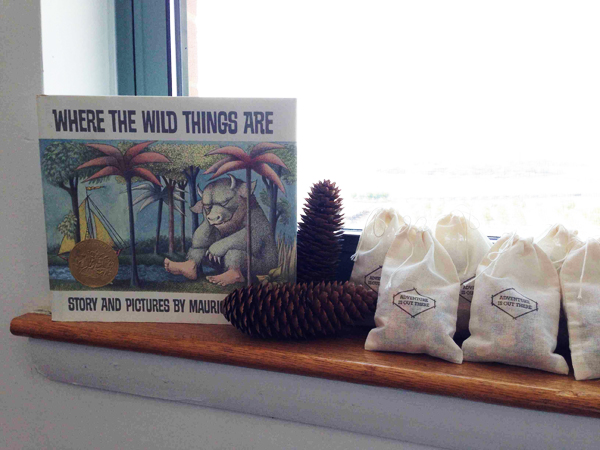
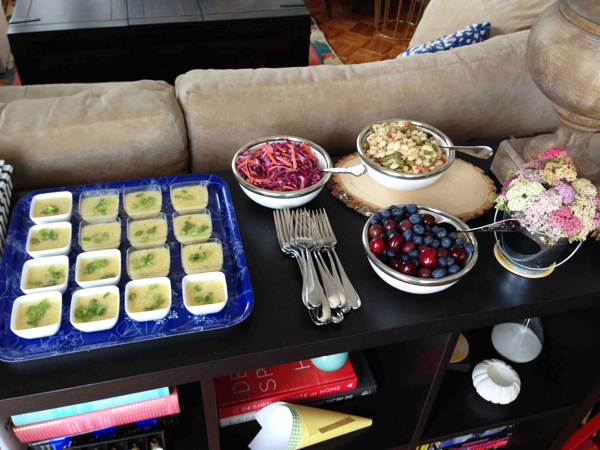
We kept the decor fairly minimal: one of M’s friends made an adorable gingham garland, we arranged colorful yarrow into little tin buckets, and we displayed some adventurous books, pine cones, and wooden woodland animals. (They were part of my shower gift to Marget – maybe the start of a collection!) I also picked up a few tree trunk slices from A.C. Moore (easy to travel with!) for displaying food and made a special sign with nephew’s nickname.
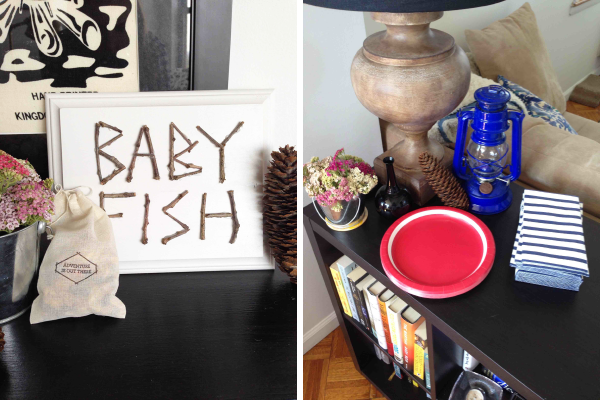
To make the sign, I spraypainted a wooden craft store plaque white, then hot glued on twigs. Easy!
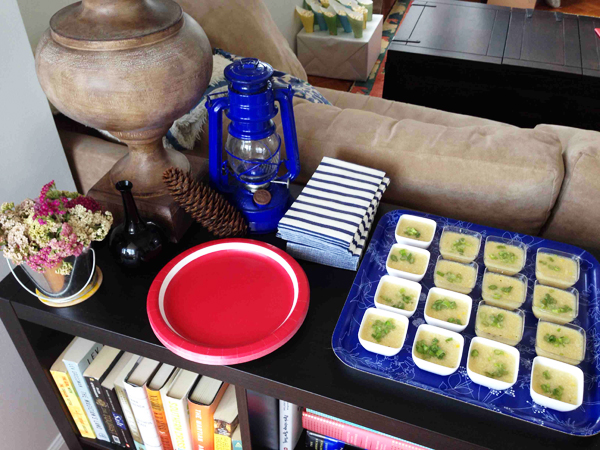
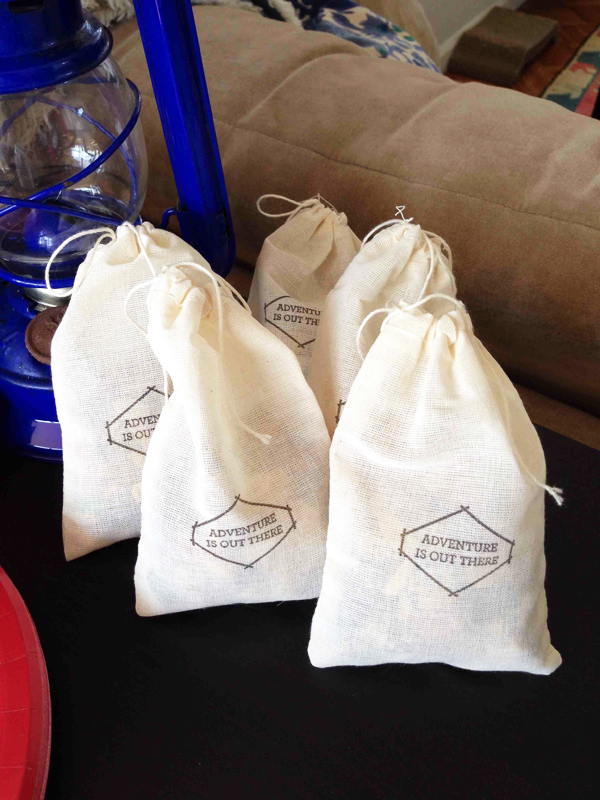
The favors were little muslin bags stamped with “Adventure is out there” and filled with trail mix! I used a self-inking stamp from RubberStamps.com and it worked beautifully on the fabric.
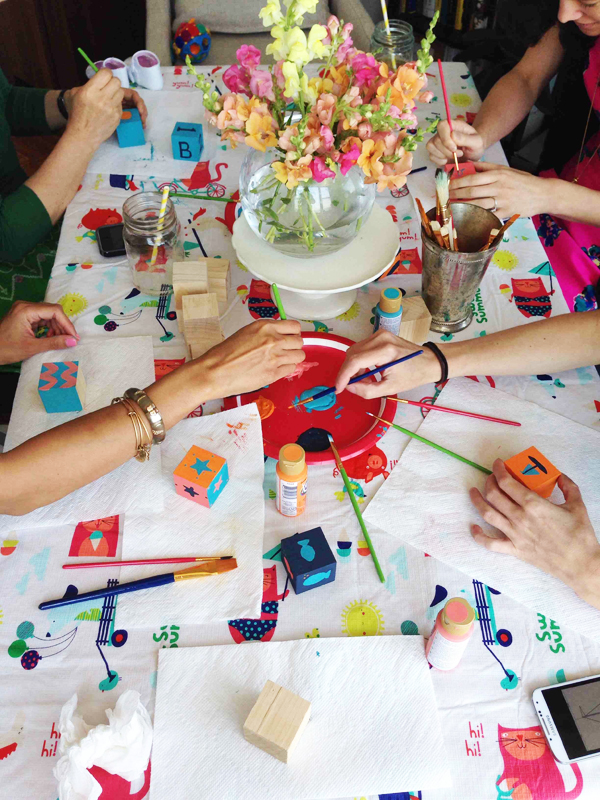
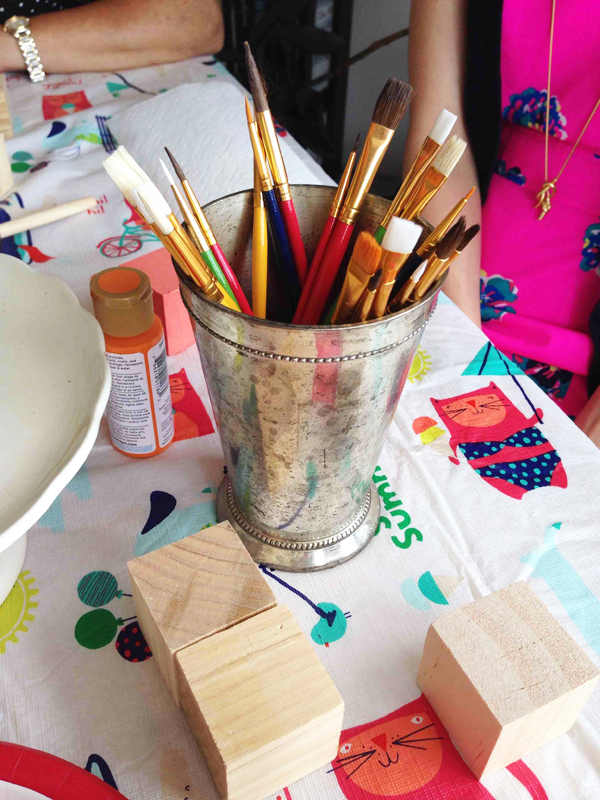
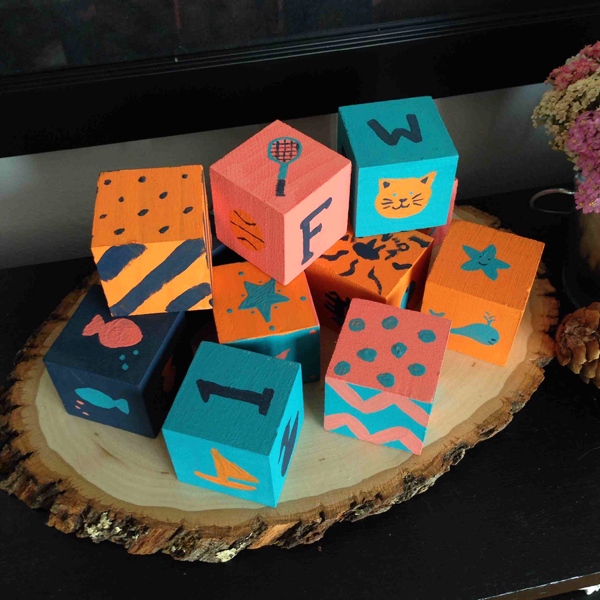
I really dislike most baby shower games, so we went simple and just had one activity aside from eating, socializing, and opening gifts: we painted blocks for the baby! The blocks were from A.C. Moore, and I picked up craft paint in the nursery accent colors and a multi-pack of brushes. It seemed to go over well; my brothers-in-law even picked up a brush to complete the set post-shower. As a side note, if you’re trying this and planning to have a really young child who might put them in his mouth play with them, I’d recommend adding a food-safe sealant after they’re dry.
Now we just wait eagerly for news of our nephew’s arrival!!


