4 November 2013
THIS GIVEAWAY IS CLOSED! Congratulations to our randomly-selected winner, RachelC!
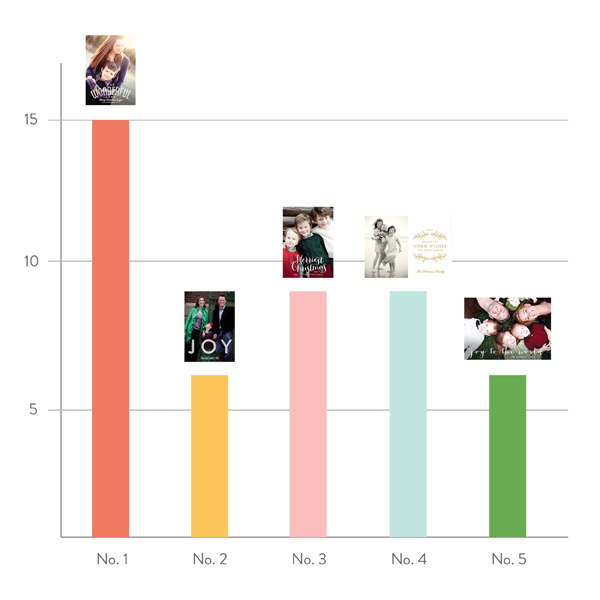
Y’all know I’m the last person to breeze right past Thanksgiving on the way to Christmas (I believe my opinions on appropriate holiday music start times are well-documented). However, it is definitely true that preparing in advance makes the season itself so much more enjoyable… which is why Christmas cards have been on my mind! I LOVED sending out our first photo cards last year, and am looking forward to doing so again. Sadly, I don’t think it’s socially acceptable to use another wedding photo, so 2013 will have a hard time beating 2012. But I’m willing to give it a try! We are of course using Minted again, and here are the top five designs we’re considering:
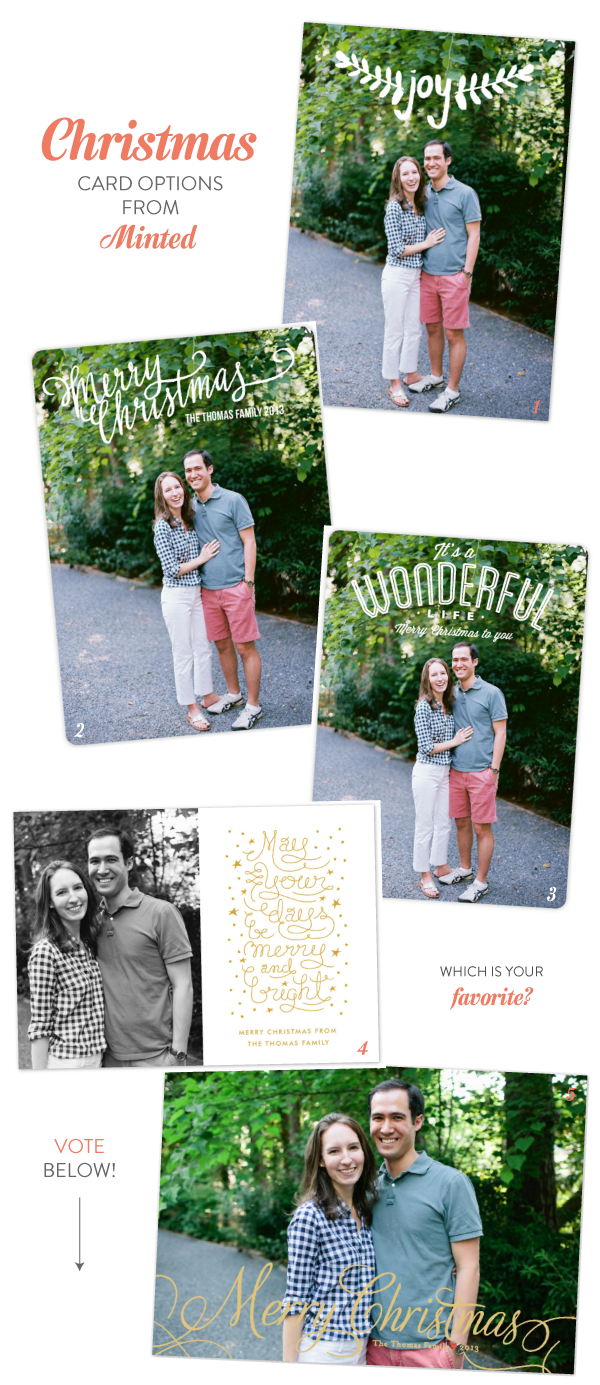
We’re still deciding on a photo, but big thanks to our friends Graham and Meredith for these happy options!
1. Hand-Painted Branches | 2. Merry Scriptmas | 3. A Wonderful Life | 4. Merry and Bright Script | 5. Classic Merry
As usual, I’m loving the script and hand-lettered options! This year, I especially appreciated the ability to move almost every design element around in Minted’s software — it was so helpful when working with our photos. They also have some amazing foil-pressed options (I love this one, but it wasn’t a good fit with our photos) and lots of die-cut shapes.
Now for the extra-fun part: I have a $200 Minted gift certificate to give away!! To enter, just comment below with either your favorite option from our Christmas card finalists, or the Minted design you’d most like to order for your family! (Or both!) I’ll randomly choose a winner next Monday!
Minted has graciously gifted us our Christmas cards, but I chose to write this post, and the opinions are my own! I have loved everything about Minted — especially their crowd-sourced designs — for many years, and I love sharing what they’re up to with y’all.
21 August 2013
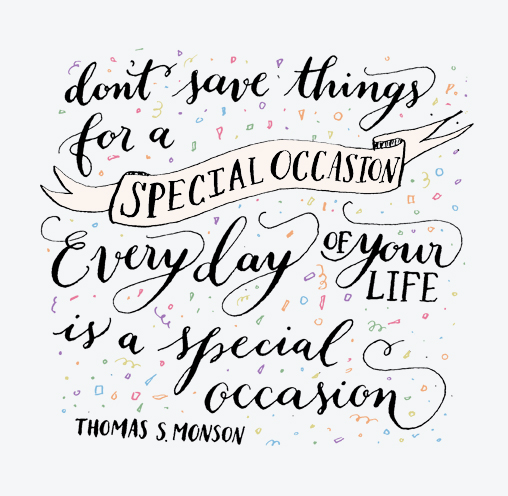
There are a few things I hope you’ve picked up after reading this blog for any amount of time: namely, the joy of fiscal responsibility, a deep appreciation for goals of every stripe, and a conviction that donuts are delicious. Also, this:
Kelly Cummings
YES! We are the kind of people who use our wedding china on a daily basis. The people who crack open the letterpress stationery for a quick note. And yes, we are the people who throw adventure dinner parties.
I’ve been reading the blog Oh Happy Day for years, and Jordan is the one who initially introduced me to the idea of an adventure dinner party. As far as I can define it, it’s a meal shared with friends and the trappings of an indoor occasion — table, chairs — on public property. So, a fancy picnic. I was immediately taken with the idea, as I have a deep love for creating memorable experiences for the people I love. I put it on my 101 list almost three years ago, finally checked it off (hooray!!), and would now like to share a few tips I picked up along the way.
1. Choose your location wisely. It must be said: don’t dinner party on someone’s private property unless you have their permission. Duh. Also, don’t break any laws, and I’d suggest not choosing a location that expressly forbids picnicking. In fact, I’d look for a place that DOES encourage it — because really, an adventure dinner party is just an elaborate picnic, so if picnicking is allowed, you should be in the clear. Try also to find a location that has parking close by, since you’ll be hauling a fair amount of stuff from your car. Also, a bathroom, especially if two of your friends are pregnant.
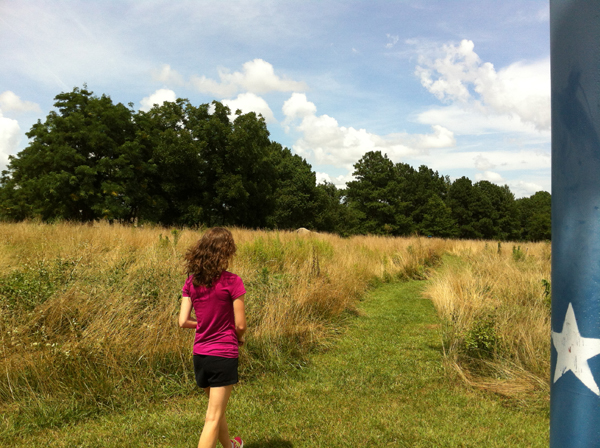
Once you’ve found your location, make a scouting trip before the big day — even if it’s a location you’re familiar with, you’ll see it with new eyes. We chose the NC Museum of Art’s Art Park as our location (we took our engagement photos there). Here I am on our initial scouting trip in our chosen spot:
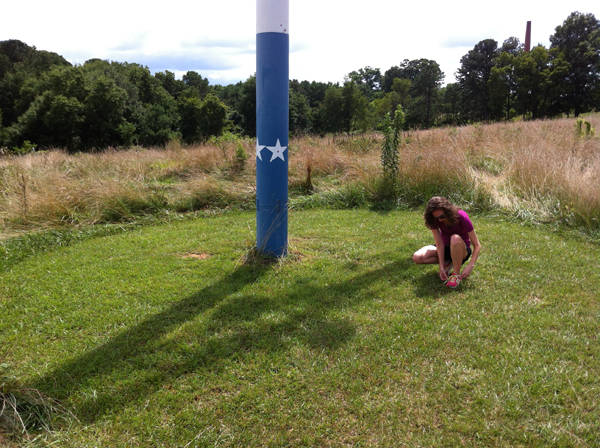
There was even a path mown to it!
2. Plan a moveable menu. The more food that can be transported and stored at room temperature, the better. Bonus points for anything that packs down tightly and requires few or no utensils. We chose chips and salsa as an “appetizer” (just served them out of the bag and jar, respectively), and Cobb salad as the main course. We brought the pre-washed spinach and arugula in the boxes it came in, and all of the other ingredients — hard boiled eggs, turkey, bacon, tomatoes, avocado, blue cheese, vinaigrette — in mason jars. Guests could assemble as they pleased. We also packed watermelon mint lemonade in Weck jars and fruit skewers in a 9×13 pan with a lid.
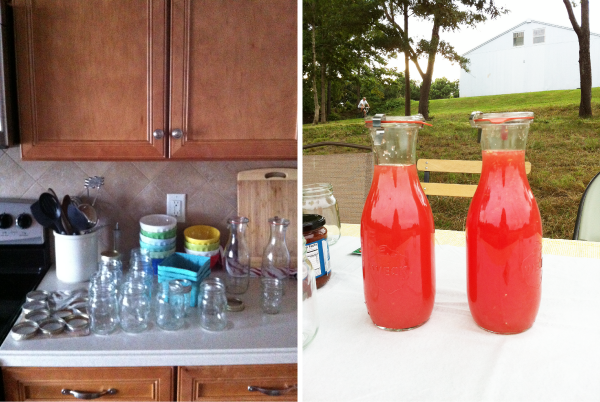
3. Make your packing list and check it twice. You’re going to be (kind of) out in the middle of nowhere, so there’s no running back to the kitchen when you realize you forgot plates. Walk through the entire event in advance and make sure you have — and pack — everything you need. Think about clean-up, too. Among other things, we brought mason jars for guests to drink out of (with lids, so that we could just screw the lids on at the end of the meal and not worry about rinsing them or drips), wooden forks, plastic plates (I figured they’d be less likely to blow away than paper), and bug spray. We packed everything in our cooler and my oversize Bean bag.
4. Get the right equipment. Because we could see ourselves doing this again, we bought a tote-able 6-foot table and two folding chairs from Home Depot to supplement the six folding chairs we already owned. Renting would also be an option. So would buying from Craigslist if you leave yourself enough time. We already had a surplus of mason jars, but they’re pretty cheap at Walmart.
5. Invite the right guests. You want people who will relish the experience, and be excited about something different… not think the obscure location and mysterious lead up are a hassle. Guys, I can’t tell you how grateful I am to have friends and a husband who appreciate things like adventure dinner parties!!
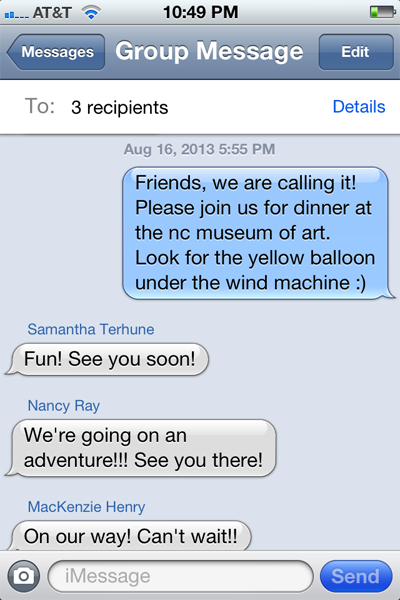
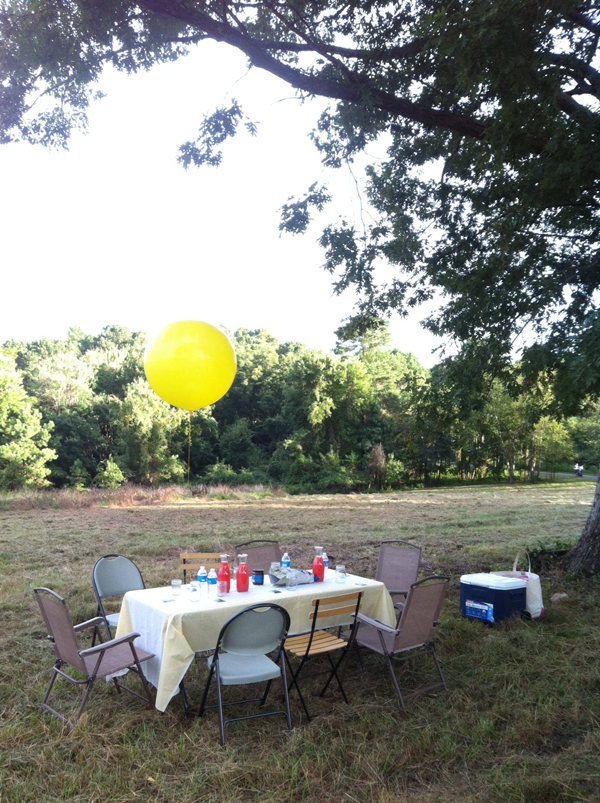
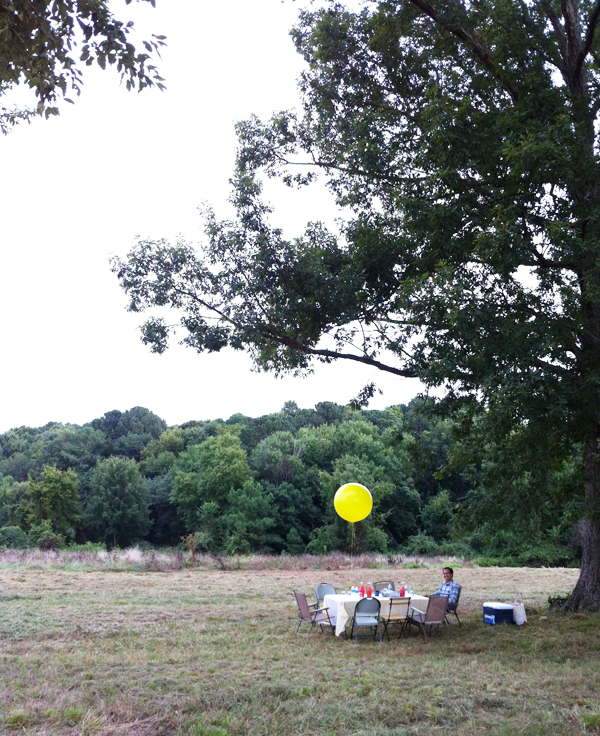
6. Have fun with it. You’re creating an experience for your guests, so layer on the fun touches! Keep the location a mystery until the last minute, or text clues in the days leading up to the party. (I’d recommend giving them an estimate of how long it will take to drive to the location, though!) Bring a tablecloth. Send invitations in the mail. Order up a giant balloon to mark your spot. On that note, make sure you have a car large enough to transport said balloon — I have an SUV, and had to fold my seats down to fit it in! It wouldn’t even fit through the doors of our house!! We bought our 36″ balloon from Party City, and it was $6.29 to inflate it with helium.
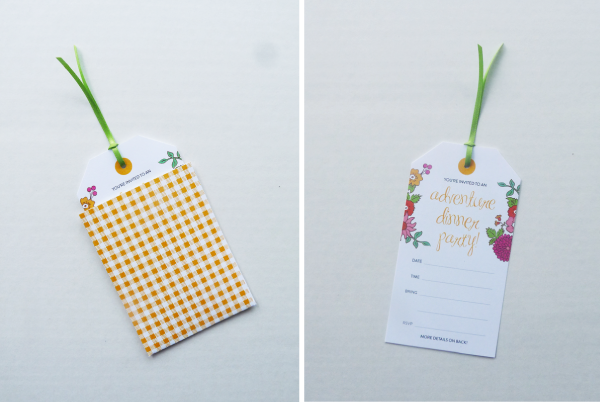
I modified Amy Moss’s invitation template and had them printed at FedEx Kinkos — so cute!
Post-dinner we loaded everything back into my car, then walked over to the Museum’s outdoor showing of Moonrise Kingdom. We packed dessert boxes for everyone in turquoise berry baskets with cinnamon sugar kettle corn, chocolate chip cookies, brownie bites, and gummy bears :) One other note on food preparation — if there was any dinner party to take food shortcuts on, this is it. All of these goodies were purchased from Whole Foods!
7. Roll with it. The weather. Oh me oh my the weather. There were a plethora of angsty text messages flying between my and John’s phones the day before and the day of our dinner party. Suffice it to say, we didn’t definitively call holding the party outside until about an hour before the arrival time, BUT the weather turned out to be beautiful! We had sun!!
Also, make sure you’re okay with attracting some attention. There were bike riders and walkers moving past our location, and at first I was a little self-conscious, but as soon as everyone arrived they faded into the background. Remember, they’re not judging you, they’re either curious or want to BE you! :)
Finally, be flexible. When we arrived at the park, we discovered that the entire field had been mowed, meaning our private circle was no more. We made a quick decision to relocate under the tree, and it worked out wonderfully.
8. Clean up. Leave your dining room for the night better than you found it. Duh.
Friends, what do you think? Would you host an adventure dinner party? Have you ever purchased a giant balloon? :)
18 December 2012
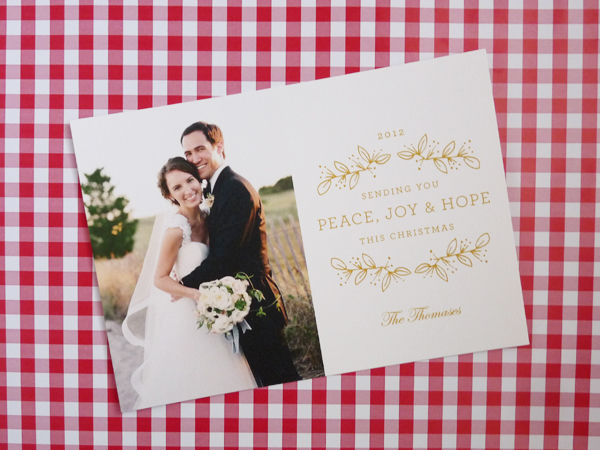
Thank you again for all of your help choosing our Christmas cards! As usual, y’all were divided on which design was best, but option no. 1 came out on top in the voting.
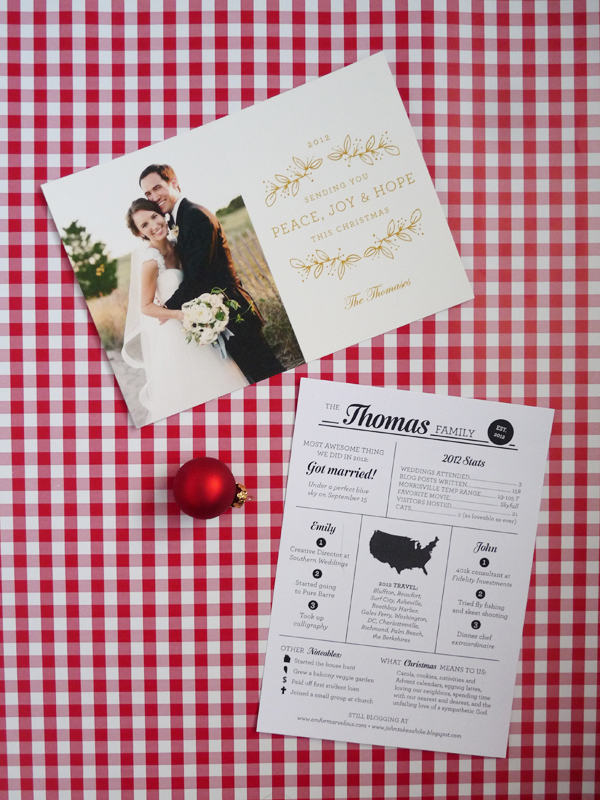
As much as I loved the sentiment of option one, I thought the type treatment competed with the image we had chosen. (The detail of the bouquet made the text a bit hard to read.) Same problem with number three. We decided to table those for another year, and instead went with a design with no danger of that problem!
Of course, I think any Minted design would have looked beautiful with Tanja’s gorgeous images! We feel so lucky to have worked with her.
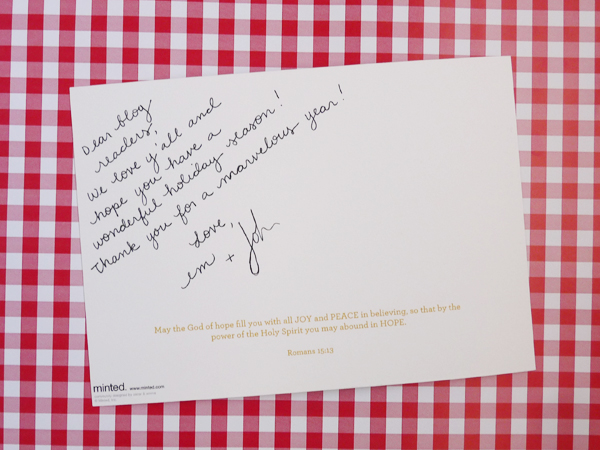
And here’s our inaugural newsletter! I laid it out in Illustrator, had it printed at Fedex Kinko’s, and owe much inspiration to Amanda Jane Jones.

Finally, I addressed each envelope to our nearest and dearest…
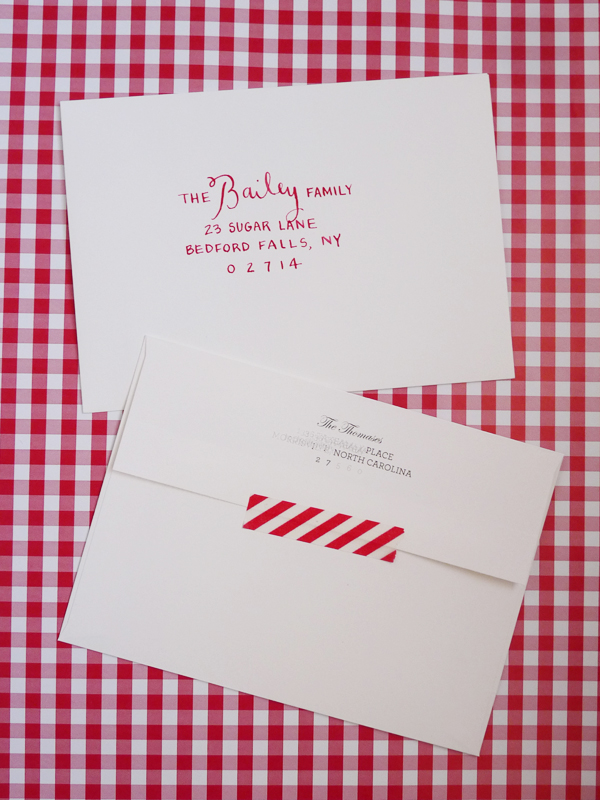
…including one for y’all!
Have you sent out cards yet?
7 November 2012
In addition to our photo Christmas cards, I think we’ll be sending a newsletter! Did your families send holiday newsletters when you were younger? Do they still send one? My family always did, and I loved it! In fact, once I was in about sixth grade, I was often recruited to write it — my Dad and I alternated years :) Even in the age of Facebook, I still LOVE reading all the letters we get from other families, families I’ve known my whole life, when I go home for Christmas. My Dad is in the military, so my parents have lots of far-flung friends that I remember from my childhood but haven’t seen in years. My sisters and parents and I have been known to sit at the kitchen table and pass the letters around the circle, discussing the neatly-encapsulated contents as we read!
Our newsletters were always fairly simple affairs, graphically speaking — printed on plain paper, or maybe holiday letterhead, if my Mom was feeling fancy. I’m hoping to step up the game a bit for my and John’s debut, and am taking inspiration from these beauties I found around the internet:

By Amanda Jane Jones. Go here to see more angles!

Also by Amanda. More here!

By Aprile Elcich.
I’ll update you once ours is complete!