23 September 2019
One of my 2019 goals was to complete our family room – updating the aesthetic and making it function better for our family. We’ve been chipping away at it little by little all year, and I’m happy to say it is just about done!
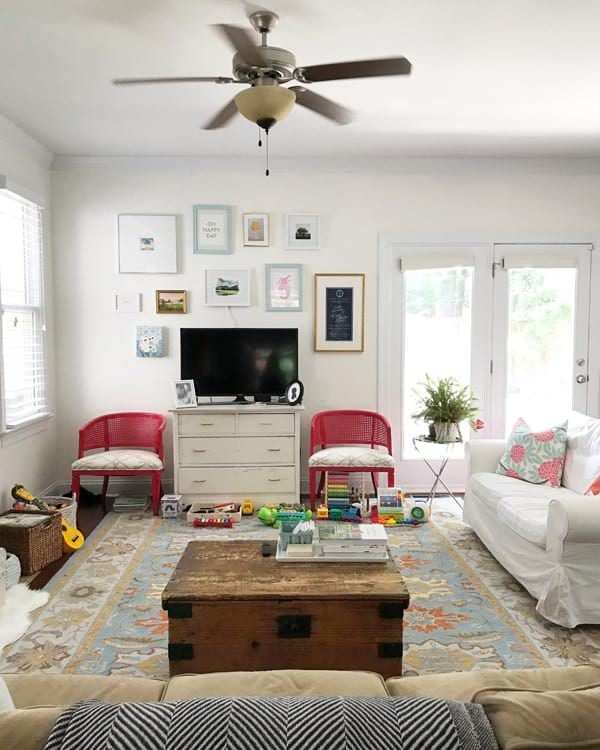
Our family room is the main play space for our kiddos, and a big part of this goal was finding a better storage solution for their toys. Previously, the toys had been just kind of lined up around the edge of the rug. It was fine, but visually cluttered, and hard for June to put anything away because there really wasn’t an “away.” The before:
A new storage piece was in order. I searched for months and continually came up short (everything was so expensive!). Then, late last year, I spotted the piece below at HomeGoods:
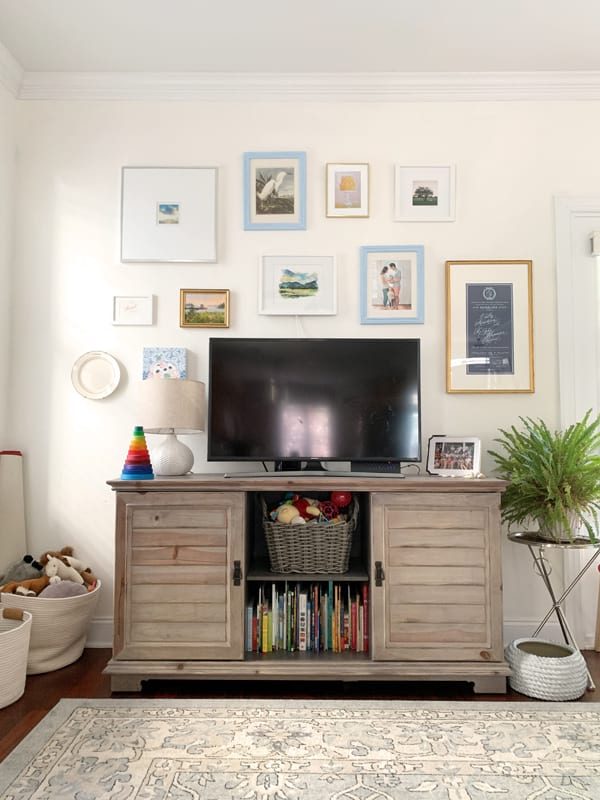
I snapped it up right away. I thought you might like to see how we use it, especially if you, also, don’t have a dedicated play room!
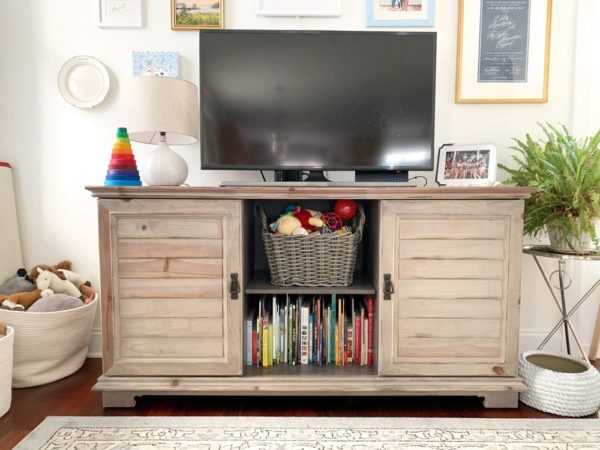
This piece stood out to me because it was mostly closed storage, and I wanted the least amount of fuss – a system that looked good on the outside and was easy for our kids to maintain. (This is why I wanted doors, not drawers – it can be hard for a three-year-old to open and close drawers herself!)
On the inside, you’ll see everything has a general “spot,” but things are not “just so” – and that’s great with me!
Rainbow stacker, rug, and lamp
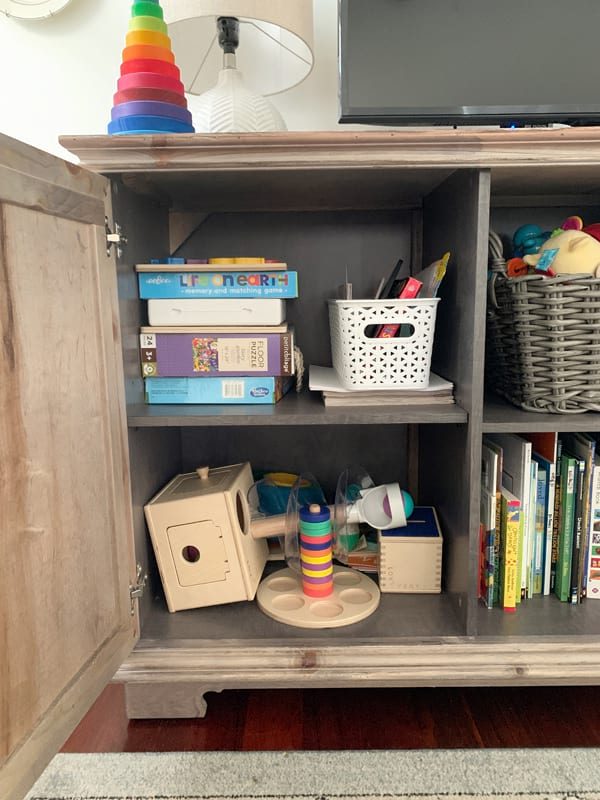
For example, here’s the lefthand side. On the top left is a stack of our current rotation of puzzles and games, including some chunky puzzles for Shep, June’s Lite Brite, and her favorite matching game. Next to that is a stack of coloring books and loose-leaf paper, with a little caddy of stickers, tape, scissors, a magnetic pad, and other art supplies (markers and crayons are in a bucket on the coffee table).
In the bottom cubby is the Babbler play kit from Lovevery Baby. John’s sisters got it for Shep for his first birthday, and it has been a BIG hit! The toys are Montessori-based, great quality, and perfectly tuned to his developmental age. SUCH a great gift!!
As you can see, everything is pretty loosely organized – but it’s also clear to June where everything lives, so she can easily help put things away.
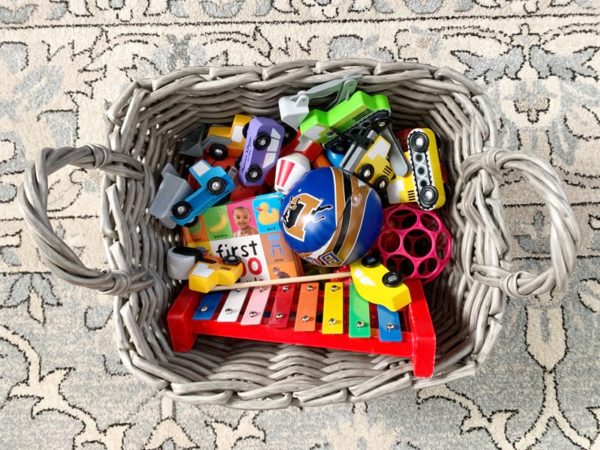
In the middle, we have a basket for Shep-specific toys – this was particularly great when he was really little, because I could easily pull it out and bring it to wherever we were doing tummy time. As I took these pictures, I stopped to switch out a bunch of the toys, since he’s not so little anymore! Current favorites include his xylophone and these cars.
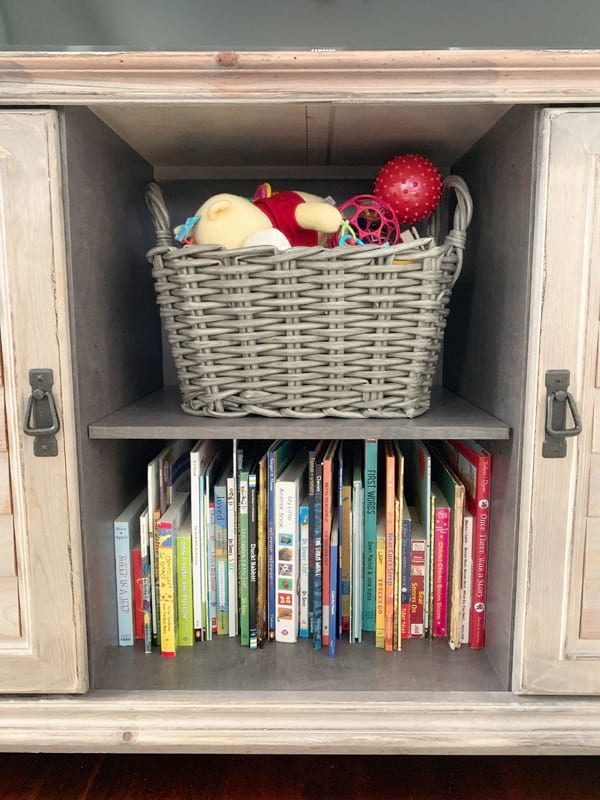
And of course, BOOKS! We have books throughout the house – in our bedroom, in their bedrooms, in the loft upstairs – but we keep a rotating selection of our favorites here.
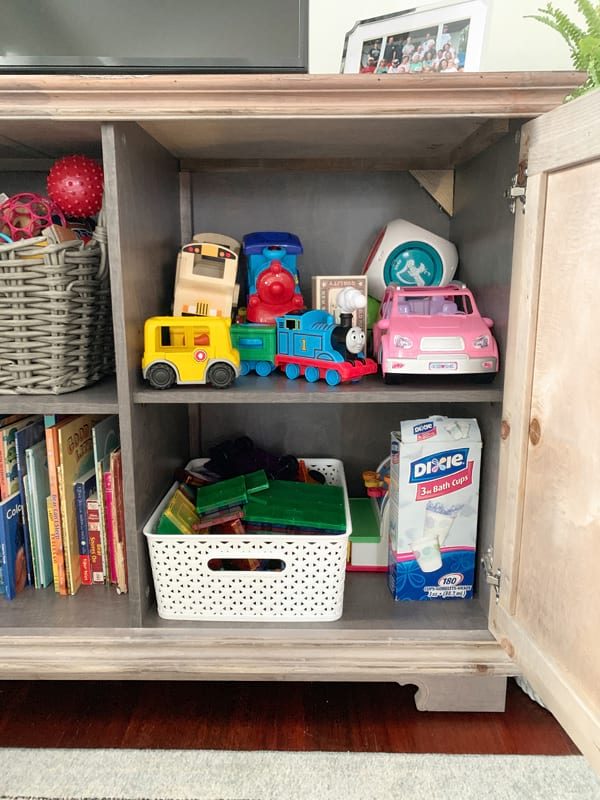
On the top right, we have general storage for cars, trains, and bulkier toys, like the bus and music cube. Again, it doesn’t look the prettiest, but as these are taken out CONSTANTLY, it’s way more important that they can easily be put back than they look perfect behind closed doors!
On the bottom we have bathroom cups (they are a favorite!), a cash register, and the pride of every toy collection – a big basket of MagnaTiles. Yes, everything everyone says is true – these get played with pretty much daily and are just as fun for Shep to knock over as they are for June to build with. (We also have the less-expensive kind, and they are great, too!)
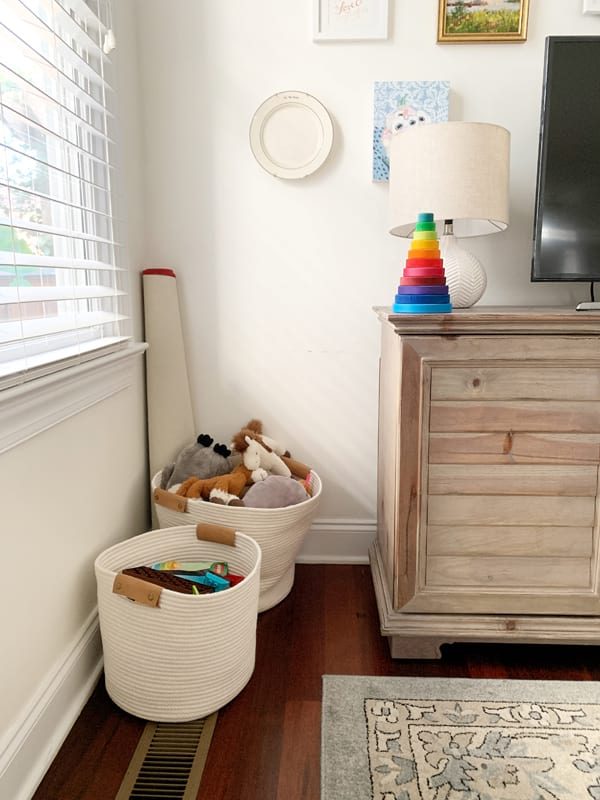
Off to the side, we have a basket for building toys – Legos, wooden blocks, etc. all jumbled together! (This drives my sister nuts, ha!) The other basket is for stuffed animals, and a car play mat is rolled up in the back.
And there you have it! We have toys and books elsewhere in our house, but this is the main stash. It’s a tightly-edited collection, and I continually rotate things in and out as they grow and their interests change. I hope this little peek behind closed doors has been helpful! :)
P.S. Two gals whose toy storage I was inspired by: Rhi and Valerie! Affiliate links are used in this post!
29 March 2019
If you’ve spent any amount of time here, you know that I’m engaged in an epic quest to organize our personal photos (and have been for almost a year). Many of you have expressed curiosity at my methodology and the processes I’m putting in place, and I’m happy to oblige – once I have everything wrapped up with a bow!
In the meantime, though, I wanted to share one aspect we’ve got down pat, especially since I’m guessing it might be a pain point for some of you: Instagram photos! The photos I share on IG are some of my very favorites, so it makes sense that they’d be a priority to get off my phone and into our home.
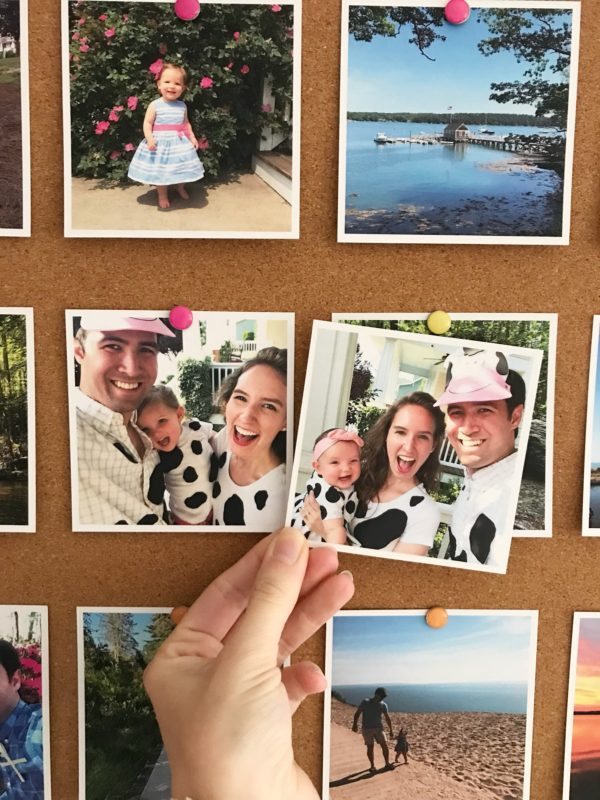
Each January, I order 48 to 72 of our favorite Instagram photos from the past year in the 4-inch size via Social Print Studio. (You can purchase them in sets of 24 for $12). They’re printed on velvety-matte paper, and I’ve found the quality to be good. I especially appreciate that you can upload from multiple accounts in the same order as long as you have the passwords, which is great because I choose favorites from John’s account and both my personal and public accounts.
(If we need to round up to reach a number divisible by 12, I’ll add a few more copies of a print I know a family member or friend would love, then pop them in the mail once they arrive!)
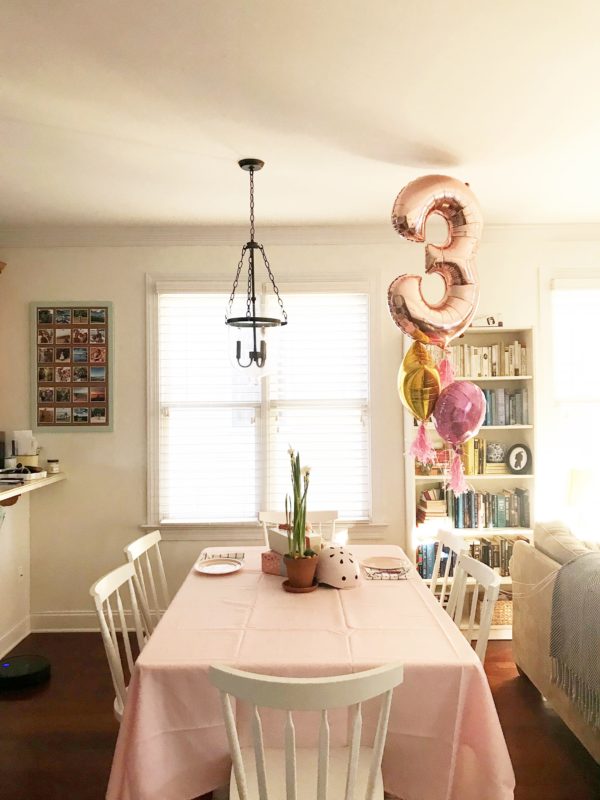
From there, I choose our favorite 24 photos from the past year, with a prejudice toward landscape- and adventure-focused shots, and pin them to a bulletin board in our kitchen. I love being reminded of so many beloved places, faces, and memories on the daily, and guests love looking at them, too!
The ones from the previous year come down and, along with the remainder from the new set, go loose-leaf style into a box on our coffee table. (I add the year and any other pertinent info on the back.) The box isn’t organized in any way, which is good because the prints are literally taken out and rifled through every. single. day. June LOVES to discuss them, and they’re a great conversation starter with guests, too!
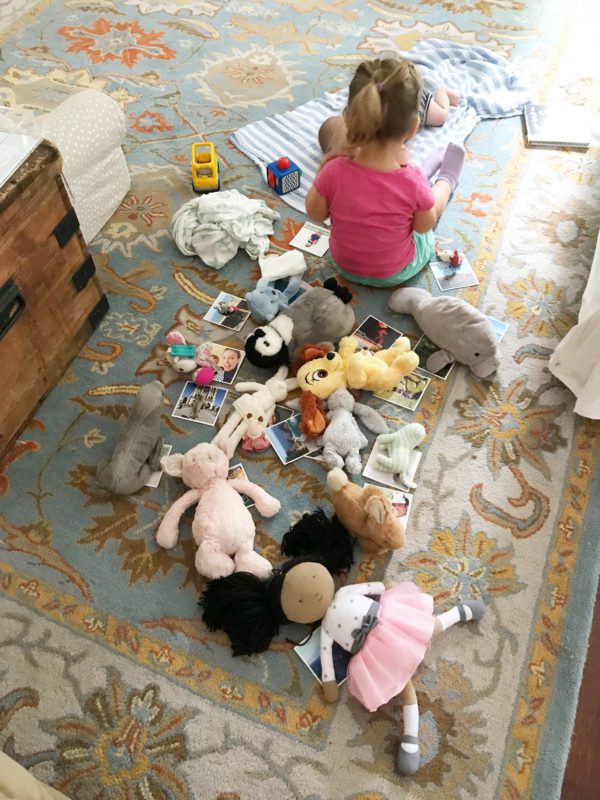
On this particular day, each stuffie was assigned a photo :)
One last thing I like about this system: it’s a natural way to make sure we’re refreshing at least some of our wall decor on at least an annual basis. It can feel like a monumental effort to get anything on our walls – the choosing! the hanging! – and once something is up, I’m inclined to just leave it. But it’s nice to spiff things up every once in a while, and this is an easy way to do it.
I’m curious: do you have a favorite way of printing your Instagram photos? I think it would be so fun to order one of SPS’s 365 calendars one day!
Affiliate links are used in this post!
27 July 2018
Happy Friday, friends! We are counting down the days until baby brother’s arrival, so thank you for your patience as I’ve navigated these last few weeks!
Today, I am SO excited to share with you our new backyard!! This was definitely one of those “reveals” where it’s tempting to just wait one more month and then another month, after we’d finished this or that was blooming, but the truth is that a landscape project is ALWAYS evolving and changing – after all, it’s a project that’s literally growing! At this point, the major elements are all in place, and I’d love to have the chance to share it with you!
For those friends just joining us, this is a project that was many years in the making. As two people who grew up with expansive yards (that’s just how we do it in New England), our yard was a pretty big disappointment when we moved in. Not only was it tiny, but it just wasn’t very usable. The previous owners had done literally nothing with it – no plantings, no hardscaping, etc. Accordingly, we spent zero time back there our first few years in the house. A few before photos:
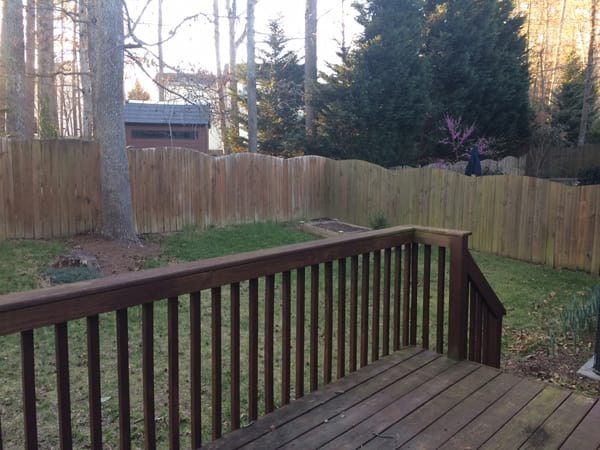
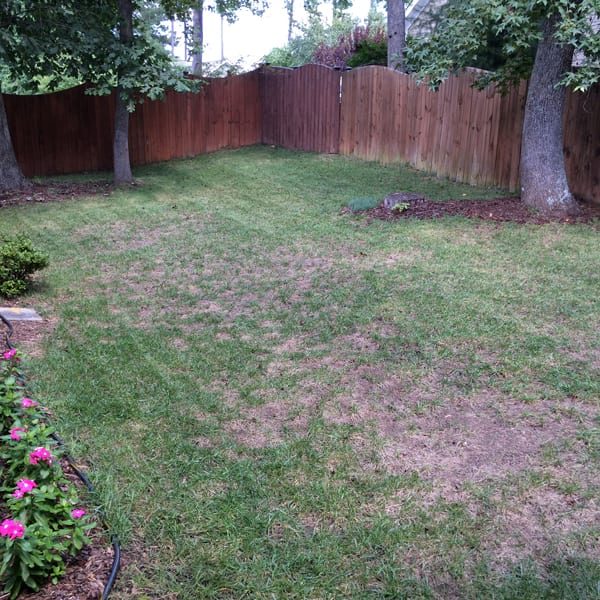
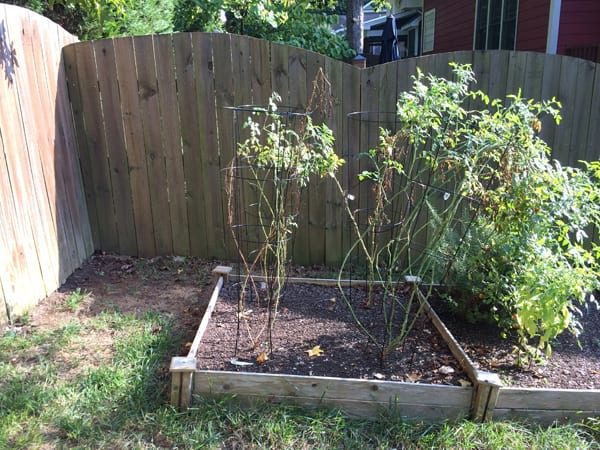
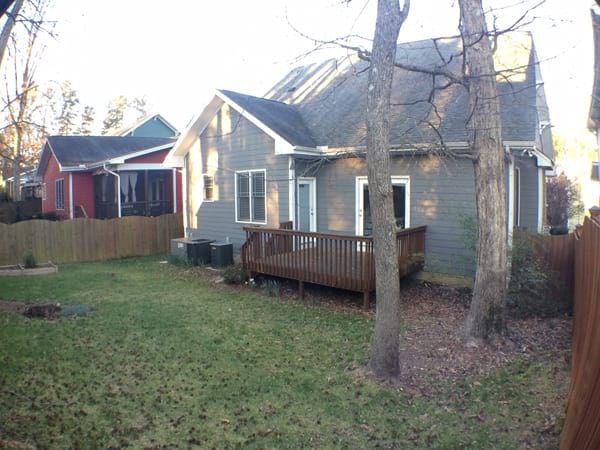
Deteriorating deck, sad grass, old stumps, barren wasteland of a lower right corner: check, check, check, check.
With an interior that only needed furnishing, we knew we’d eventually want to invest some money in improving the backyard. June’s impending arrival lit a fire under us, though it still took us until after her first birthday to break ground.
I’ll be honest – this was NOT an inexpensive project. In fact, it cost more than my first car (!!!). We used a big chunk of savings we had set aside, and we were also so grateful to be able to put some money from my grandmother towards it. Naturally, spending such a large amount of money was challenging and a bit nerve-wracking for us.
Having had a year to live with the improvements, however, I can confidently say that I am SO happy we chose to spend the money in this way. It transformed a part of our house that was a negative into a major positive, and changed our daily habits in wonderful ways. Not only does our backyard now look beautiful, but it’s already served as the backdrop to so many family and friend memories. That is the kind of consumption I’m happy to take part in.
Ready to take a peek? Here we go!!
The first major changes were to remove two trees, the deck, and a concrete stair pad. The tree removal was necessary to grade the lawn and create more usable space, two of our main goals, but it was still painful for this tree lover.
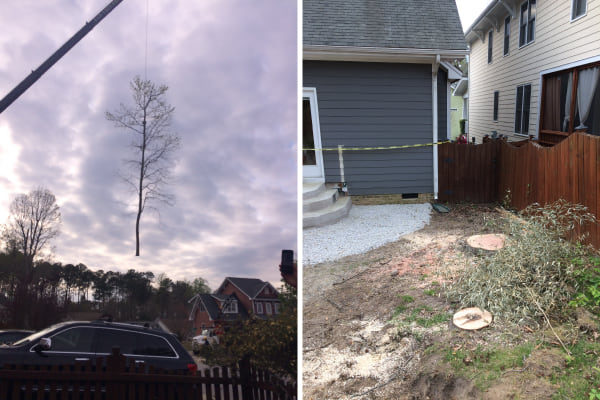
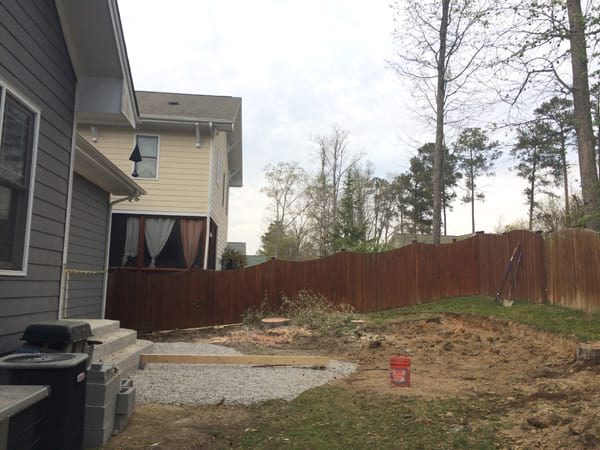
Grading the lawn came next, then building the stairs, setting the patio, and constructing the retaining wall. Our contractors also built the arbor and laid new sod.
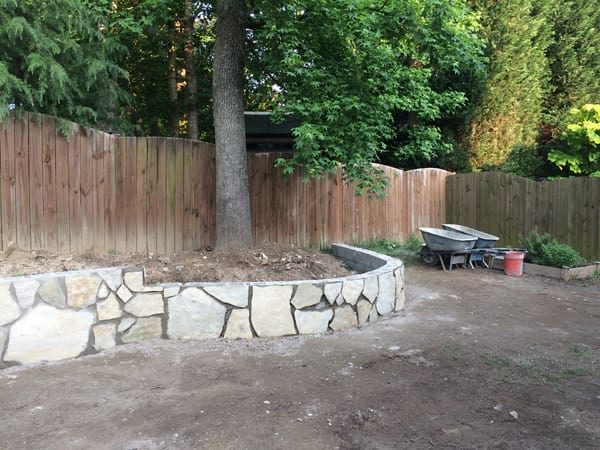
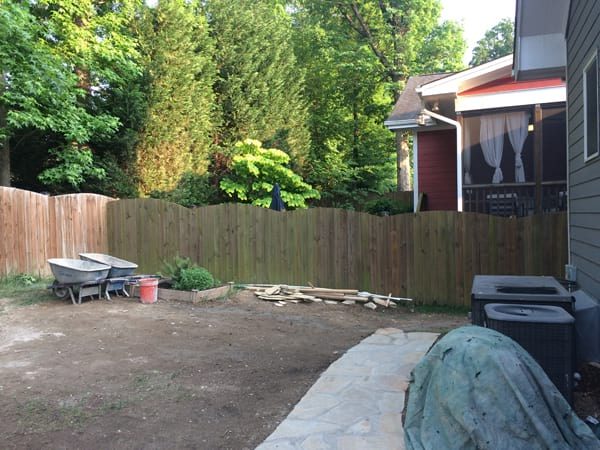
From there, it was up to us! Over the last year, we’ve added a few plantings, rebuilt our veggie bed, strung string lights, and added patio furniture and a fire pit to move closer to our vision for this space.
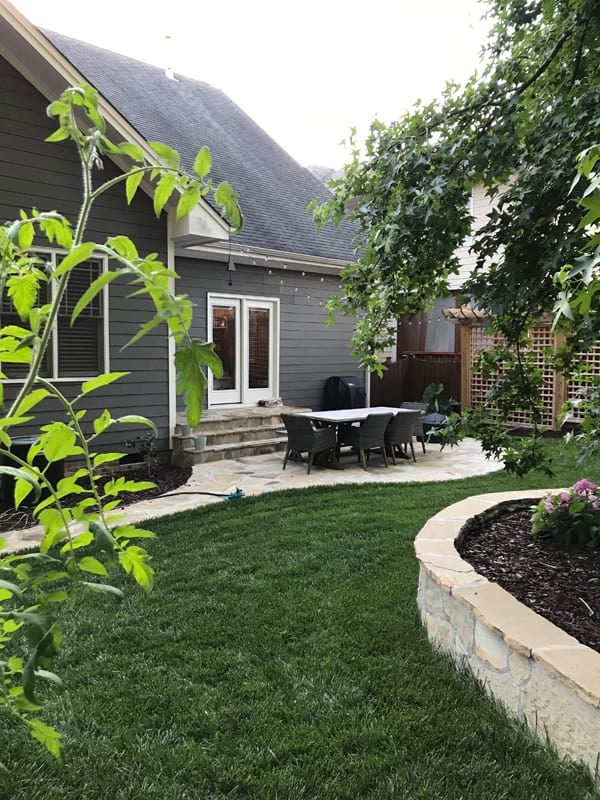
Ahh, much better!! To recap, our priorities were: more privacy; more usable, flat lawn space; L-shaped stairs leading down from the house, good for perching; a pergola; a flagstone patio with space for a dining table and fire pit; and string lights! I’m so happy to say we got all of these things and more!
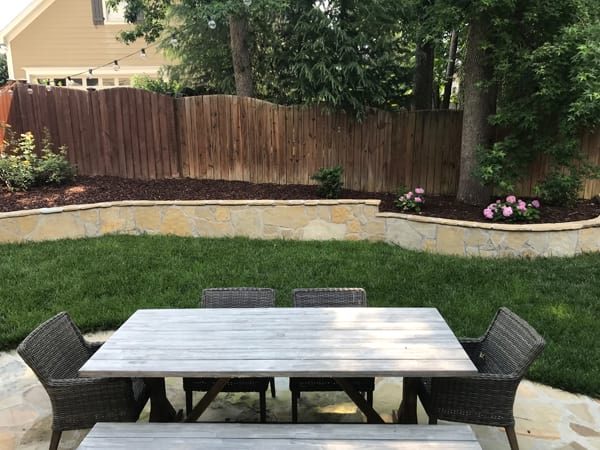
Let’s talk about the furniture for a minute. It’s all from World Market, and while I’m happy with how it looks (and with the price!), I do not expect it to last forever. The table surface is already showing wear after one year, so I expect we will likely only get 3-4 years out of it. But that’s okay – we weren’t able to invest more last summer, and we wanted to be able to use the space right away! I am prone to holding off on purchases forever, waiting for the perfect piece I’ll have for the rest of my life, and while generally I think this is a good approach, sometimes it’s more important to just choose something and get on with it!
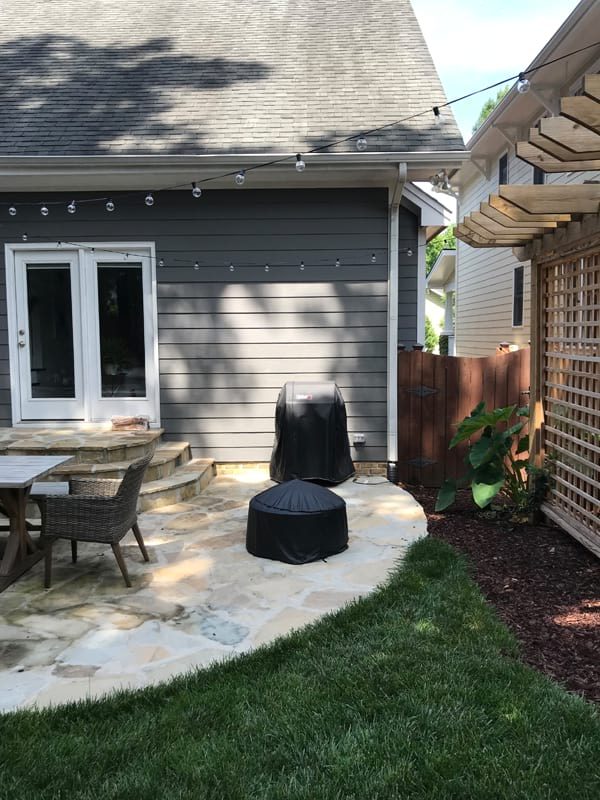
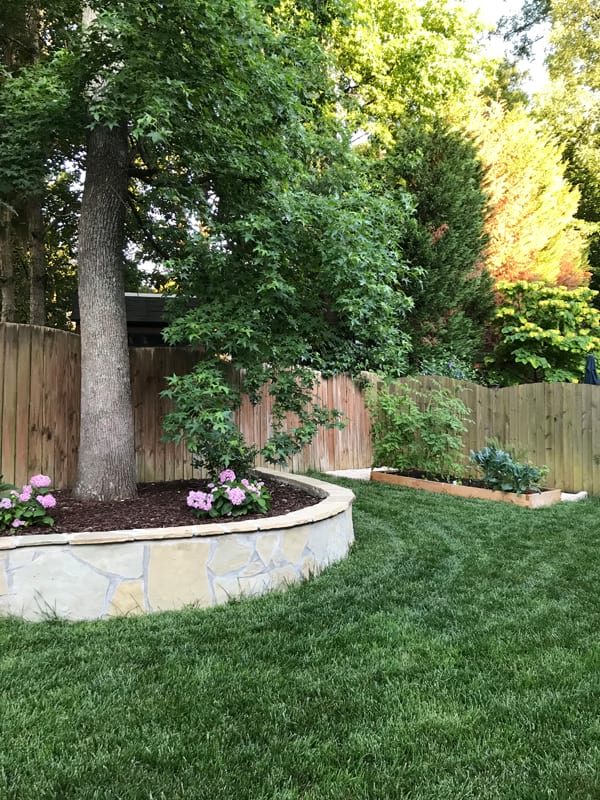
So far in the back bed we have a Golden Celebration rose in honor of our kitty Jack, two gardenias, and two hydrangeas. (The hydrangeas might need to move, as they hate getting blasted by the afternoon sun.) We also have a thriving elephant ear in the corner that somehow survived our whole backyard getting torn up (we planted it several years before this project and did not expect it to survive!). We also planted two teeny jasmine plants on either side of the pergola/privacy fence, and with the way jasmine grows, I am eagerly anticipating them exploding into a gloriously-smelling arch sometime next summer! Next year, we hope to fill in the back bed with even more plants, and eventually add more potted plants on the steps like my inspiration photos.
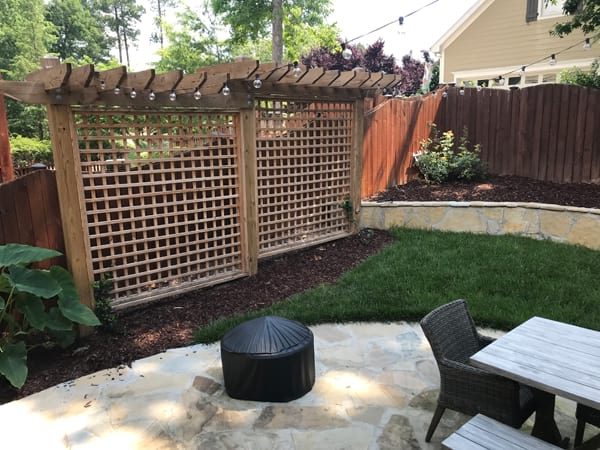
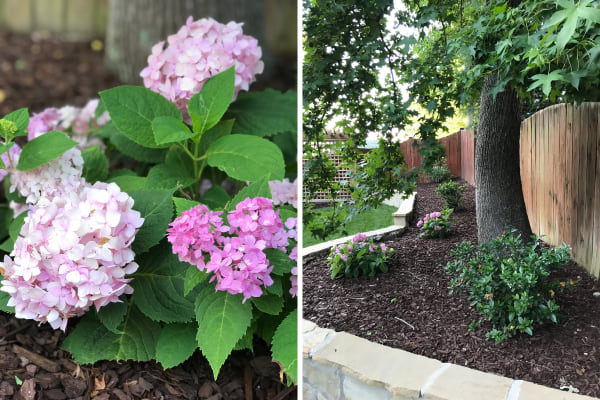
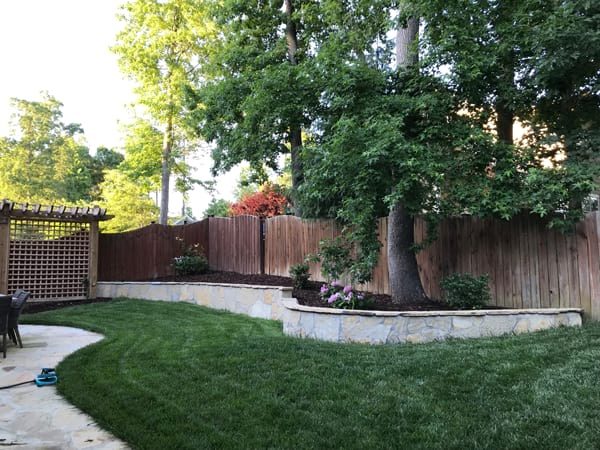
One of our main goals with this project was to increase how private our backyard felt (we were starting from basically zero, so it was only onwards and upwards from there!). I’m so happy that we accomplished that thanks to a few changes. The most significant was replacing our deck with a patio, so that we were no longer up on a platform when we were eating outside, but beneath the level of the fence. The pergola and plantings also help.
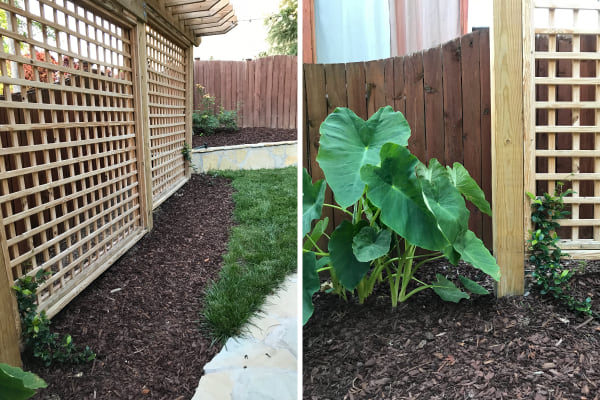
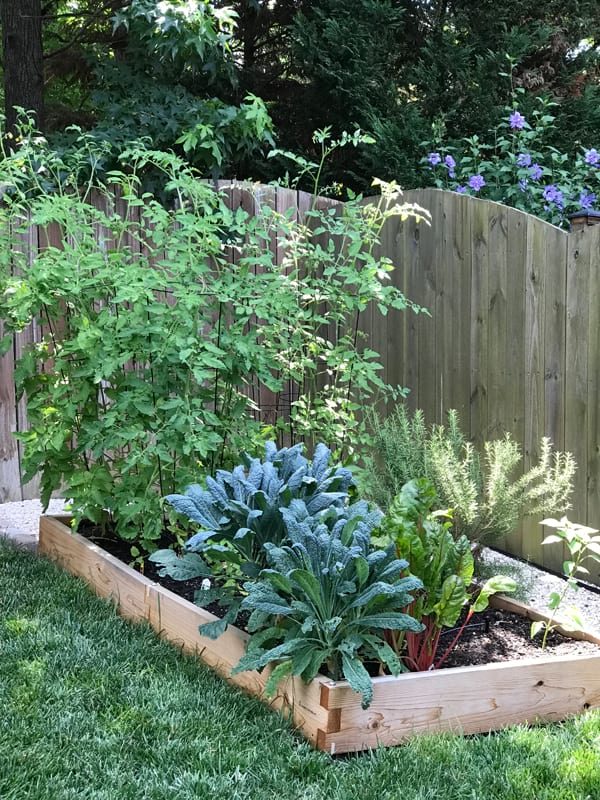
Of course, our biggest and most important goal was to create a space where we all loved spending time, especially June. Throughout the last year, we’ve seen that dream come to life, and we are so grateful!!
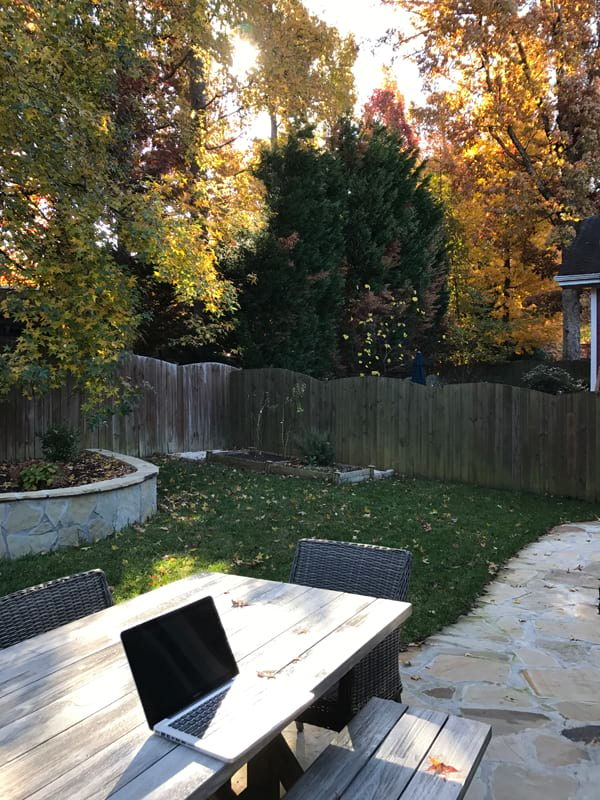
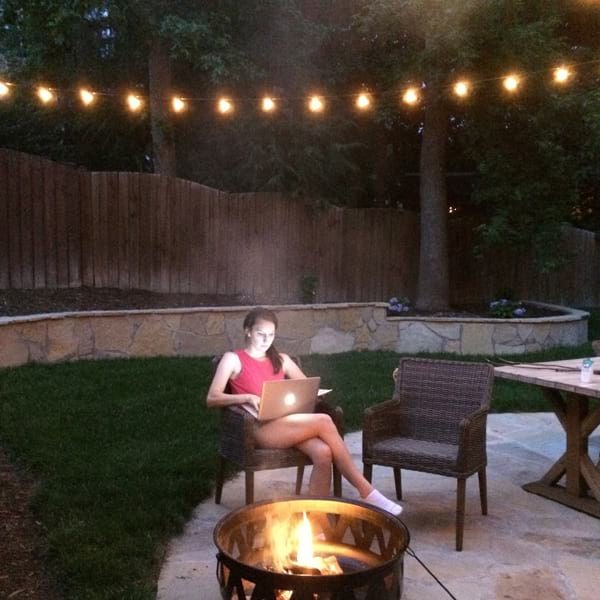
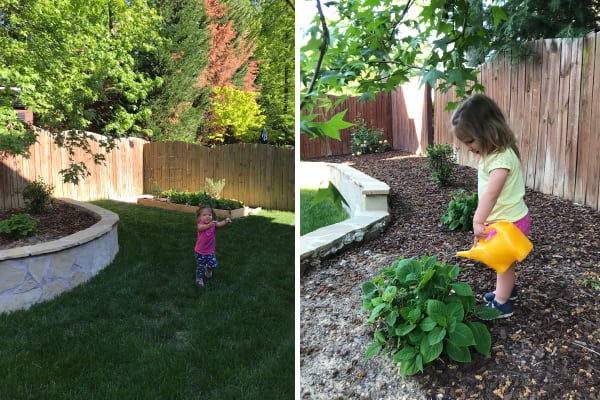
There you have it, friends! I hope the tour was worth the wait! :)
I’m curious to hear, if you live in a space with a yard: has the outside or inside of your house been more of a priority? We held off for five years on this work, but are so glad we took the plunge when we did!
29 May 2018
Hello, friends! I hope you had wonderful Memorial Day weekends! Ours was great — we stayed local and filled our three days with some of our favorite things and people. We also visited two new-to-us spots that will definitely be making it onto my forthcoming Raleigh city guide, including our new favorite pizza!
I’ve got a fun little bedroom update for you today. You may recall from this post that I was on the hunt for a pair of small dressers to replace our bedside tables and house June’s clothes, which we keep in our bedroom for simplicity’s sake. After much internet searching and deliberation, we finally pulled the trigger, and I wanted to share! But first, the before:
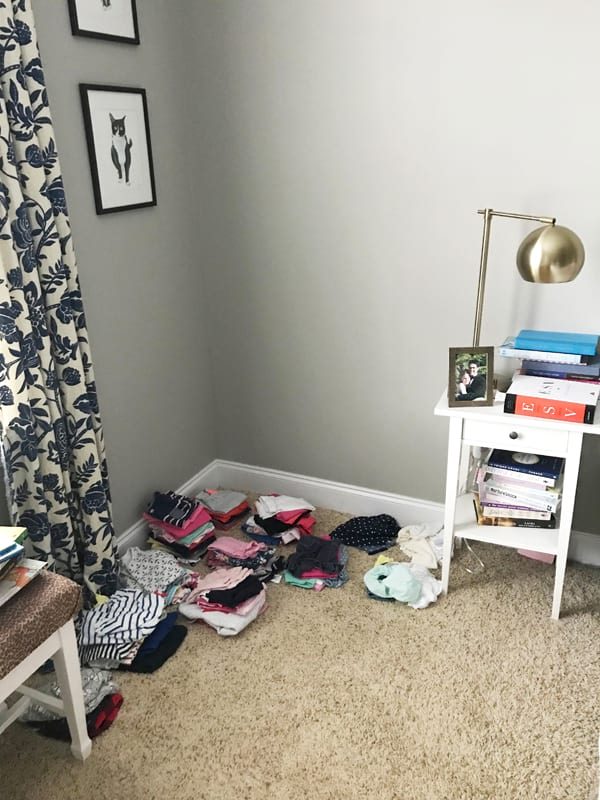
I am not even going to show you John’s side, because it was a HOT MESS of books and electronic cords.
After considering many options, including this gray petite option (too short for our bed height), this weathered piece (wasn’t sure if the wood would look cheesy), this pretty modern piece (too expensive), this simple Ikea piece (maybe a little too modern), and this lovely navy piece (John wasn’t sold on the blue), we ended up going with a pair from Birch Lane.
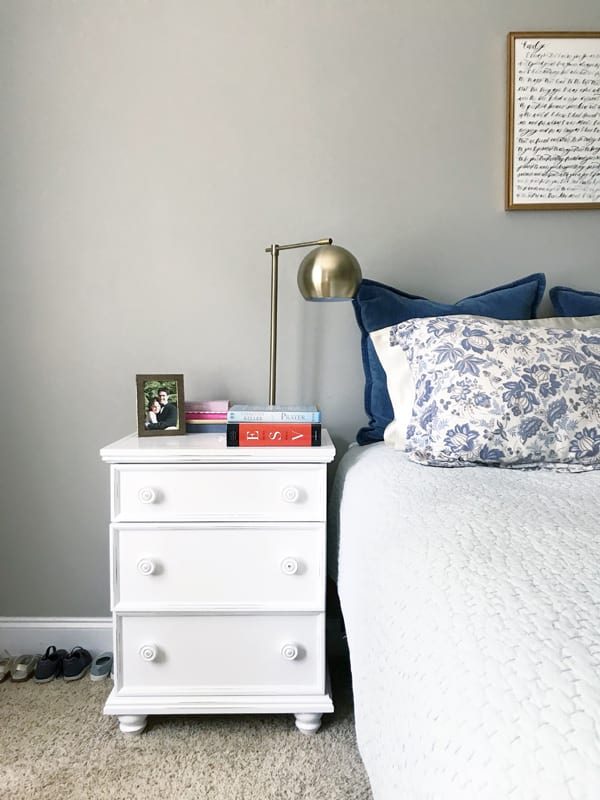
Sadly, I can’t find them on the website right now, but they were about $500 for the pair and from a company called Longshore Tides.
That corner is looking much better, no?
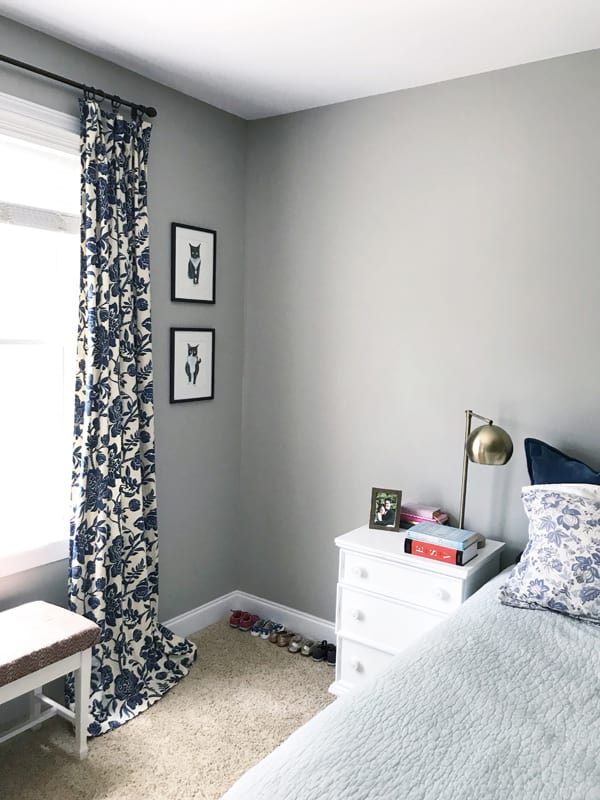
Here’s John’s side — thankfully, the more solid dresser hides his cords!
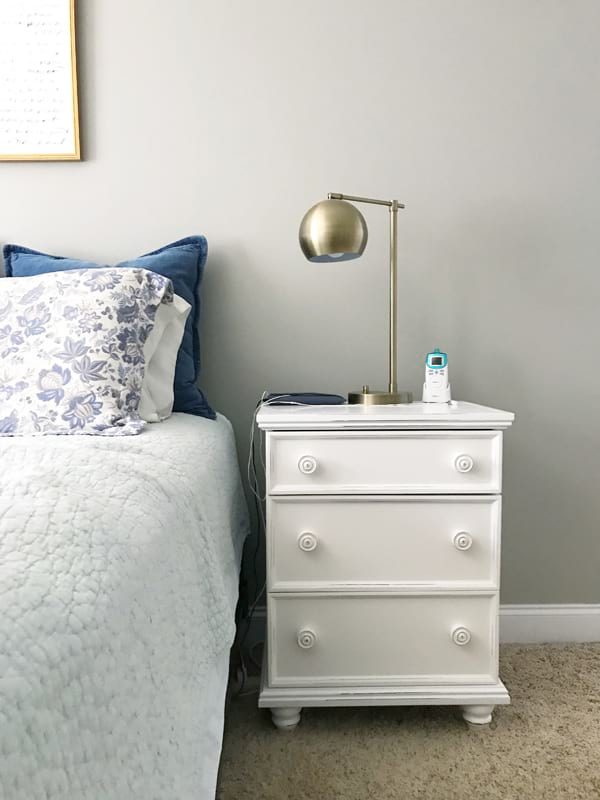
Inside, I have a few personal items in my top drawer, but all three are filled with June’s current wardrobe (anything out of season or that she’s waiting to grow into is stored in her dresser upstairs).
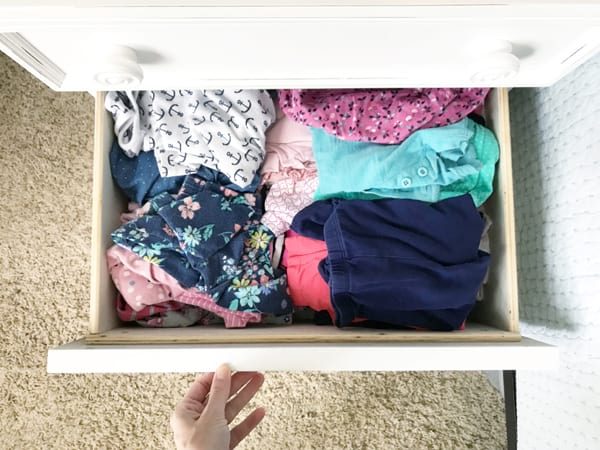
John’s side will store baby boy’s clothing — his drawers are mostly empty for now!
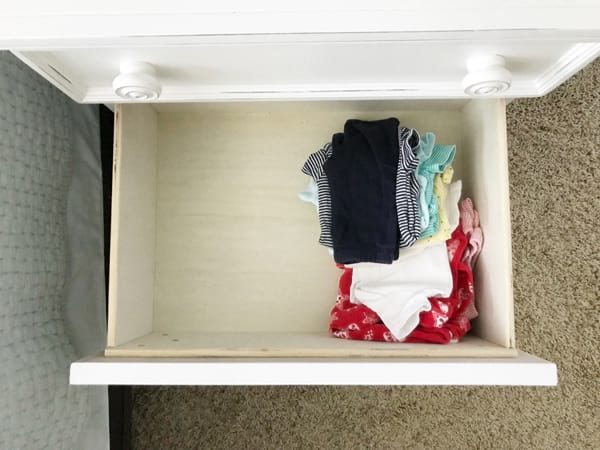
So happy to have everything off the floor – only took us two years!!
Now, here’s where I need your help: I’m not in love with the drawer pulls, but am not sure what to replace them with…
Simple antique brass?
Simple white?
Beautiful milk glass or clear?
Floral? (Probably too girly…)
All white petals?
Any suggestions or favorites, my friends with excellent taste??
Affiliate links are used in this post!