19 June 2012
One of the highlights of my crazy week was co-hosting a bridal shower for John’s sister, a topic of much discussion on this blog. Her wedding is coming up in just less than one month, so I figured it was high time to show you the finished project! To recap, I gathered inspiration here, shared our inspiration board here, and sent out these invitations.
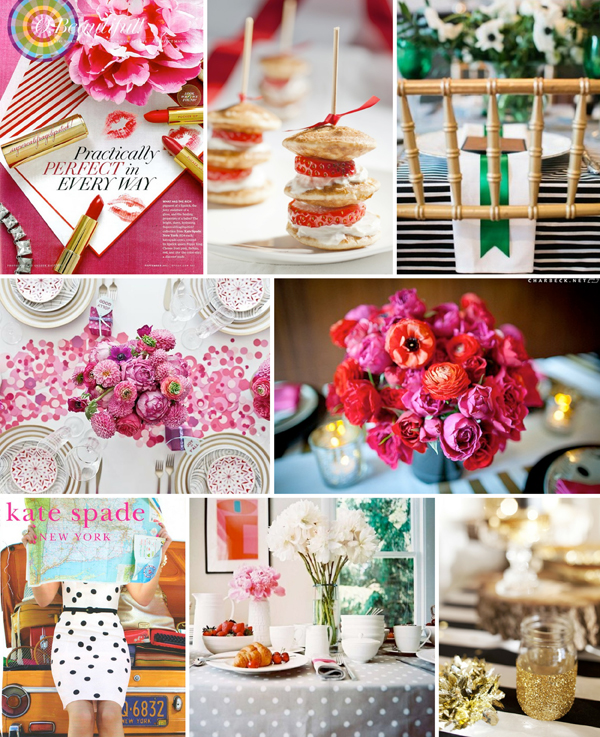
See all of the credits on the original post!
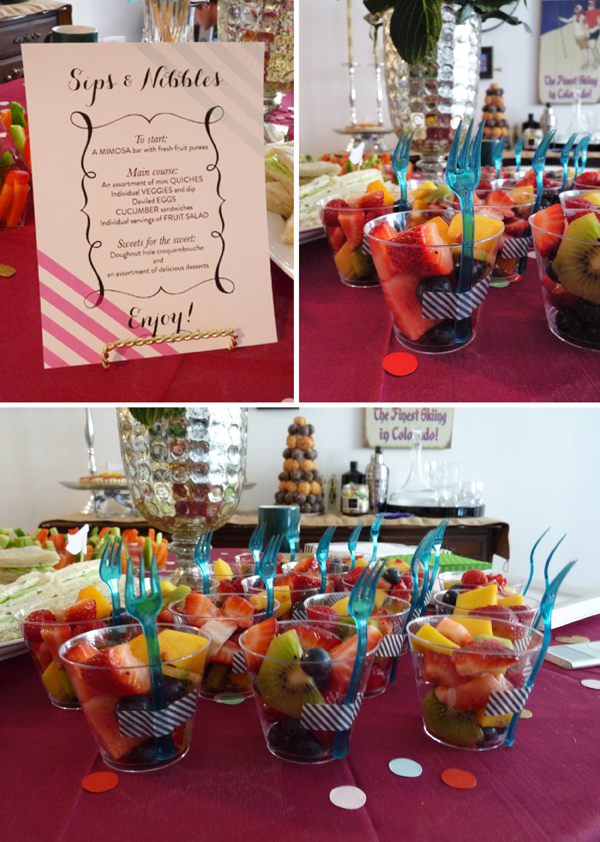
One of Marget’s best friends graciously allowed us to host the shower in her apartment, and it turned out to be the perfect size for our intimate gathering – about 15 gals. The food table was the main focal point, and I have to say, I’m pretty proud of our spread! I designed a menu in Illustrator to match the invitations (I used the Love*Jenna clipart from this PDF for the frame – great resource!). The individual servings of fruit salad with washi tape-secured cocktail forks were a big hit! (I was inspired by this birthday party.) The plastic cups and forks were from Party City.
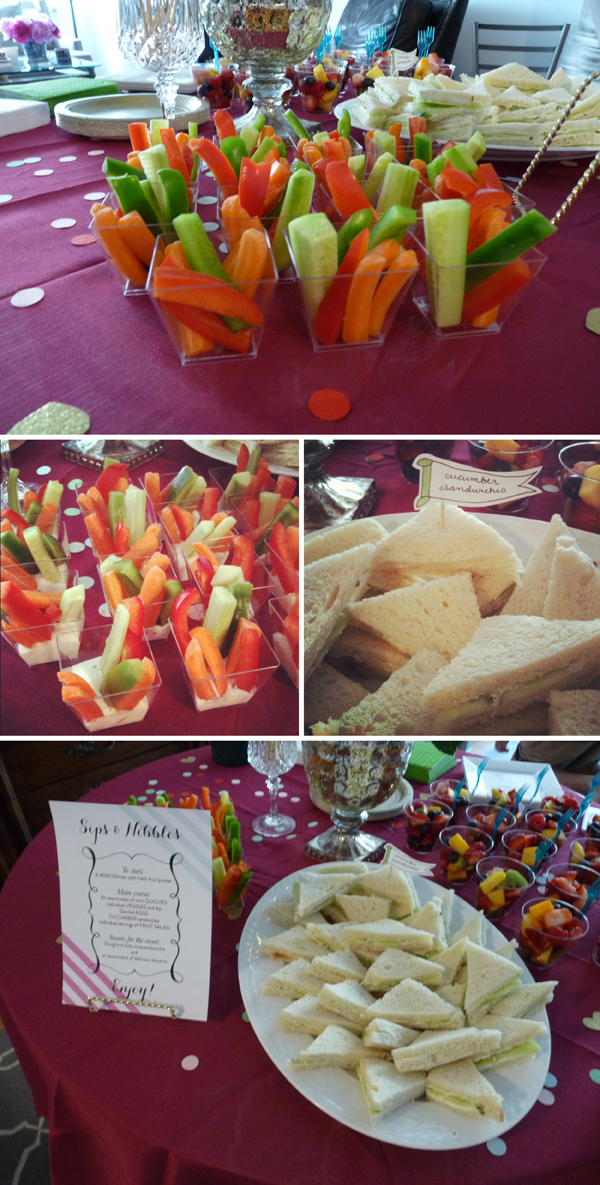
Rounding out the edibles were individual cups of cut veggies (we added the ranch dressing right before guests were scheduled to arrive), delicious cucumber sandwiches (we loosely followed this recipe), and deviled eggs. The veggie cups were also from Party City, and happily, we were able to save and hand wash many of them for use at a future party!
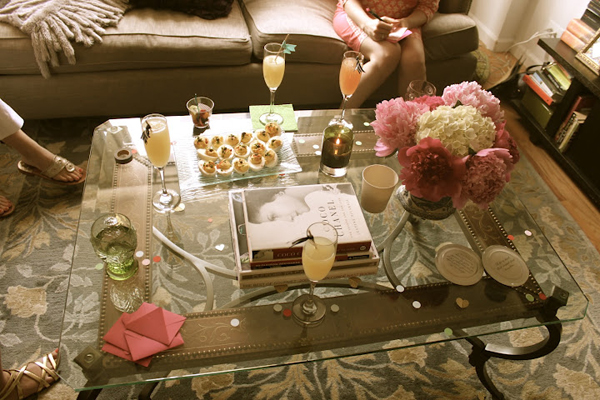
We did a really fun “mix your own mimosa” bar for drinks, with orange, grapefruit, and strawberry apple mix-ins.
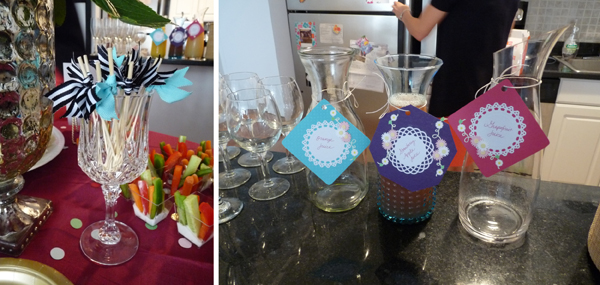
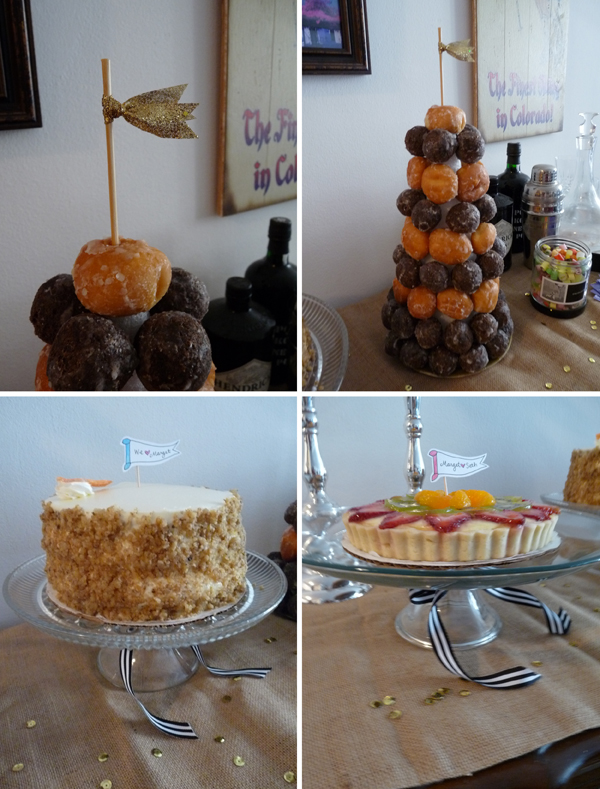
Finally, for dessert, we had quite the spread: a fruit tart, a carrot cake, and a donut croquembouche! One note, if you’re thinking of making something similar: buy a lot of donut holes!! I think we used about 75 on this baby. The drink stirrers and flags were made by me.
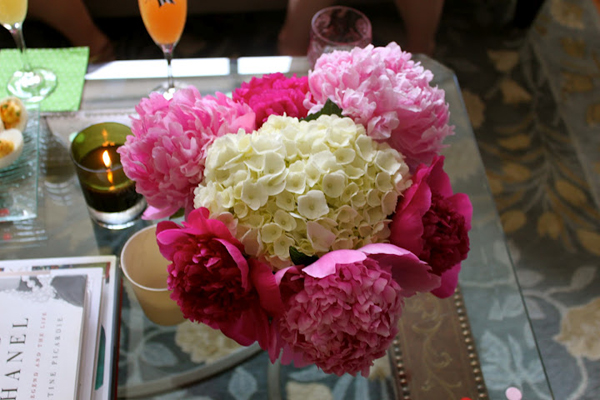
For decor, we kept things simple: gorgeous pink peonies, and lots and lots of hand-punched confetti, including more gold glitter hearts.
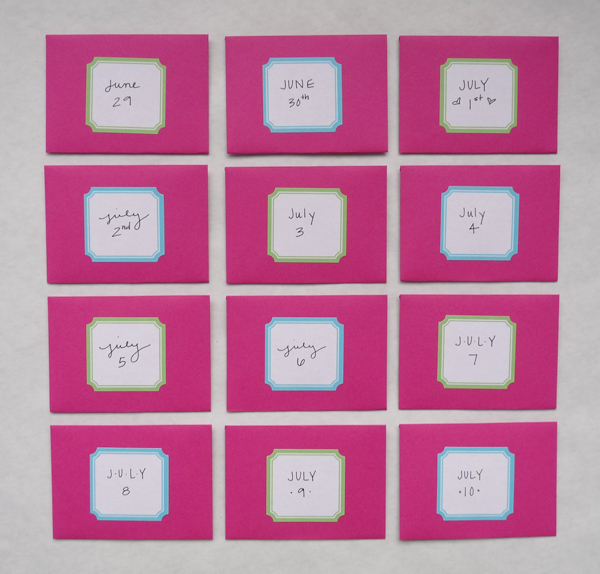
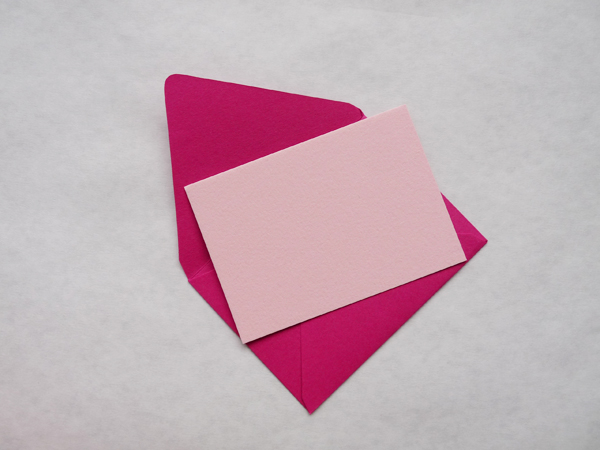
We had two main activities at the shower, besides the usual mingling, nibbling, and watching Marget open gifts. As guests arrived, they each selected a little envelope. Each envelope had a date on the outside, and a blank card on the inside. We asked the ladies to write Marget a note appropriate to their date, and then at the end of the shower, we gave all of the sealed envelopes to Marget. The ideas is that she’ll have a sweet note to open every day for the two weeks leading up to her wedding! The cards and envelopes were from Paper Presentation, and the little stickers were from Martha Stewart’s Avery Line at Staples.
The second activity of the day was our version of the Newlywed Game! While M + S were visiting John and me earlier this spring, I distracted Marget while John filmed Seth answering a series of questions. We edited the short clips, then asked Marget the same questions at the shower, and compared her answers. Fun!
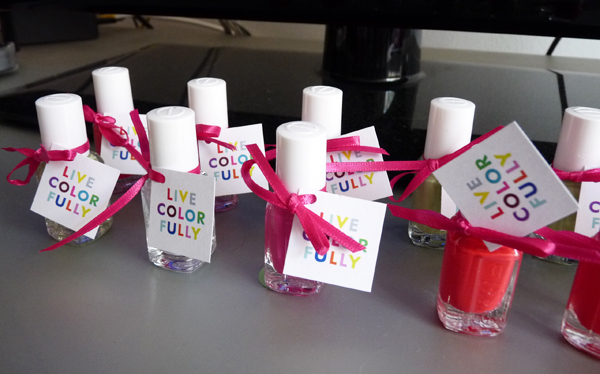
We of course didn’t send the ladies off empty-handed – favors were tiny bottles of Essie nail polish, tied off with cute “Live colorfully.” Kate Spade approved, indeed :)
We had so much fun putting this shower together for Marget, and I think she had a great time! I hope y’all enjoyed following along!
6 April 2012
Speaking of future sisters in law, Marget and I hit up my local flea market during her visit to NC last weekend. It was a pretty meager day, but I did come home with one thing – this pair of vintage pin frogs, for $8 total.
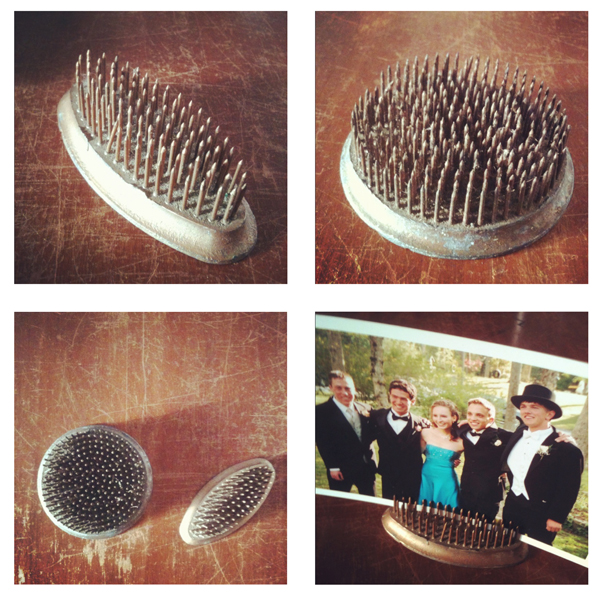
Pin frogs, or floral frogs, are meant to be used in the bottom of vases to hold flower stems in place while arranging.
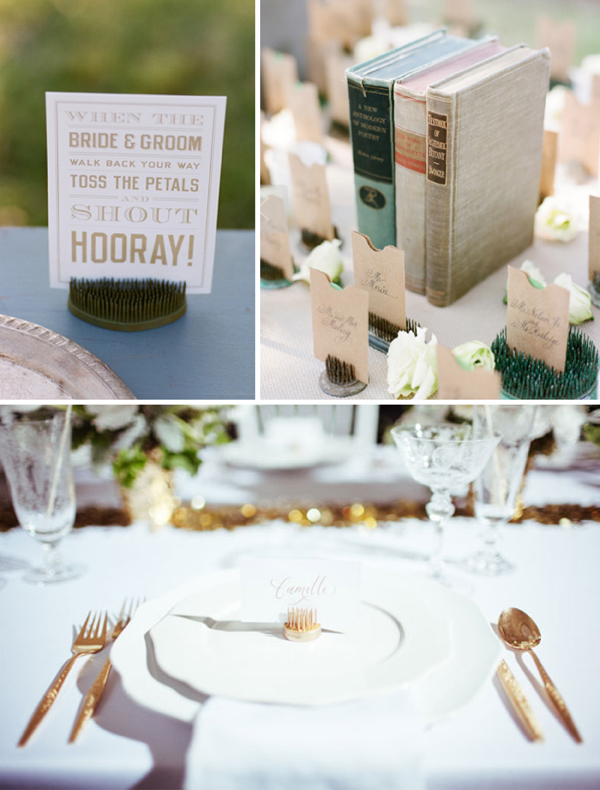
Clockwise from top left: Erin Hearts Court via 100 Layer Cake, A Bryan Photo, and Chad Wadsworth via Camille Styles
We might use them at the wedding, to hold some sort of signage, but right now I’m enjoying using them for a few favorite photographs. The teeth are perfect for holding them upright!
Yes, that is a bonafide senior prom photo :)
Have a wonderful Easter weekend, friends!
5 April 2012
[Note: I am offering a downloadable PDF of this invitation in my Etsy store!]
After getting inspired and nailing down a few details, it was time to whip up some invitations for my future sister in law’s bridal shower! After coming across this pin, I knew I had my jumping off point. I played around in Illustrator until I had a design I was happy with, and this is what I came up with!
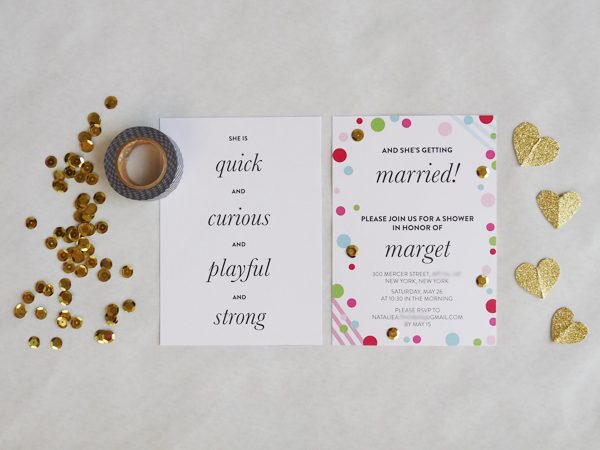
The fonts I used were Brandon Grotesque (the sans serif) and Baskerville (the italic, the same one used by Kate Spade itself!).
I originally intended for the invitation to be two single-sided pieces of paper held together with a brad of some sort, but as I was formatting everything for printing, I realized it would be better (and cheaper!) to print it double-sided. I used UPrinting for the job and was very pleased with the results. I did have to do some fiddling around with my file to make sure everything was aligned correctly, so don’t be discouraged if you have to do the same! The card size is 4.25×6 inches, on 13 pt uncoated cardstock.

Let me tell you, it’s worth it to have things professionally printed just so you don’t have to cut each piece to size by hand!! With a double-sided project, that was an especial relief.
I jazzed the invitations up a little more by hand-gluing gold sequins to each one. I know that sounds time-consuming, but it really wasn’t! Here’s the side by side comparison:
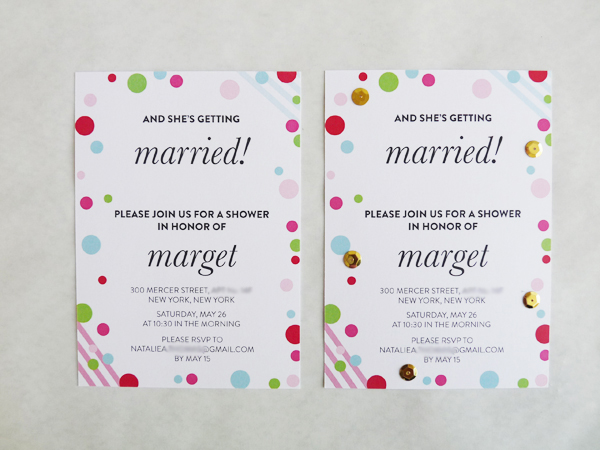
I ordered raspberry A6 envelopes from Paper Presentation, and was so relieved when they were a perfect color match.
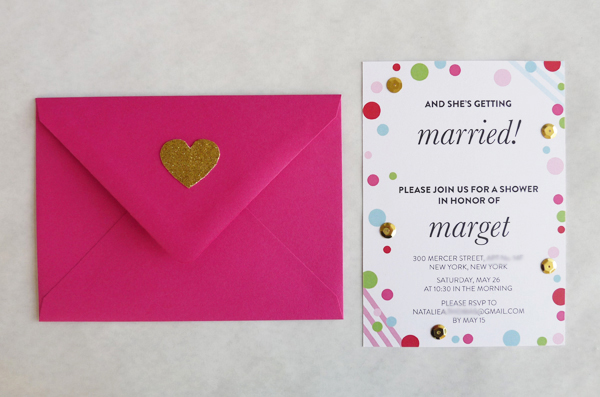
Initially, my thought was to punch a heart-shaped cut-out in the flap of every invite, glue a square of gold glitter paper to peek through, and then line the envelopes to make everything neat. Well, after buying and returning two separate heart punches from the store, neither of which could punch through the glitter paper, I gave up and cut out the hearts by hand. I still think I came pretty close to my inspiration, and I’m happy with how they turned out!
I also ended up sealing the envelopes with two strips of black and white striped washi tape, and I like the graphic pop they lent.
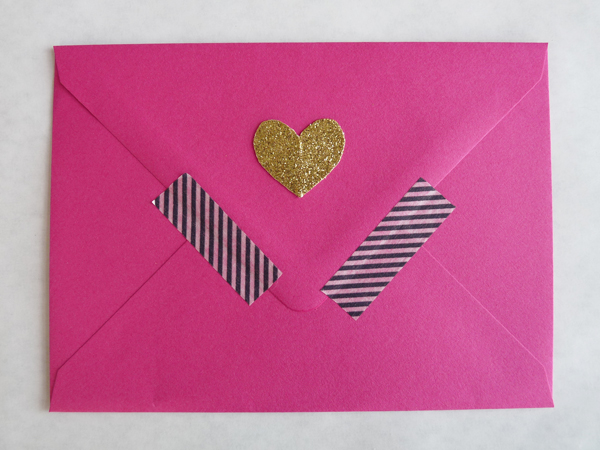
Happily, I had a gold paint pen already in my crafty stash, so once I penned the addresses, these babies were done! Here’s a look at the whole shebang:
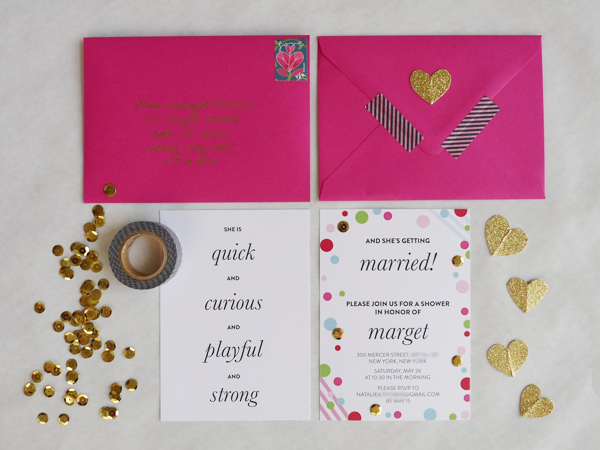
What do you think – Kate Spade worthy?
Budget Breakdown:
Printing and shipping of 25 double-sided cards from UPrinting: $22.76
25 A6 envelopes from Paper Presentation: $6.25 (I got free shipping because I ordered several other items at the same time)
One sheet of gold glitter paper from Michaels: $1
The sequins, Elmer’s glue, gold pen, and washi tape were all already in my stash, so I’m not going to include them in my count. For me, then, these pretty packages worked out to $1.36 each – not bad, I’d say!
6 March 2012
Friends, even though I shared a few photos from our Valentine’s Day party, I completely forgot to tell you about the invitations! Since I was only making four, I could go all out with the handmade details, and I did! Here they are:
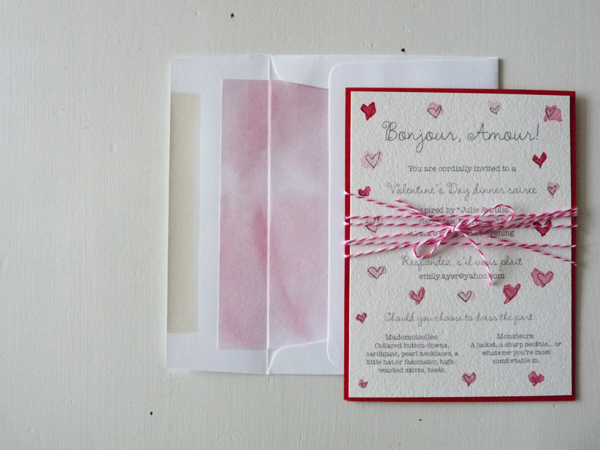
I printed the text in black and white on watercolor paper, then penned in hearts in black ink. I then watercolored over the hearts with pink and red, and backed the invites with deep red cardstock.
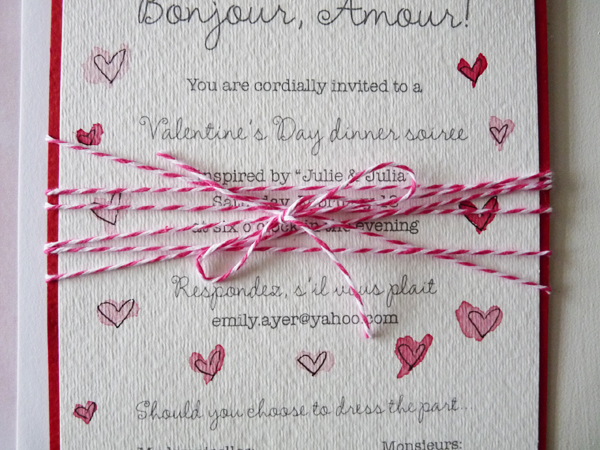
I had some pink and white baker’s twine lying around that made a perfect “belly band” of sorts.
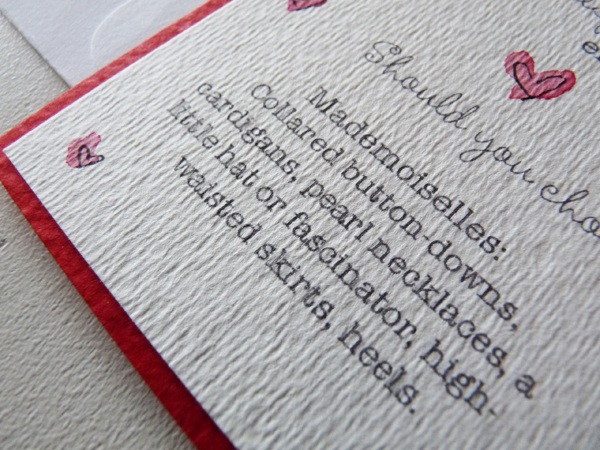
The finishing touch was the watercolor envelope liners. I scanned the sheet of paper that I used to test the watercolor strokes while coloring the hearts, then printed a few pages and cut them to size. Voila!
In case you missed my post about the party, the photos are right here!


