Yard sale chairs remade!
I am SO excited to share today’s post with you! You may recall the pair of chairs I picked up at a yard sale back in August. It took three months, but they now officially have a new lease on life!
This was definitely my largest and most involved refurbishing project to date, and I had anxiety at almost every step. Most of it was completely unnecessary worry, however, and I know that next time everything will be much smoother. I hope this post will encourage some of you to try something similar, since I lived to tell the tale!
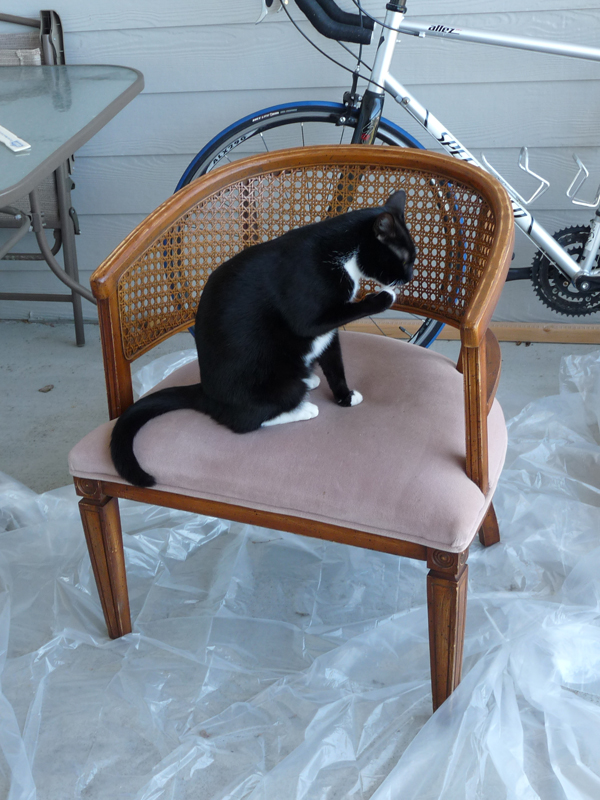
As a reminder, here’s what we started with: walnut-ish wood, pale pink velvet upholstery. Luckily for me, the chairs were solid wood (not veneer), they weren’t stained or painted, and they weren’t terribly grimy. They were also in good shape, with only a few rough spots.
The first step was to lightly sand them down to give the surface a little “grip.” I used 80 grit first, then followed that up with very fine (220) grit. I then wiped both chairs down with a slightly damp rag, and let them rest overnight. I completed this step inside, and everything stayed pretty clean.
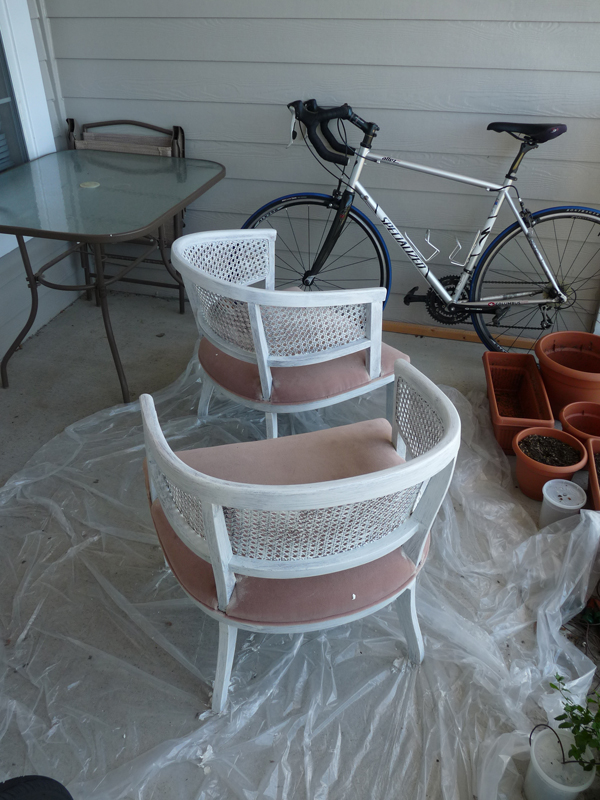
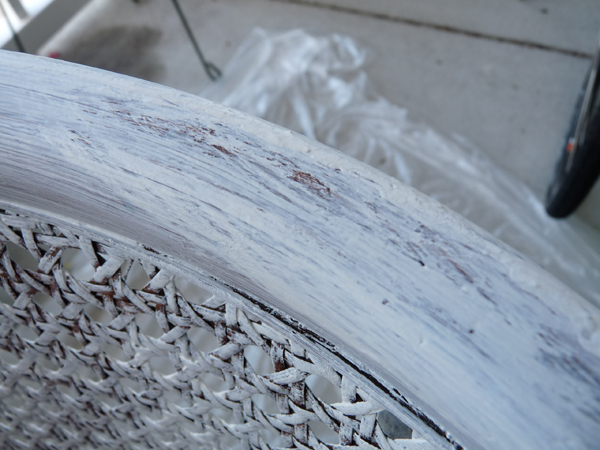
The next step was to prime these babies. I used Kilz Original Oil-Base Primer and a cheap bristle brush. I was very anxious about this step, because there was no going back once the primer was on, but I needn’t have worried. I followed Sherry’s advice (wood painting tips here + here) and didn’t worry when the coat of primer looked a little rough. The toughest part was coating the caning without having the paint drip, and getting to all sides of the back poles, since there was only a small space between them and the caned back.
As you can see, the primer coat did not go on particularly evenly, but it turned out to be just fine in the end.
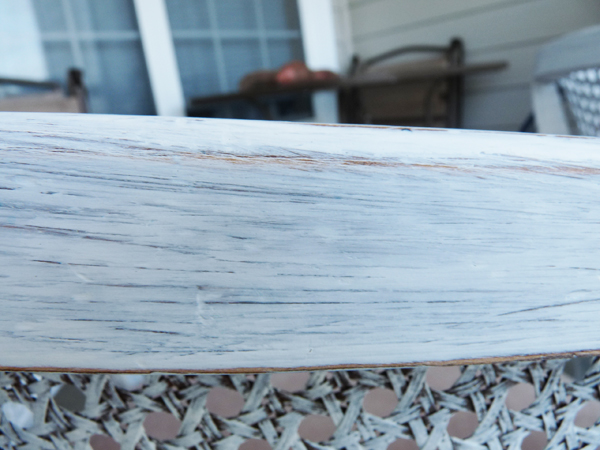
After the primer dried, it was time for another round of sanding! I used just the 220 grit, and though you can’t see it too well in the photos, the finish was velvety-smooth after this round. I again wiped both chairs down with a slightly-damp cloth to remove the sanding dust.
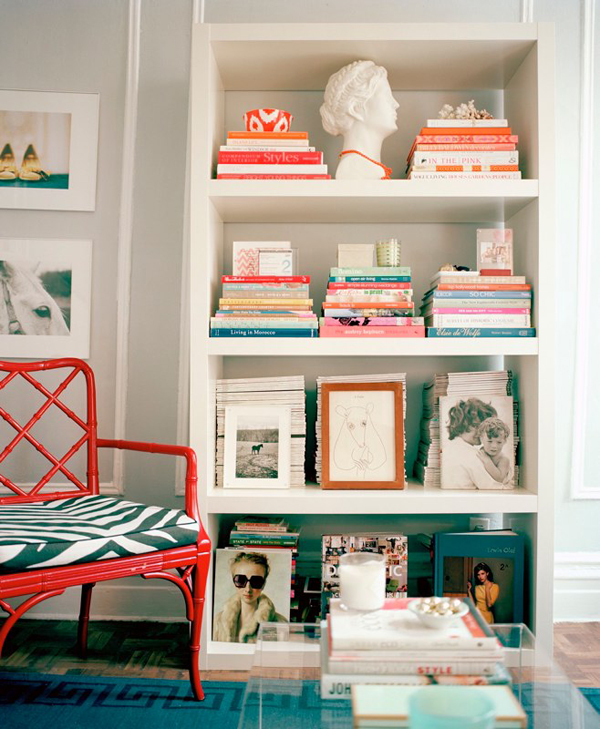
After I’d finished these relatively “safe” steps, I’ll admit, the chairs sat primed and ready in our living room for a while. Committing to a color brought back the anxiety in a big way! Finally, this photo from Michelle Adams’ living room (via Lonny) convinced me to go big or go home.
I snagged an assortment of paint chips from Lowes, and did my best to color match her gorgeous chair. I painstakingly chose a winner, and then headed back to the store in search of the new, tinted Rustoleum enamel oil-based paint that Jenny posted about. Alas, my local store only had a narrow range of colors, and none were the vibrant coral red I was looking for. I also decided, kind of on the spur of the moment, that I wanted to spray paint the chairs instead of brush paint them (partially inspired by Sherry’s spray painting tutorial here). From the range of options available, my favorite was Valspar’s Gloss Classic Red. I much prefer Rustoleum spray paint (because the cans are so much more comfortable to use), but Valspar’s shade won out.
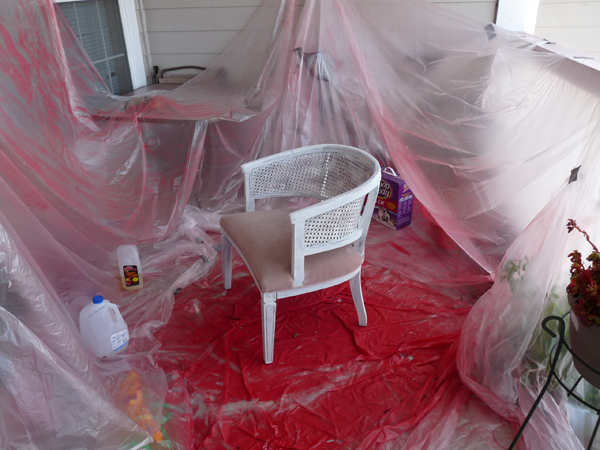
After rigging up an extremely Dexter-ish drop cloth set-up on our porch, it was time to spray! I knew I was going to have the chairs upholstered, so I didn’t worry about getting paint on the velvet.
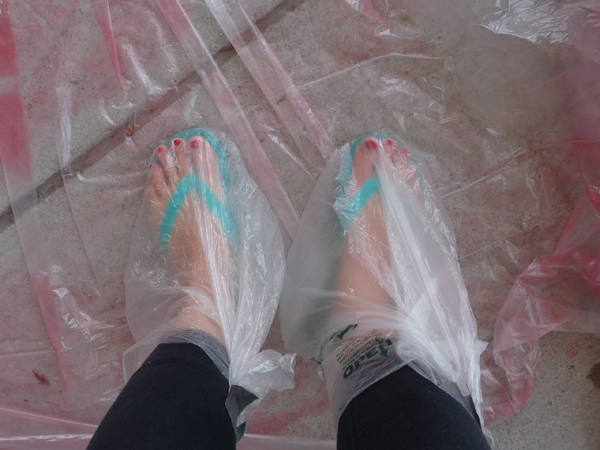
Oh yes, I rigged up a foot protection system, as well :) Highly embarrassing, but you gotta do what you gotta do.
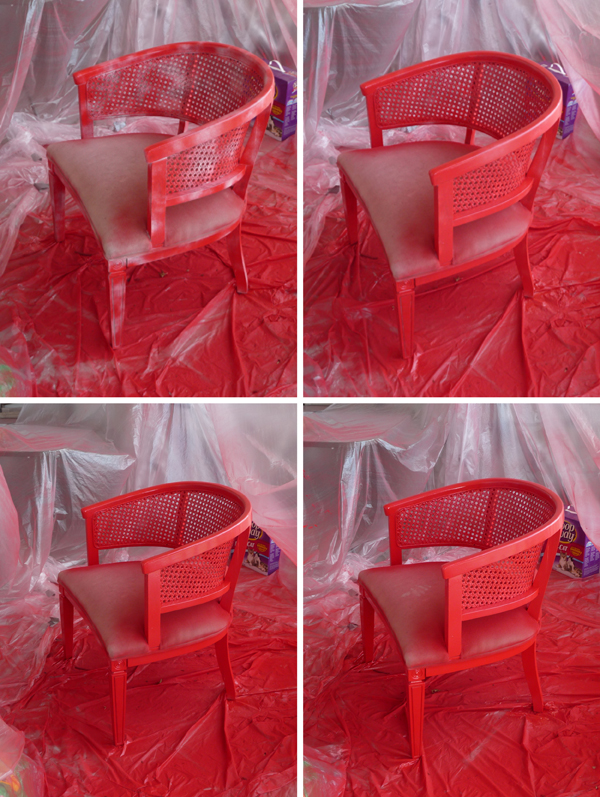
I used about three cans and five coats of spray paint for each chair, waiting five minutes in between each coat. I tried to take a photo after each consecutive coat so you can see how the color built, but it’s hard to make out in the photos. Just remember to keep the hand that’s spraying constantly moving!
I let the chairs dry and “harden off” outside over several days (3-4 each).
Next step? Picking fabric! I knew I wanted something neutral to balance the vibrant red paint, and ultimately decided on Braemore’s “Fioretto” in graphite from Mill Outlet Village in Raleigh. On Dina and reader Rachel’s recommendations, I used ABZ Upholstery in Raleigh. One of my big questions was how I would know how much fabric I needed to buy, but I simply sent an email with a picture of the chairs to Edgar at ABZ, and he said 1.5 yards would be enough. So easy! I picked up the fabric, and dropped it and the chairs off at ABZ. A quick note about ABZ: they have by far the best prices in the area, and they do good work, but make sure you call ahead to let them know when you’d like to pick up and drop off your pieces. They post hours on their website and door, but seem to consider them more a guideline than a hard and fast system.
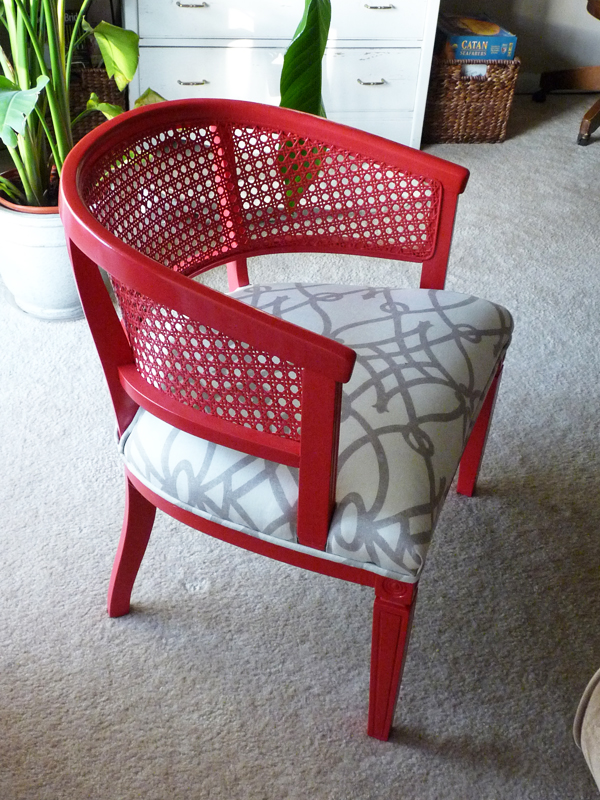
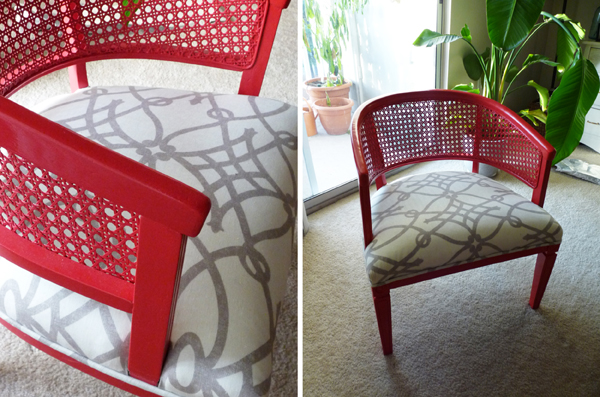
Two weeks later I returned to pick up these beauties!!
I couldn’t be happier, and they truly, truly transform the room. They were just the pop of color we needed, and I can’t wait to show you what our living room is looking like now!
Cost breakdown:
Pair of chairs at yard sale: $60
4 plastic drop cloths, 220 and 80 sandpaper, a bristle brush, and a quart of primer: $24.23
1.5 yards of fabric: $39.96
7 cans of Valspar spray paint: $33.48
Upholstery for two chairs: $90
Total for two custom chairs: $247.67, or about $120 per chair
I hope you love them as much as we do!



They look great!!!
These are gorgeous and certainly something to be proud of! Thanks for the detailed steps along the way.
I love these! Thanks for sharing the steps, too!
Beautiful! I love the color and the fabric!!
So happy to see the finished product! They are beee-autiful!
Great job!
These are gorgeous!! I am totally digging the gray and red combination.
These look so amazing! I seriously want to try this!
Thank you so much, ladies!! Lisa, you totally should try something similar – I would do it again in a heartbeat!
They look great! Awesome job!
Emily- These look absolutely fabulous! I love the pop of color and the beautiful fabric you chose. I’m glad you were happy with ABZ! Great work.
I love the red and gray!! Gorgeous choice…laughing remembering what you wrote about John’s reaction “no one has red furniture!” Now you do!! Great job! Inspired to do something with the desk I’ve had for 5 years and it is still in an unfinished condition…yikes!
Wow! They look awesome!
You are inspiring me! These chairs are SO awesome, Em :)
These chairs are absolutely adorable! They look like they came from a chic furniture boutique! Love your blog as well!
I LOVE Lonny magazine! These are so pretty- I don’t think I would have the guts to do something so drastic, but they look great!
I know this is an old post, but these chairs are actually end seats from a vintage dining set. We own two of the matching side chairs! PLEASE do email me if you ever decide you’d like to sell! :)