24 March 2011
We’ve arrived at the wedding morning!! And oh, what an early morning it was. With an 11am ceremony, and no professionals in site (except caterers), the bulk of last-minute prep was on my family and our relatives and friends. The up-shot? A 5am wakeup call for me, my Dad, my younger sister, and John. Lucky Kate and my mom — they slept in the Harbor, and got to sleep in until Kate’s hair and makeup appointment at 6:30!
So that 5am wakeup call. I set my alarm for 5, with the intention of rolling out of bed, throwing on some clothes, shaking Kim and John repeatedly, and then being out the door by 5:15. Well, 5:15 rolled around. And it was still dark. And I was really tired. And no one else was moving. Then 5:30 rolled around. More of the same. Somewhere between 5:30 and 5:45 the black outside the window lightened to a medium gray, and I decided it was finally time to shake a leg. I believe we made it down to West Shore by 6am, and, as it turns out, the 45 minutes we “lost” weren’t a big deal. Whew!
That part of the morning is pretty much a blur, but I know we made multiple wagon trips across the Island, set out the linens and runners on the guest tables, set out the blankets on the lawn, set up croquet and lawn games, arranged centerpieces on all the tables, strung bunting on the buffets, and set up the sound system, among many other things. I do know that at one point Meredith, the second shooter for the day, arrived, and I’m pretty sure I looked and sounded like a crazy person — basically still in my pajamas, unwashed face, etc. She was as sweet as usual and probably told me it looked like we had everything under control. Thank you, Meredith!!
Speaking of sweet people, my wonderful, wonderful cousins took care of setting up the ceremony site, so we only had one “venue” to worry about. And by 8:30 or 9, we were done! We ran back to the cottage where Kate and my Mom had just arrived, and took turns hopping in the shower. But before we get to that, I want to share a peek at the gents!
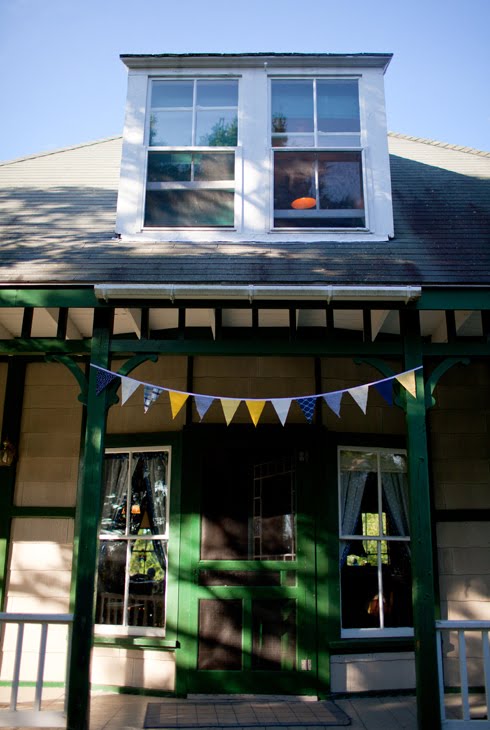
Jenna headed straight to the groom’s cottage when she arrived on Island.

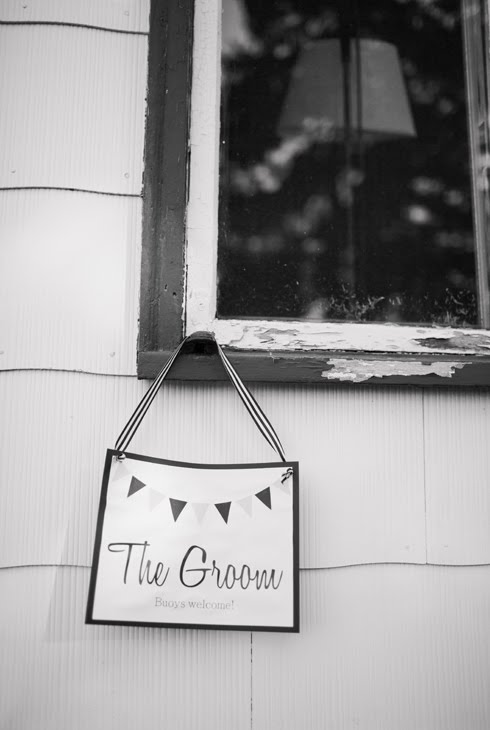

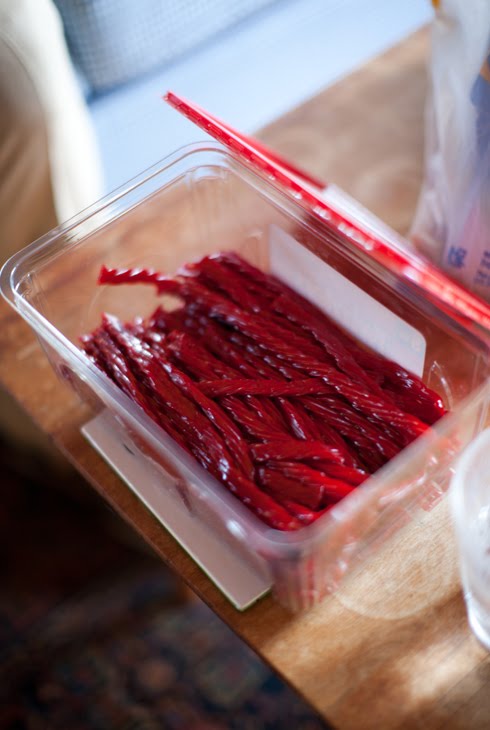
She would probably want me to mention that she handed her camera to a groomsman to get this next shot!
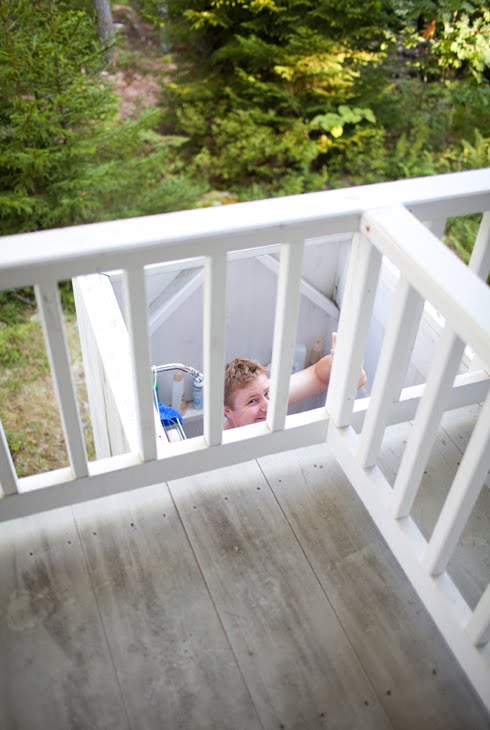
That’s right, Cormac showered outside on the morning of his wedding.
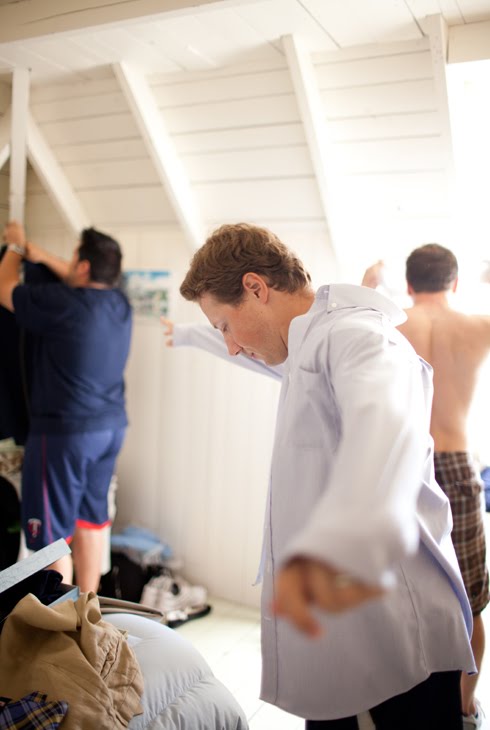
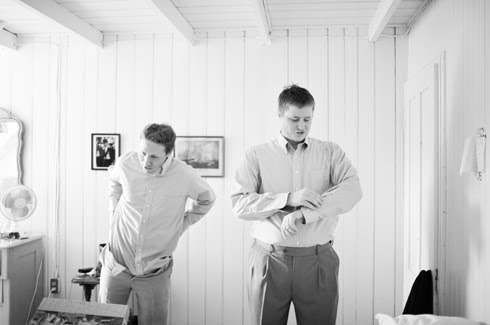

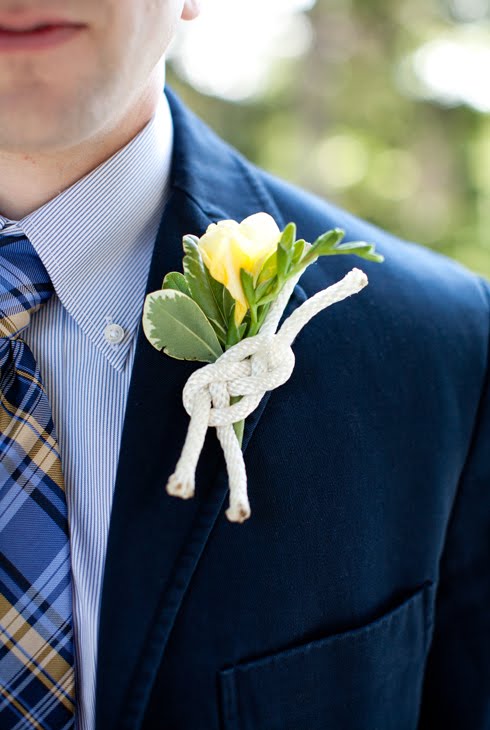
Kate tied those rope boutonnieres, and the flowers were from Boothbay Region Greenhouses! The ties were purchased at Macy’s, I believe. Once everyone was dressed, it was time for a few portraits.
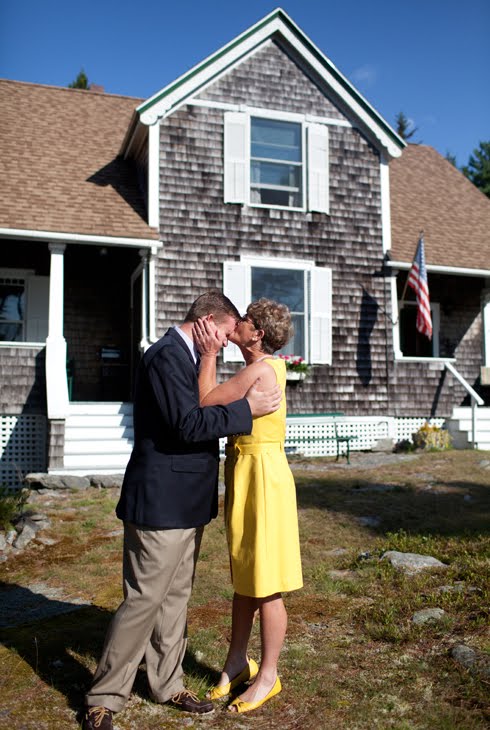
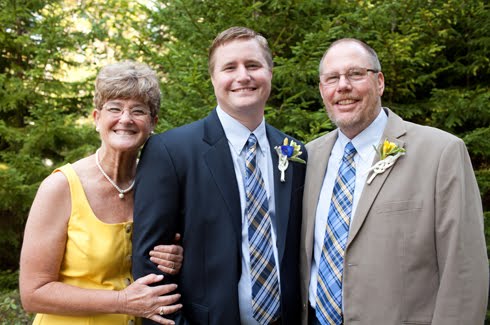


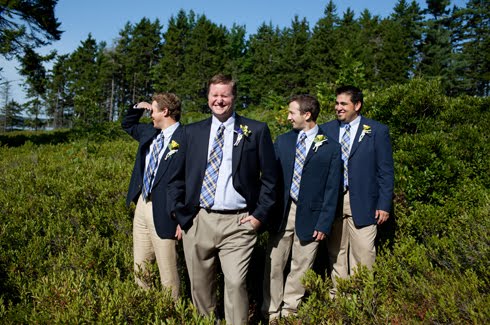
Yeah, that last photo pretty much sums up these dudes.
I would also like to give a shout out to one Mr. Josh, groomsman extraordinaire, who I know reads this blog and who I can only imagine was eagerly anticipating his Peach & Pearl debut. Hi, Josh!
Up next: the girls!
All photos by the talented Jenna Cole!
Previously:
We arrive
We prepare
We raise the tent
We rehearse and play wiffle ball
We jump off the wharf
We eat lobster
21 March 2011
(Click to enlarge!)
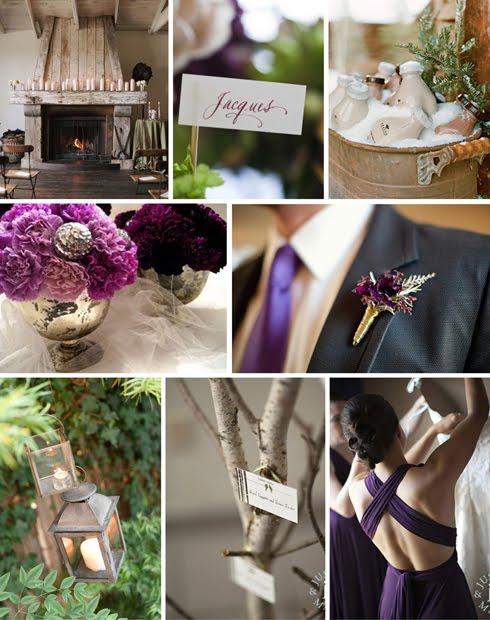
My good friend Caroline is getting married next January in Massachusetts. I’m so excited she’s having a winter wedding! I think they’re beautiful, but quite rare. I’m also excited about her color palette, but I’ll let her tell you a bit more about that. Here are the guidelines she gave me when she asked me to put together an inspiration board:
“Colors: some combination of a deep green, plum or violet, silver, and ivory/white. I like the idea of my two bridesmaids in a shade of silver with more colorful bouquets, but I’m also wary of a silver color washing them out…what do you think? I’d also like to keep a winter-y, natural and organic feel but without doing a literal interpretation of a snow-covered evergreen forest…”
Doesn’t that sound beautiful? In addition to shades of evergreen and plum, I love the idea of incorporating wood elements to bring in the natural and organic feel Caroline is looking for — escort cards tacked to a stack of cut wood, silvery birch elements either in centerpieces or framing the ceremony space, pinecones tucked into bouquets or used as boutonnieres, tree stump rounds standing in for cake plates.
I think gray bridesmaid dresses are beautiful, though personally I would steer clear of a metallic silver because I think Caroline’s right, it might wash out the girls. Plum, as pictured in this board, is another gorgeous option.
Other things I love about this board? The centerpieces of massed carnations in faux mercury glass bowls, the weathered lanterns (which would also be beautiful as centerpieces!), and the ceremony space, with all that weathered wood and those cream pillar candles.
Caroline, I hope this has been helpful! Ladies and gents, if you like this post, you might want to check out the Pinterest board where I’ve been collecting ideas. There’s a gorgeous bouquet, a beautiful winter portrait, and a pair of perfectly purple velvet heels, to start.
The Details:
First row, left to right: ceremony photo by Thayer Allyson Gowdy via Snippet & Ink, photo by Carla Ten Eyck via Elizabeth Anne Designs, rootbeer milk photo by Aaron Delesie via Martha Stewart Weddings
Second row: carnation centerpieces by Blush Floral Design, boutonniere photo by Anna Sawin via Style Me Pretty
Third row: lantern photo by Steve Steinhardt via Style Me Pretty, birch and plum bridesmaid dress photos by Justin & Mary Marantz
16 March 2011
First, a story. We knew we wanted to do a Friday evening welcome event, because guests were coming from far and wide to celebrate with us. We immediately decided to hold it at my family’s favorite lobster shack, the one we’ve been going to since before I can remember. It has a huge open air deck, a counter-ordering system, and a great Maine vibe. Perfect, we thought. My Mom got in touch with them the summer before, and then over the winter, and was told both times to wait, that they weren’t booking yet, but that it wouldn’t be any problem. Duh-duh-duhhn.
Fast forward to the week after the Fourth of July. The invitations had already been sent out for K + C’s August wedding (and welcome dinner). We went to the restaurant to confirm, and were basically told (rudely) that there was no way our event could be held there. Cue controlled panic from the Mom, sisters, and cousins that were in the car.
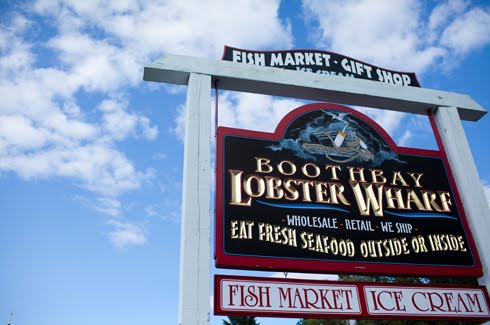
Happily, there is a great ending to this story! After putting our heads together, we drove over to the Boothbay Lobster Wharf, which my Mom had been to when she was younger but hadn’t seen in years. They were so nice, and had all the benefits of the old place, plus more: a rooftop room we could rent for $100 (wow!), live music, a waterfront location, and a bar and counter where people could order their own food.


So! On the Friday before the wedding, we all headed over to BLW. My fabulous cousins and aunt had headed over before everyone else to set out a few decorations, and everything looked great!


We kept things VERY simple, with just a few red-and-white gingham glassine-wrapped hurricanes and a few strands of bunting. And a cheesy sign made by yours truly :)
Friends and family from near and far were greeted…


Lobsters were investigated…

And outfits were admired:

(Yep, that’s my Dad. I’m pretty sure both the aviators and the shorts are at least 30 years old.)
People ordered food and drinks at their leisure, and most headed up to our room to eat. The system worked perfectly!


Yum! After an hour and a half or so, my Dad stood up on a bench and asked for everyone’s attention. We figured he was going to thank everyone for coming, which he did. But then! He pulled out a large book.

Kate looked nervous:

Everyone else looked excited.
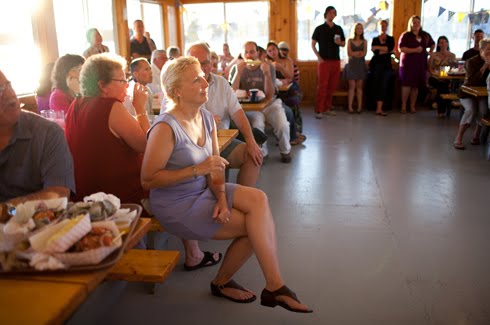
Turns out my Dad had collected Kate’s “refrigerator art” since preschool, and assembled the best pieces into a scrapbook! It was as adorable as you would expect. The best part? For some of the more… abstract drawings, he asked Kate at the time what they were, and then wrote down her description on the back. Everyone loved looking through the book for the rest of the night. Good job, Dad!! Love him.


Jenna pulled Kate and Cormac away for a few portraits on my uncle’s boat later that evening, which was super nice of her to do, especially since they chose not to have engagement photos taken.

Then the bride and groom pulled their bridal party away to give us our gifts! The ring bearer got a Nerf gun and a few books:

The guys got boat shoes (Sperry Topsiders) to go with their wedding day outfits. VERY well received.

The girls got monogrammed L.L. Bean bags, initial necklaces from Etsy, flip flops, and Maine chocolate! Two thumbs up, Kate!

Guests started to trickle out after that, but not before taking a whoopie pie for the road:

This was such a fabulous way to kick off the wedding weekend. Completely low stress, super fun, and not very expensive for my family to host. I HIGHLY recommend doing something similar. And to top it all off, we had Jenna there to document everything! I highly recommend her, too :)
All photos by the talented Jenna Cole, except the girls and ring bearer gift exchange!
Previously:
We arrive
We prepare
We raise the tent
We rehearse and play wiffle ball
We jump off the wharf
14 March 2011
On Tuesday’s post, Amanda asked how I put together inspiration boards. There are many, many tutorials out there, but I thought I’d share the process I use.
Inspiration boards can be useful for so many things, and they can be both very practical (pulling together interior design ideas for your living room, testing out color combinations for new website branding) and very whimsical (piecing together photos that inspire the kind of life you want to live). I love them all!
No matter what sort of board you want to make, the first step is pulling together inspiring images. If you’re making a board for your wedding, don’t feel limited by using only wedding images! Feel free to pull from interior design, food photography, etc. Just look for images that make you pause, images that you can’t let go of.
Since I make a wedding inspiration board (almost) every week, I need a lot of inspiring photos. I find that for me the most useful way to organize is by color, and for years I sorted images in folders named by color on my laptop. (Sidenote: Always save an image you love, even if you don’t have a use for it at the moment — you’ll kick yourself trying to find it later if you don’t!) I’d name the files with keywords designed to make searching for the credit to link to easier later on (i.e. “Janet and Mark on SW,” which would be from Janet and Mark’s wedding on Southern Weddings), which worked most of the time but was not perfect.
Now, however, I have a MUCH better system, and it’s called Pinterest! I still organize by color, but each image links directly to the source, so it’s SO easy to go back and credit an image later. I can’t recommend it highly enough.
For those of you who aren’t familiar with Pinterest, here’s what my home screen looks like:

As you can see, I have all different sorts of boards, from clothes that inspire me to party ideas to inspiration for my future farm :) I also have the color boards I pull from for wedding inspiration boards. Here’s a snippet of green:

And yellow:

So easy! So, once you have a few images you love, it’s time to start piecing them together. There are many, many ways to do this (Photoshop, InDesign, Illustrator, Polyvore, even Microsoft Word or Powerpoint), but the program I use is called Microsoft Publisher.
To make a board in Publisher, I open a normal 8.5×11 document and begin pasting in any photos I’m considering using. It might look like a little like this at this point:

Then it’s just trial and error — moving things on and off the board until everything is in roughly the right spot. After that, all that’s left is to sharpen everything — making sure that the space between photos is even, that the color balance is right, etc.

To finish, I export the board as a .jpg and then resize it for P&P in Publisher. And that’s that!

Tips for making your boards look a bit more “pro”:
— I know it can be tempting, but don’t try to cram 8,000 photos onto the board. An inspiration board is simply supposed to evoke a larger event, room, or idea, not detail it out. Simplicity will always look better.
— Likewise, try to keep all of the photos roughly the same size.
— Make the spaces between photos even — you can do this using white lines, but I usually eyeball it.
— If you’re posting a board on your blog or in another public space, always, always, always credit your sources. And no, “Google Images” and “via Style Me Pretty” are not acceptable credits. If you’re unfamiliar with how to credit a source online, check out this post.
If you have any questions at all, I’d be happy to answer them! You can see all 86 previous inspiration boards I’ve posted by clicking here.


