10 December 2014
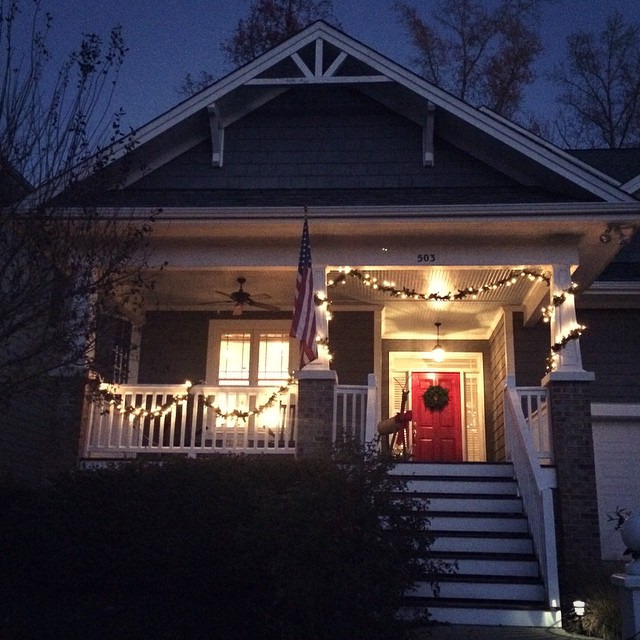
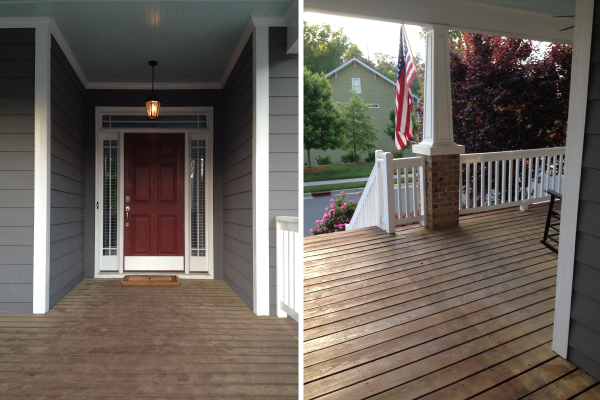
While I really adore our home’s curb appeal, the one thing I knew I’d want to change down the line was the color of our front door. When we bought the house it was maroon – already not my favorite color, but on top of that, our door is set back under a big overhang, so it kind of looked like a dark hole.
I wanted something brighter and more fun, and considered poppy red and haint blue. Y’all gave such thoughtful comments back here, but I think the gold star goes to our friend Nancy: I think red would look beautiful and patriotic and New-Englandy, which represents your roots. Also, we share hearts of patriotism, and I think that a red door would be well suited in the Thomas household. (Not to mention it would tie in perfectly with that pretty American flag!)
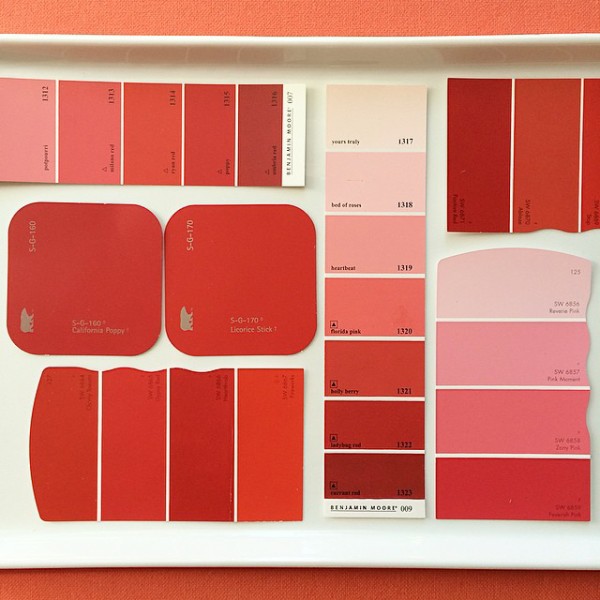
Between her convincing arguments and John’s dislike for anything that even approaches Carolina blue, we decided a cheery red was the way to go. We pulled paint chips, and ended up liking California Poppy by Behr the best. That’s it over on the left:
We bought the top of the line Behr exterior paint, which is primer and paint in one. Prep was pretty easy – we taped the major parts, including the handle/lock; filled in one gouge from moving day with wood filler; and wiped down the door to get rid of any dust/pollen. Then we waited for a not-too-warm, not-too-cold, dry day, and brushed on the first coat!
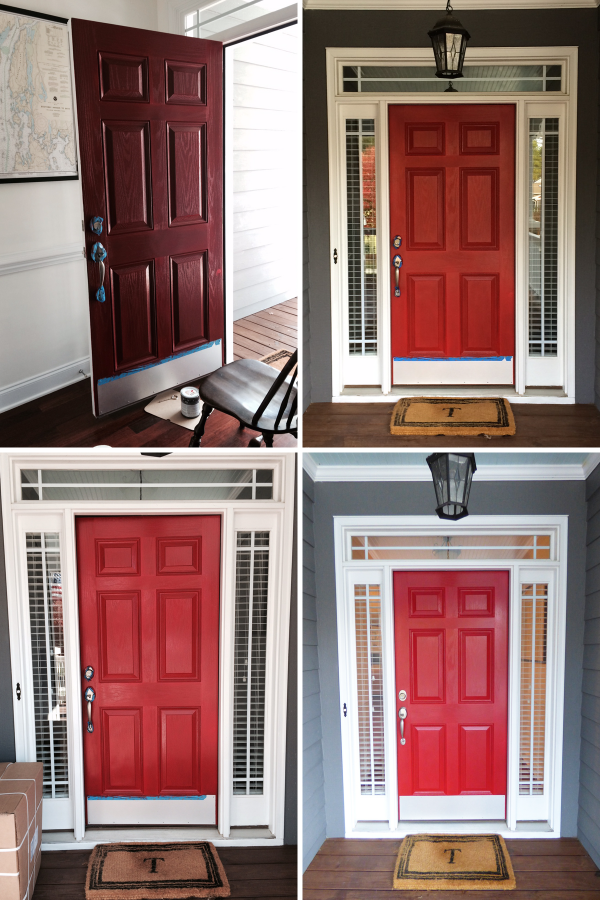
After which, it looked… pretty much the same, except dingier. All told, I ended up doing four coats with several days in between each, and in the end, I think it looks pretty good! A few tips I learned along the way:
1. I liked using an angled brush, no foam roller.
2. As Sherry recommended, I painted the inside of each panel first, then the flat planks around them and between them, always going in the direction of the planks. I worked upward to do the vertical and horizontal planks in the middle, then at the end dragged from top to bottom to do the vertical parts on each side.
3. I figured I could get away without priming since we used an all in one paint and the color we were painting over was fairly similar, but in hindsight, I might have been able to do fewer coats if I had started with a separate primer.
4. When I removed the tape around the hardware, a few chips of paint came off (very annoying). This probably could have been avoided if I had removed the hardware instead of taping around it, but since I painted over several days, I think it would have been more annoying to remove and replace the hardware four times.
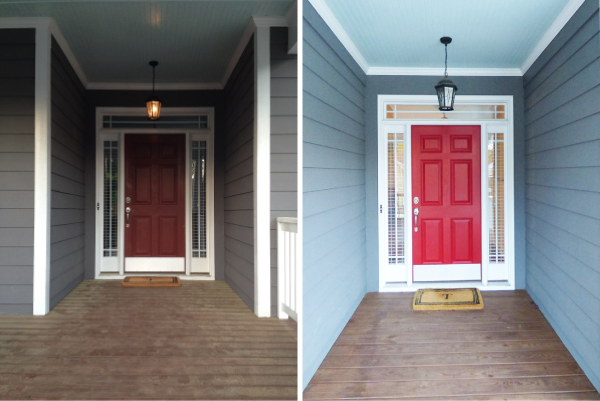
This was a fairly easy project, and I’d definitely recommend it as a little front porch pick-me-up! I’m especially enjoying our new red front door dressed up for Christmas :)

12 November 2014
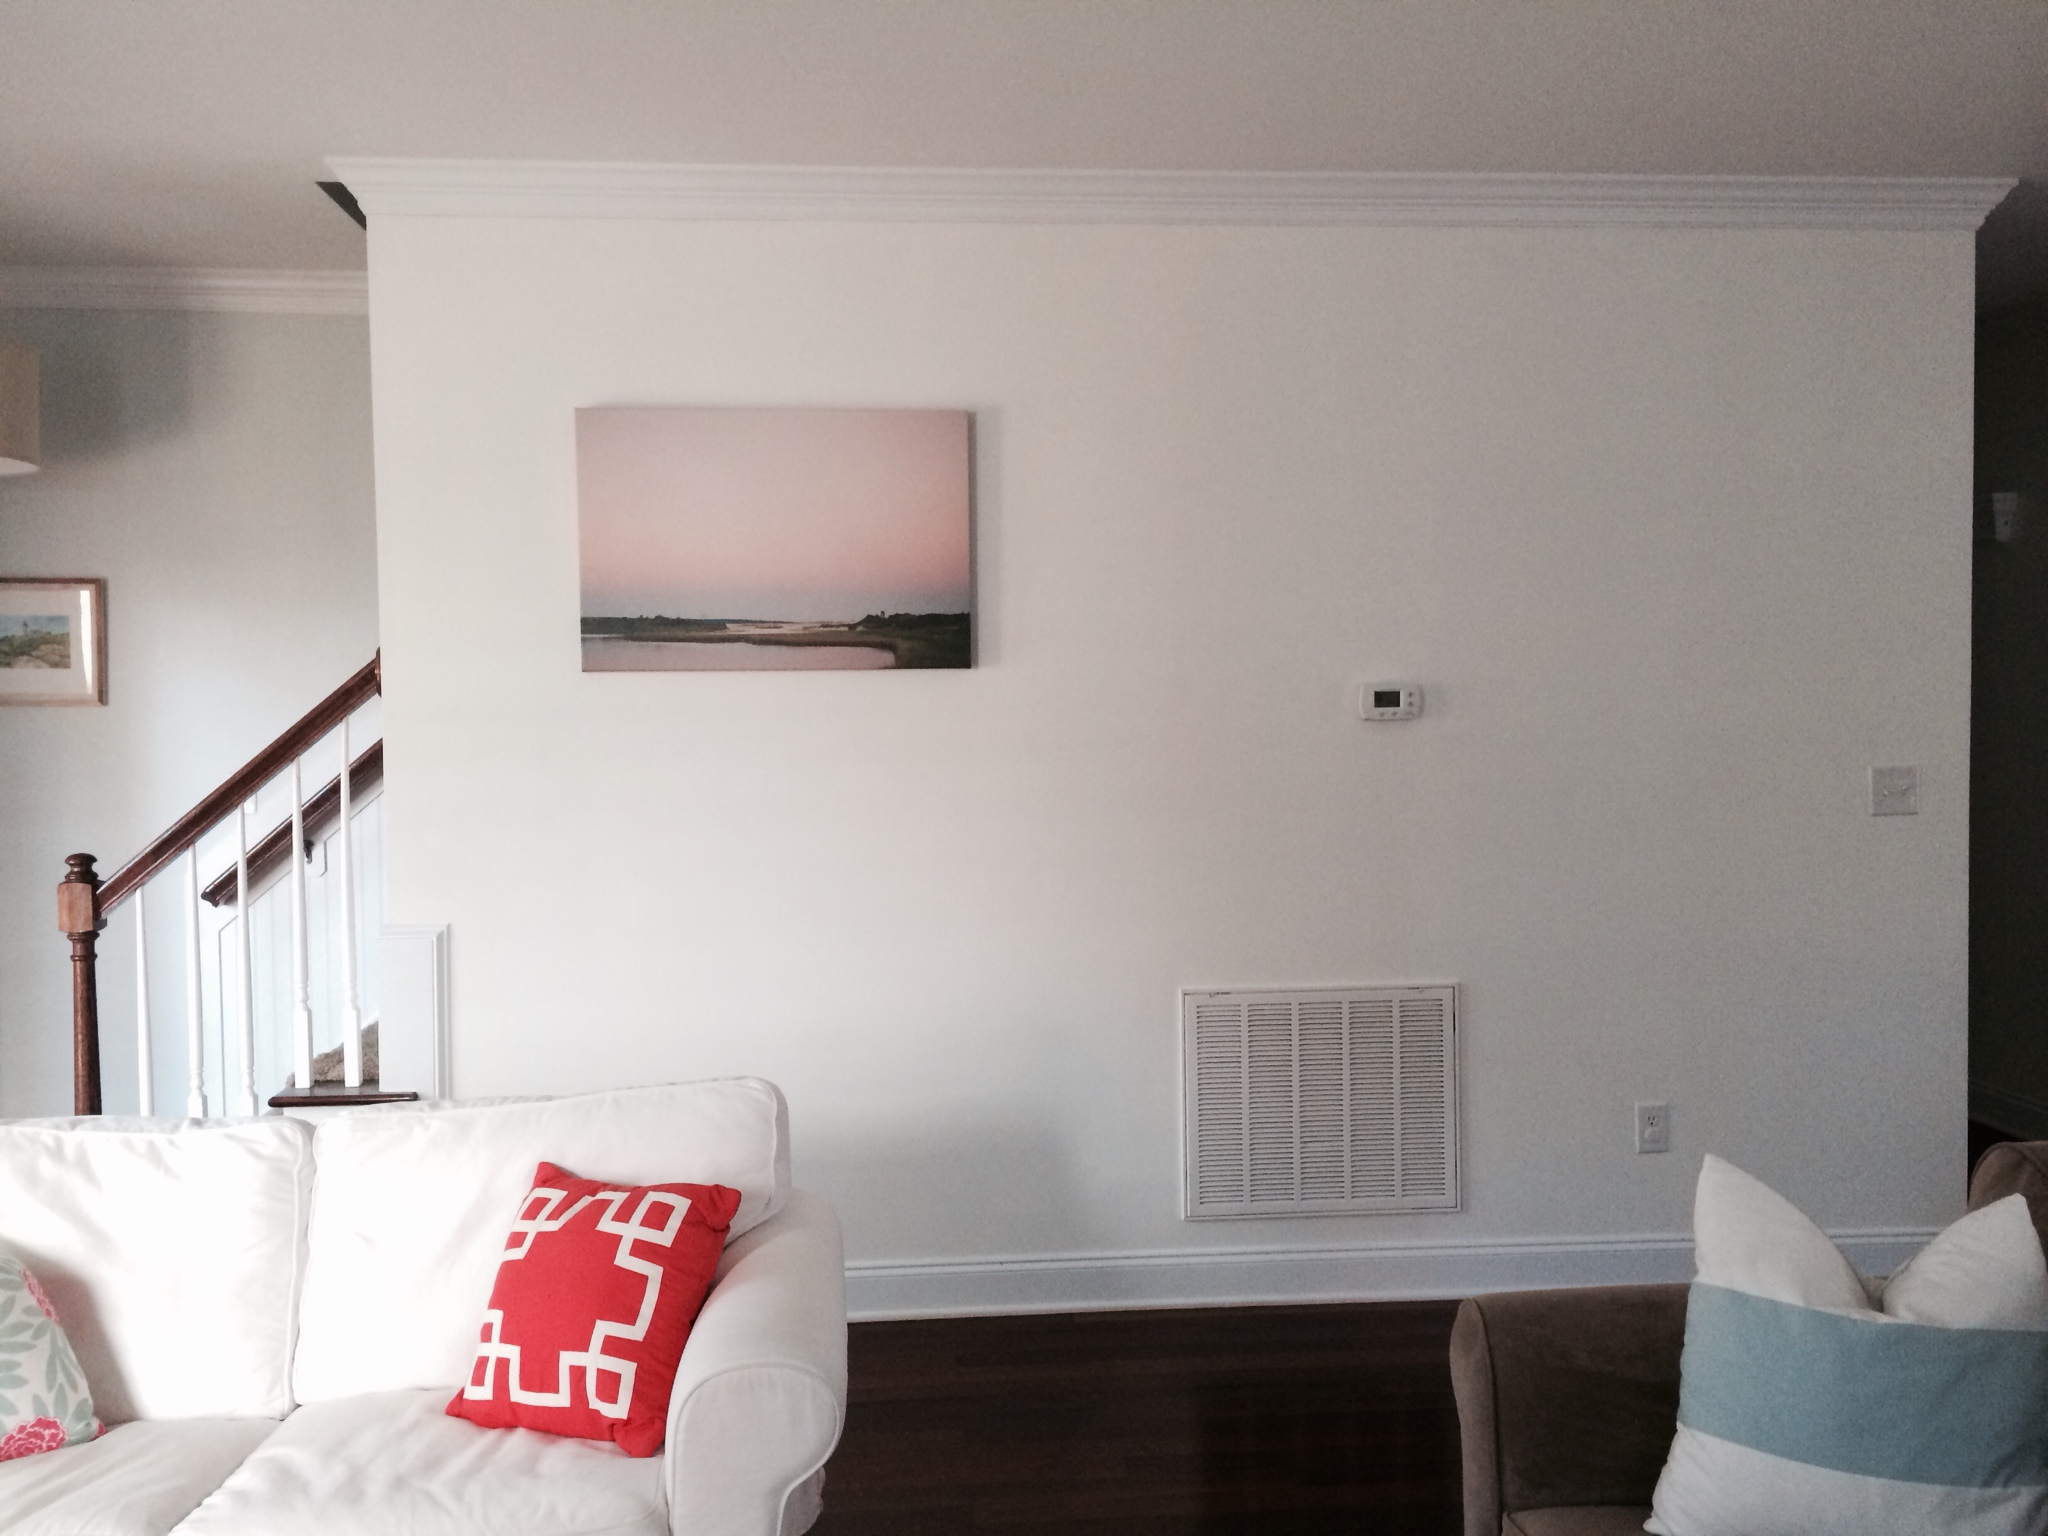
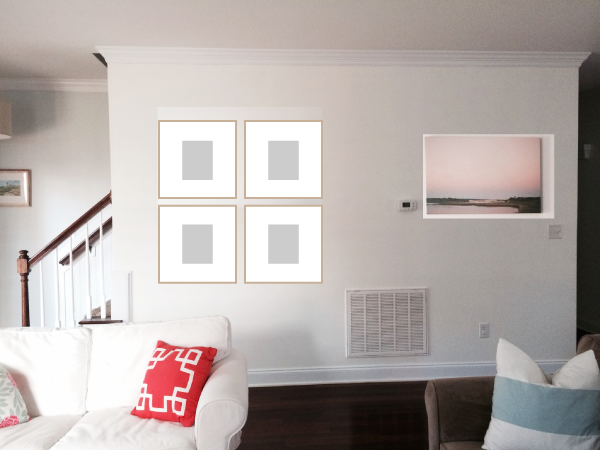
Sometimes, we just don’t get things right on the first try, am I right? Once I started to plan our house’s color scheme, I knew I wanted to order a very large canvas of one of our wedding photos for the long wall on our first floor. The colors were perfect, and I loved the idea of being reminded of that beautiful day without having life-size portraits of ourselves staring back at us!
We saved up and ordered the largest size available through our photographer as our Christmas gift to each other in 2013. When it arrived, I was blown away by the quality (it looks like a painting even very close up!), but was a little sad it wasn’t larger. It’s 36×24″, but I would have loved for it to be even a foot wider to really fill that space.
For the last several months, I’ve known the wall was not finished, but I couldn’t figure out what to add to it thanks to a very unfortunately placed thermostat – right in the middle of the wall!! How rude. If this was our forever house, I would bust in and move that sucker over to sit on top of the light switch, but alas, that is not in the cards here. Slightly awkward, isn’t it?

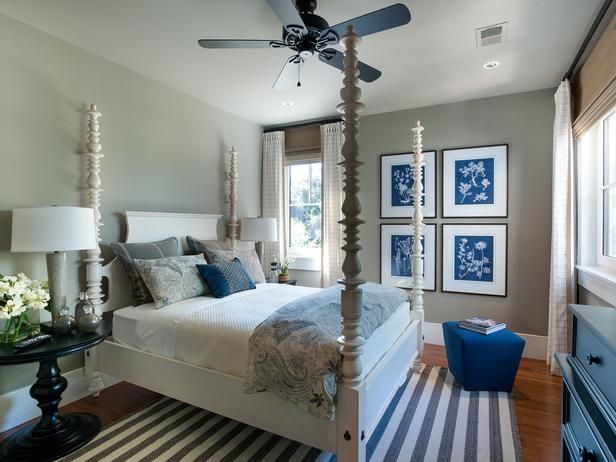
Finally, I realized that instead of creating a grouping around the canvas to fill that space (I could never figure out a good way to do it), the best option would be to move the canvas over and add new art in its place. I would love to do a grid of four large frames, very orderly, to balance out the single large canvas and the more organic gallery grouping on the other living room wall. Please excuse my very poor Photoshop skills, but something like this…
I’ve been looking for a spot to do a grid like this, so I’m glad I finally found one! Here’s my inspiration:
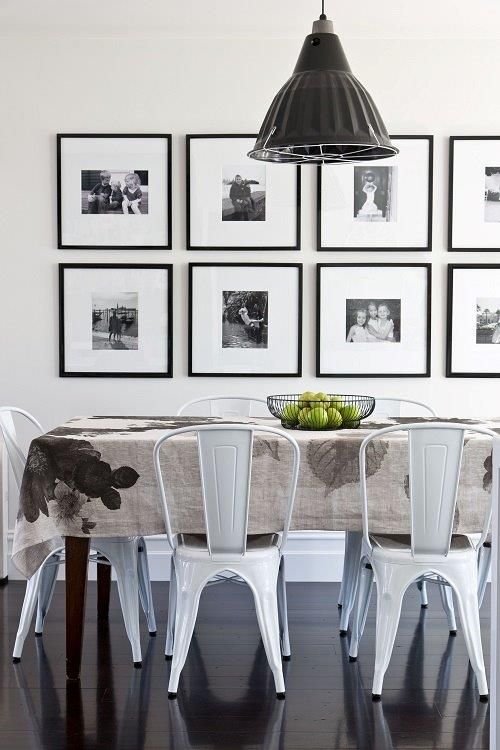

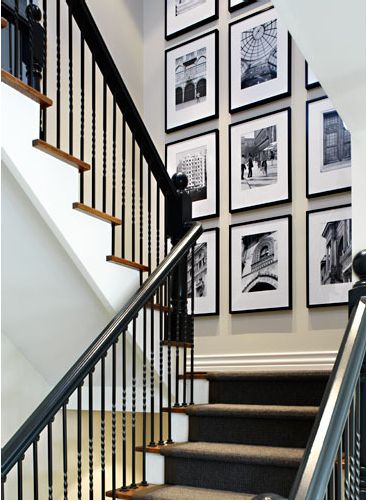
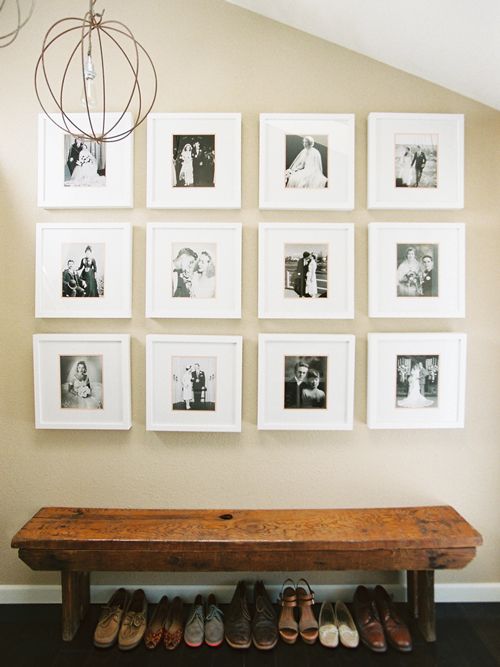
Sources: Design Mom | HGTV | unknown | Design*Sponge
For the frames, I’m planning to do light wood – Target has some great options right now that I hope are large enough! I think black would be too harsh and white wouldn’t have enough contrast against our white wall. The photos will be black and white family photos, I think – maybe wedding themed. We shall see, and I will update y’all when we do!
P.S. More photos of our home!
26 September 2014
Update: Congratulations to reader no. 23, Laura Kittrell, our lucky winner! An email is on its way to you!
Since I’ve been searching for and saving home inspiration, this photo has always been one of my favorites:
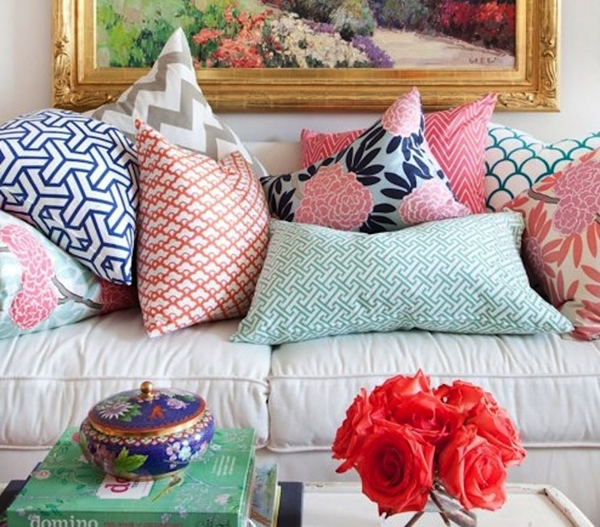
It captures so well the colorful but classic, clean, happy, comfortable vibe I’m hoping for in our home, which is why I included it in my home color post! Truly, pretty much every photo from Caitlin Wilson could have been included in that post – her aesthetic is just a perfect fit for mine!
Y’all know I do not splurge easily, but I think her patterns can really add a “pop” to a room and bring a color scheme together – and the Mint Fleur Chinoise pillow I finally purchased last year does just that.
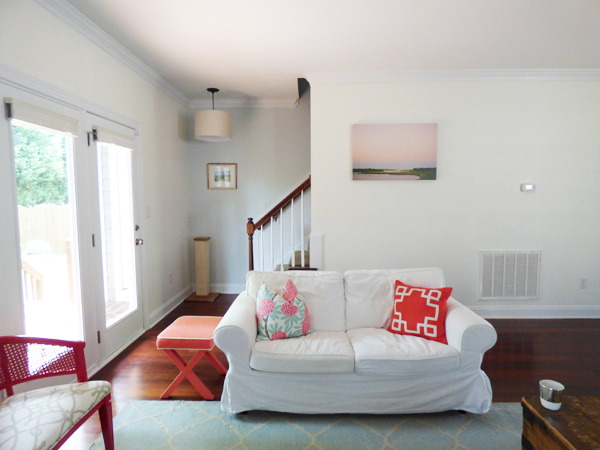
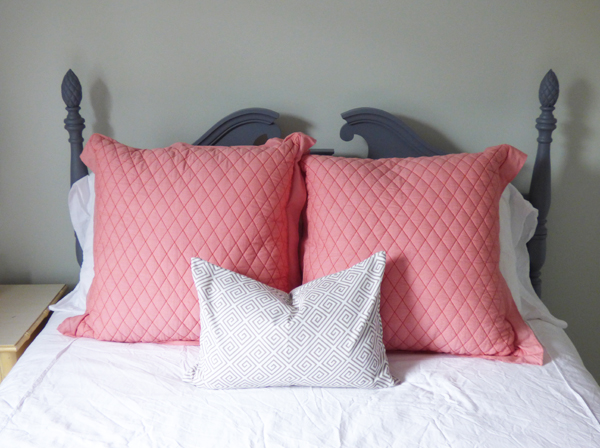
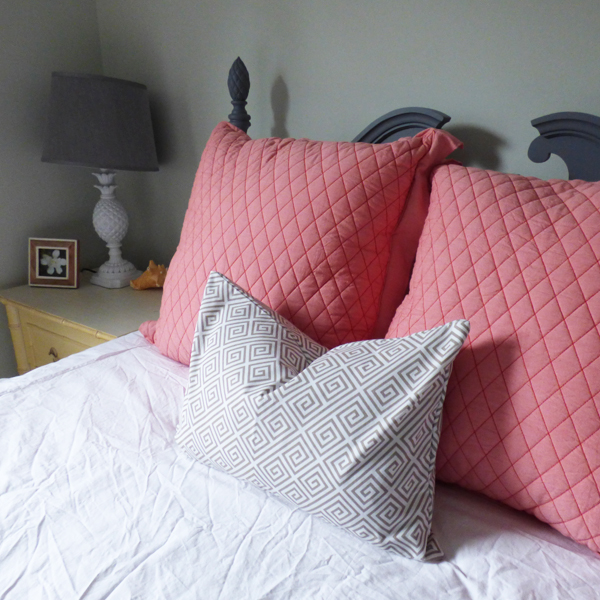
The kind folks at CWD somehow found my home tour post where it was featured and offered up another pillow for me and one for me to giveaway! I hemmed and hawed for a long time over which to choose, but finally settled on a Greige Greek Key lumbar pillow for our guest bedroom:
I love supporting such a smart woman-owned, mama-owned business that is doing so many things right, including offering up a giveaway for y’all! :) Please leave a comment with your favorite CWD pillow pattern and I’ll choose a random winner to receive the 14×20 or 20×20 pillow cover of their choice next Friday. Good luck!!
P.S. Anyone can use code MARVELOUS10 for 10% off of their purchase!
22 August 2014
August has NOT been business as usual, my friends. I feel a bit like I haven’t touched my computer since I finally got our home tour posted (that’s not actually at all true, but it feels like it!). We were in Maine for ten days, and then I was at a work retreat for the past three days. And on Monday I leave for a quick two-day trip! And then a week from today we’re going to Asheville for the long weekend!! All completely wonderful things, but they sure don’t leave a lot of time for typing in between.

And there are so many things I would love to chat about! Maine with my family was just the best. The eight of us only get to be all together 1-2 times a year, sadly, so we make it count when we do. Board and card games galore, big family dinners every night with appetizer hour on the porch before, rainy days and open ocean, jumping off the wharf, walks every day, tennis, berry picking, boat rides, playing with our little niece, sailing, visits with friends… except for when I do things like get married, going to that tiny island is the best part of my year, every year. It’s the best place on earth.
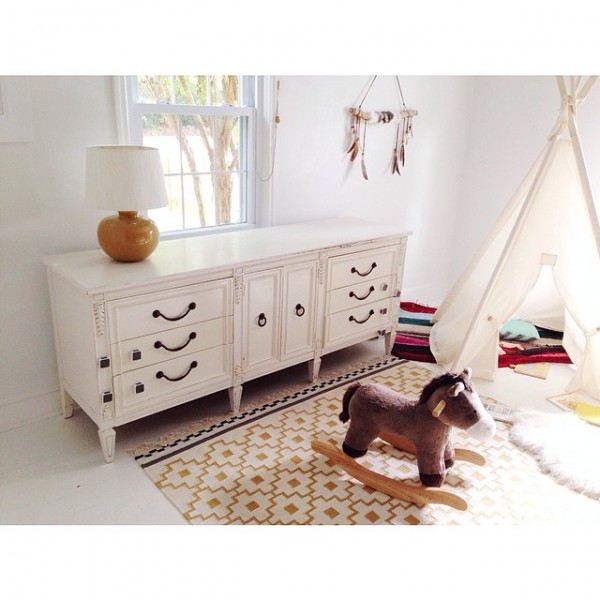
I thought I’d ease back in with a little decor update, because even though I just posted a home tour, things are always evolving in the Thomas household! We’ve been looking for a long, low banquette for our guest room (the Magnolia Room, as one of you deemed it) for quite awhile now. When a photographer I follow posted a photo of a piece she was selling, my email to her was out the door in about two minutes flat. Didn’t it look adorable in their son’s room?? She was asking $200, which I thought was great for a solid wood piece.
It’s a big and heavy sucker (too big for our SUV), so we rented a Home Depot truck to bring it home. Between traveling between HDs to find an available truck on a Saturday morning (you can’t reserve them!), the 3-hour round trip, and carrying it up our front porch stairs (I am not what you would call physically strong), the homecoming was a bit of an ordeal.
After the struggle getting it in the door, we knew there was no way the two of us were getting it up another flight of stairs to our guest room. So into our bedroom it went, and we actually adore it there! John’s dresser moved into our closet, and I got to move a bunch of my stuff out of the closet into the drawers. It really anchors the room! I wish I had a photo to share in its new home, but alas, travels.
I will be back with more soon! :)