22 January 2014
The light fixtures in our house are perfectly serviceable, but they are also not exactly our style. I guess you could call them “builder fancy”? (The upgrade from builder basic achieved via faux wrought iron detailing.) We knew we wanted to switch out almost all of the downstairs fixtures eventually, but I wanted to move slowly because a) it’s an expensive undertaking and b) our downstairs is pretty much one big open room, so all of the fixtures have to work together. We do now have a rough plan, and so have proceeded with step one!
But first, here’s the before:
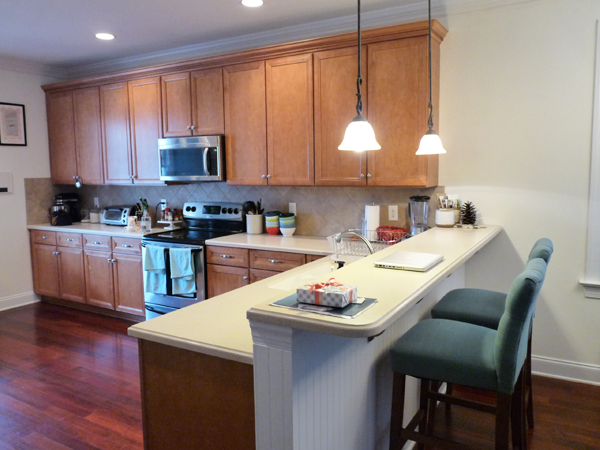
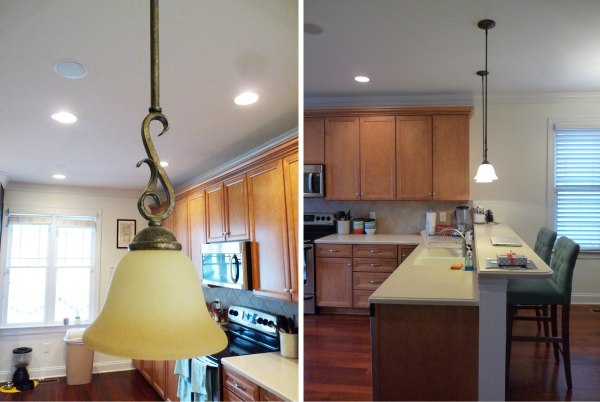
For the pendant lights over the breakfast bar, we wanted something bright and that took up very little visual real estate. The fixture over the dining room table is very close by and will eventually be a larger statement piece, so we didn’t want them to compete. I first came upon the idea of the glass funnel lights after seeing Courtney’s kitchen (which you know I love):
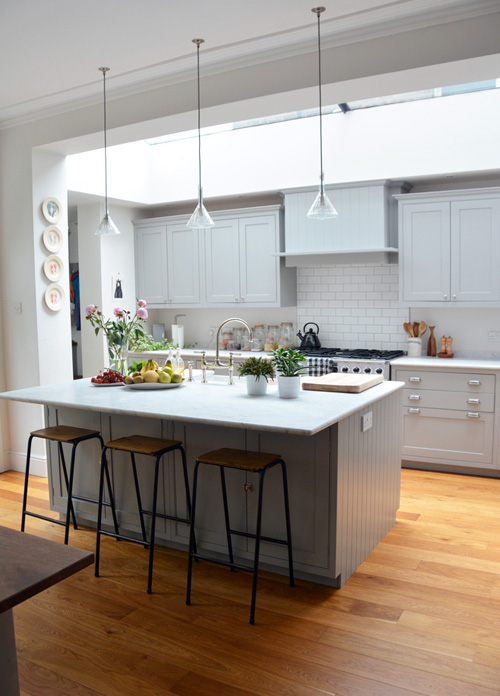
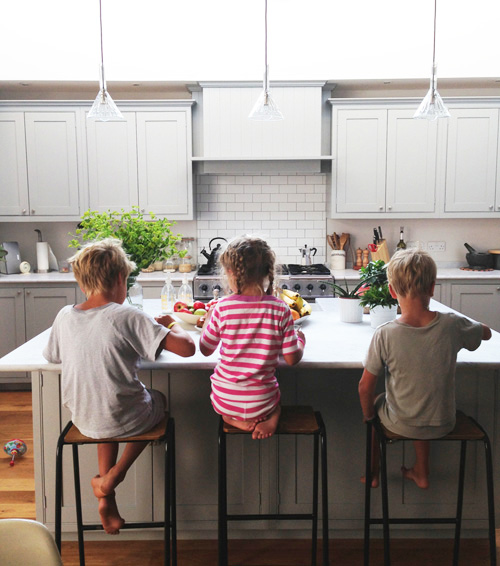
I like that they’re clean and modern but kind of classic at the same time. John was worried that they’d be too bright since they’re clear glass, but we decided that if we hung them a bit higher than eye level, we’d be okay. The lit-up example in the store helped convince us they wouldn’t be blinding, as well.
Once everyone was on board, we picked out these ones from Home Depot (the pewter finish, which is not available online), and waited patiently until we received them as a Christmas gift (thanks, Mom + Dad!!).
I was SO excited to see that Young House Love ended up using the exact same pendant in their kitchen! Even better, they posted a step by step tutorial for hanging, which was the main reason we didn’t electrocute ourselves during install.
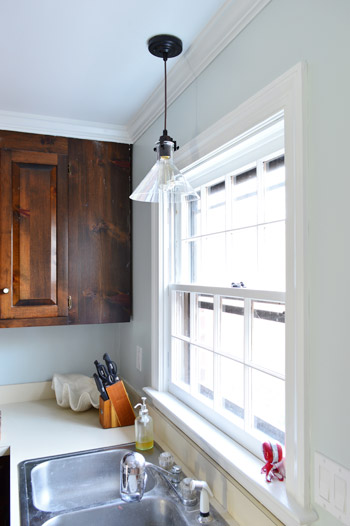
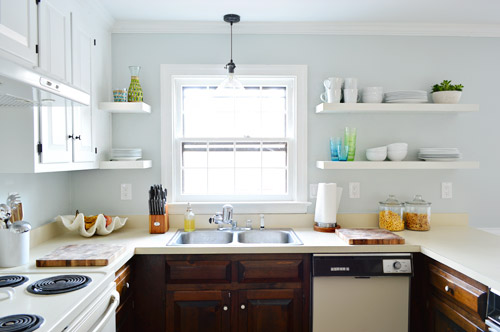
I also found this example, which is just gorgeous:
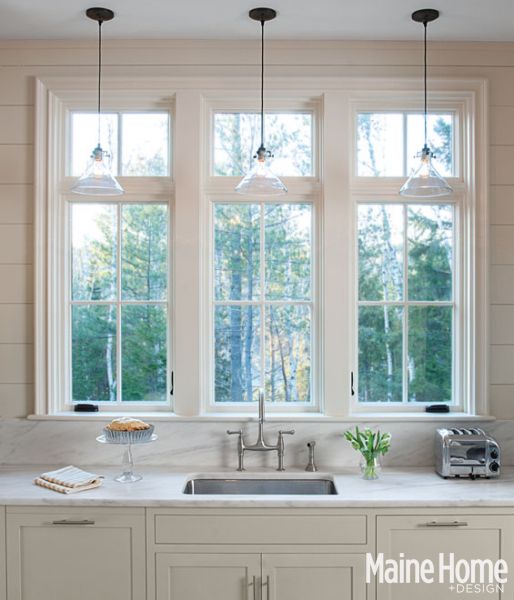
Maine Home Design
And here’s our version!
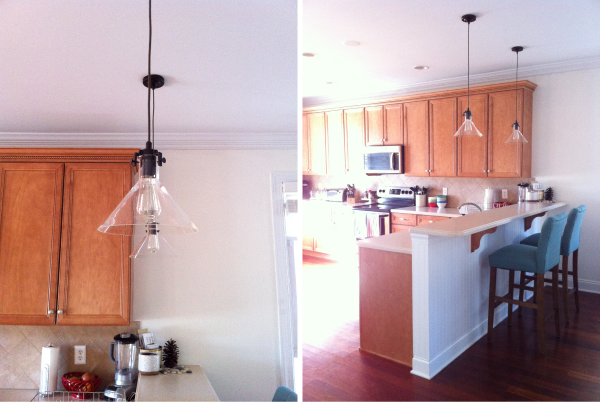
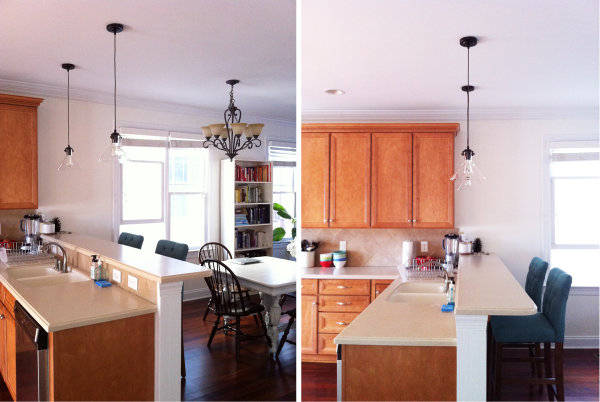
The chandelier you can see in the above photo will be next to go! We’re very happy with this light + bright change, and proud to have some electrical work under our belts! :)
17 December 2013
As has become something of a tradition, a few gifts I wouldn’t mind receiving this year…
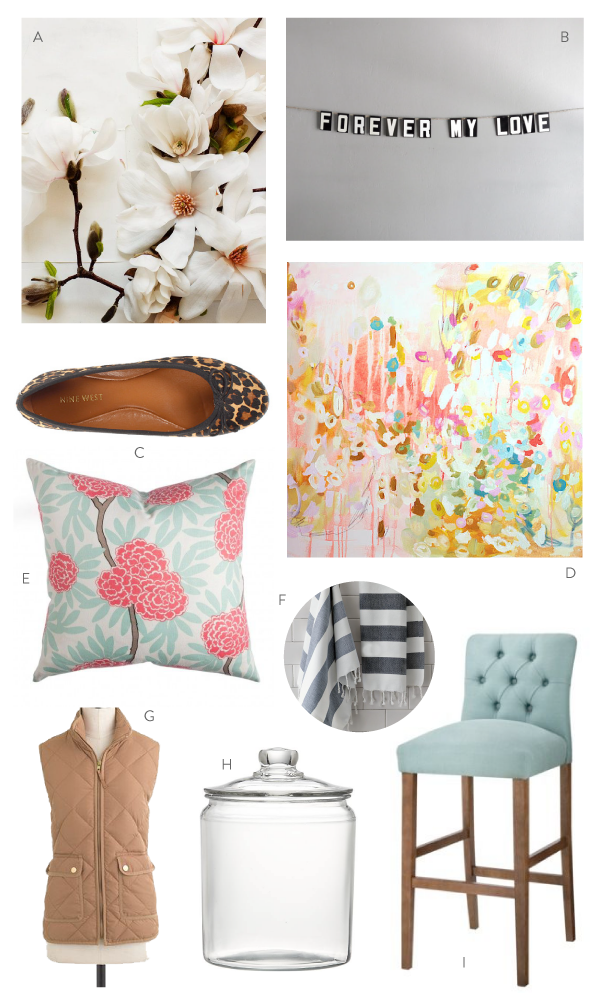
A. A second magnolia print for our guest bedroom – it already has a frame waiting for it! ($30)
B. Vintage modern bunting to hang over our bed ($48)
C. New leopard flats to replace my sad, bedraggled pair ($60)
D. The most beautiful canvas print ($350)
E. One of these beautiful pillows for our sofa ($65)
F. A pair of these striped hand towels for our powder room ($10)
G. A vest for layering ($120)
H. One more sugar/flour jar to match the others we received as wedding gifts ($10)
I. A pair of these stools for our breakfast bar ($100 each)
What’s on the top of your wish list this year?
P.S. It’s fun to see how the things I’m wishing for have changed over the years! Here’s 2012 + 2011.
21 October 2013
Hello, friends! Today I thought I’d share our gallery wall! I wrote about this project a bit here — thank you again for your comments!
Unlike the dining room table refinishing project, I felt good about just diving into this one! Based on my inspiration, I tried to stick to the pink, blue, and metallic families; made sure I had a mix of photographs, watercolors, oils, and more typographic designs; and incorporated a variety of frame and mat styles.
Here’s the before:
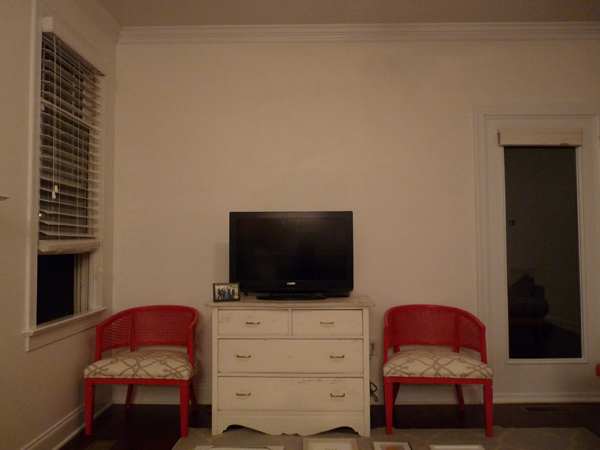
Yikes! I knew I wanted an arrangement that softly arched over the TV, so we started by playing around with all the pieces on the floor, right in front of the dresser. By doing it in front of the wall where it would hang, it was easy to approximate the space between each frame. Then, we just started at one end, and added pieces left to right, eyeballing as we went! Definitely a two-person job, so thanks to John for all of his help :) I’m not sure if this technique would work for everyone (I like to think one of my super powers is the ability to accurately eyeball whether something is even or level), but it worked great for us.*
Here’s what the space looks like now!
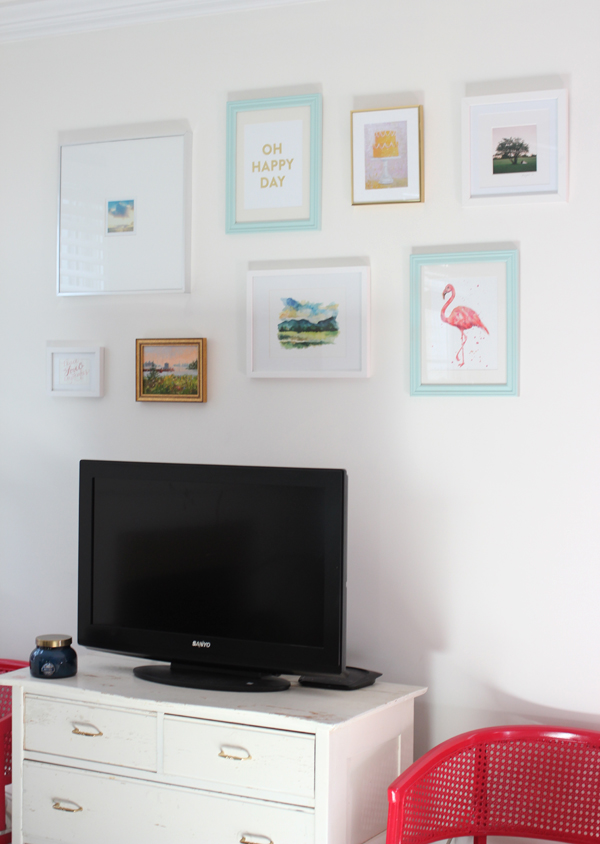
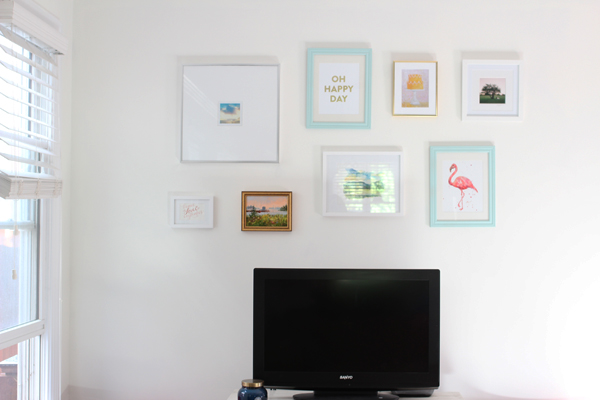
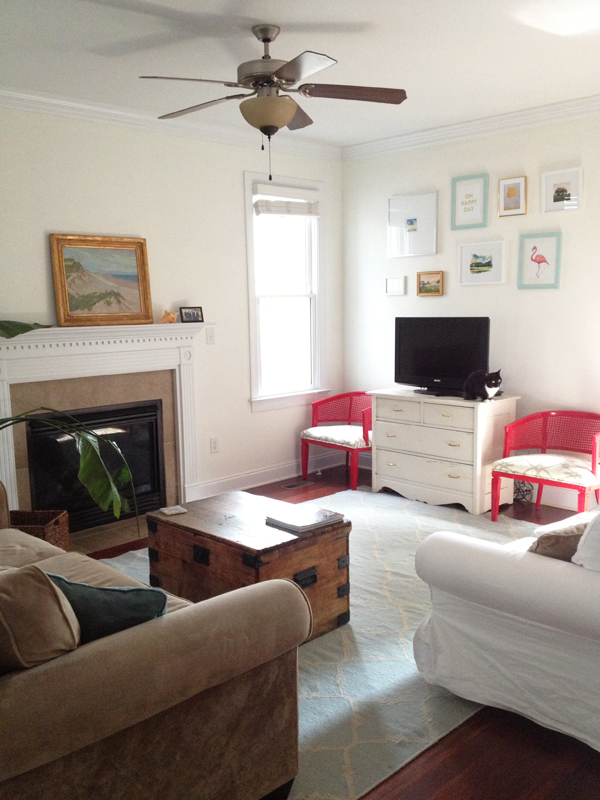
I would love to tell you a bit more about each piece, because they were selected with love! Apologies in advance for the photos — this project was so hard to photograph, with the glare on the glass and the shadows from the frames!
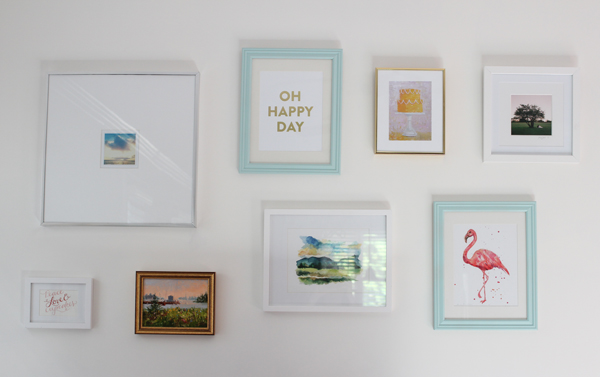
From left to right:
The “peace, love, and cupcakes” print is actually a card a friend sent to us (similar version here). The large square is an instagram sunrise from a trip to Florida. The little oil painting is a commissioned piece that was made for my grandmother many years ago. It’s of the view from her front porch in Maine. The Oh Happy Day print is available in the SW Shop! The watercolor of the Blue Mountains was a gift from my sister-in-law. The cake print is by Paul Ferney. The flamingo print was a wedding gift from two dear friends (available here). Last but not least, the photo was a gift from our wedding photographer, taken during our cocktail hour picnic.
Let’s talk about the frames for a minute. I was worried that they would add up quickly, but ended up being pleasantly surprised! Thankfully, several of them had already been collected prior to this project, so I only bought three new. Even so, the total cost was low: three were from Target, one from Michael’s, two from A.C. Moore (spray painted blue), and one from Goodwill.
To conclude, this project gets two thumbs up from me: it was fairly easy, fairly inexpensive, and added a welcome dose of color to our white walls. Can’t wait to hang the rest of the art in this room!
*If you’re looking for more exact instruction for hanging, Real Simple has some great advice on measurements and guidelines!
4 October 2013
October might seem like a strange time to discuss vegetable gardening, but here we are! John and I tried a few new things this year, and I wanted to get through (or almost through!) a growing season before we discussed.
To back up a bit, I’m convinced that 80% of the reason my husband wanted to buy a home was so that we would have space for a vegetable garden. Thus, our raised bed was in the ground less than a month after we moved in. We opted for a pre-fab kit from Home Depot; it was about $100 including tax and shipping. Based on the reviews, we expected to be pleased, and we definitely have been so far. It required no tools to put together, and since we literally assembled it in the dark (we were leaving for vacation the next day!), I have no doubt you could do so, too. Soil to fill it was about $100 more, but like the bed, that’s pretty much a one-time expense.
Here’s what it looked like in July:
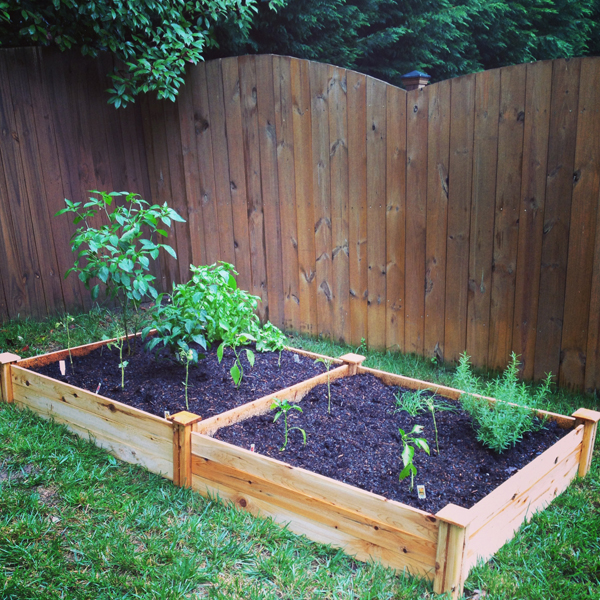
The cayenne, jalapeno, basil, chives, and rosemary (left to right) were transplanted from pots we started at our apartment, so they had a bit of a head start. The remaining plants (Brandywine tomato, super sweet 100 cherry tomato, yellow pear tomato, and bell pepper) we actually got for FREE from our local garden store because we were so late in the season and they were looking sad and spindly. We definitely did not have high hopes for them, but we figured we had nothing to lose!
Fast forward a few weeks, and things were looking much better!
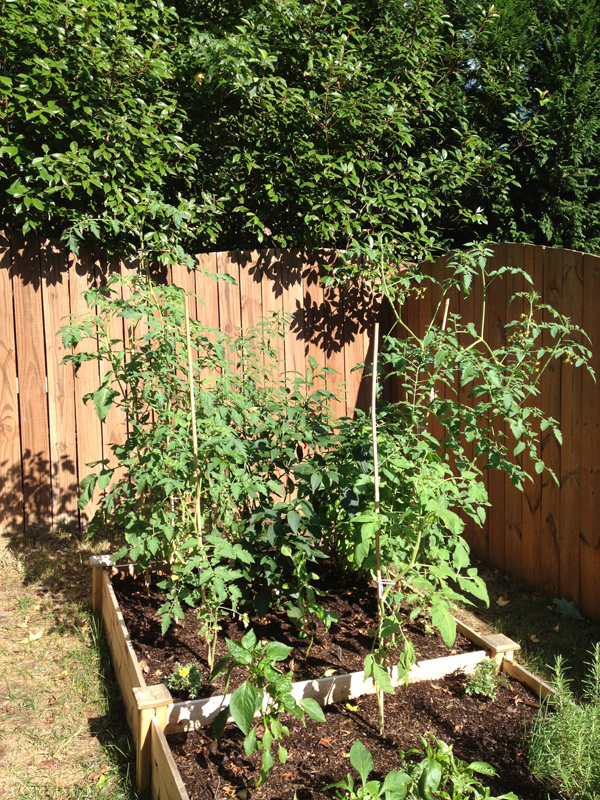
Our transplanted pepper plants continued to be total champs — we could count more than 50 peppers on the cayenne plant at one time, and the jalapeno wasn’t far behind! The tomatoes rapidly improved, as well, as you can see.
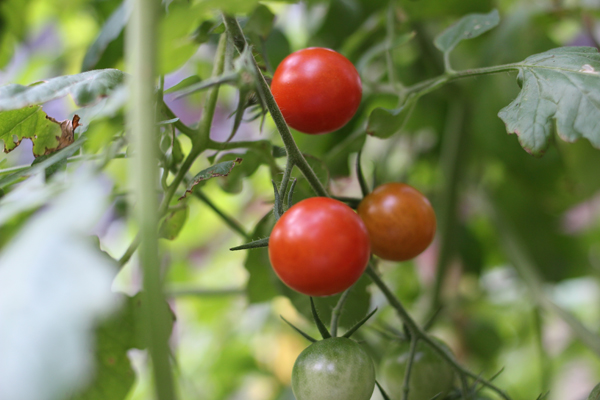
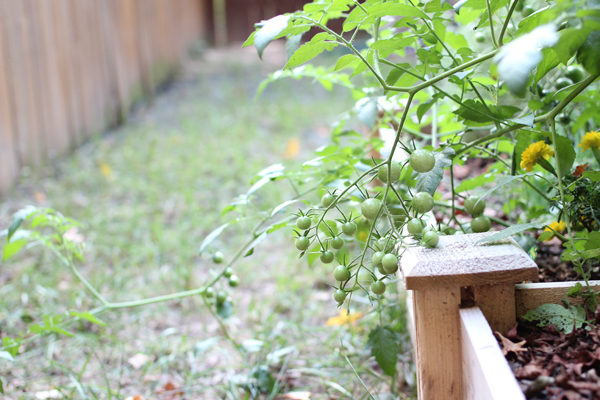
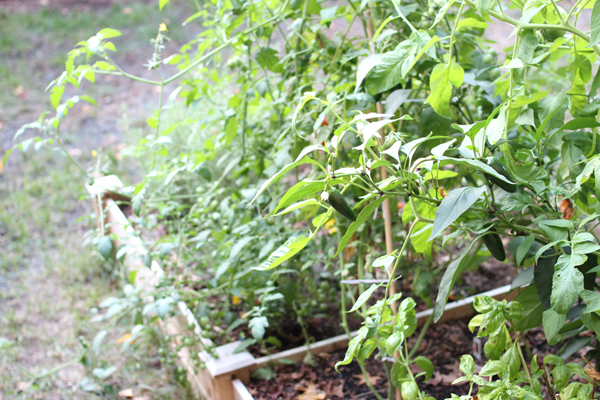
We actually just harvested and ate our first Brandywine tomato last night (YUM!) and have been enjoying cherry tomatoes for a week or two now. Better late than never, right?
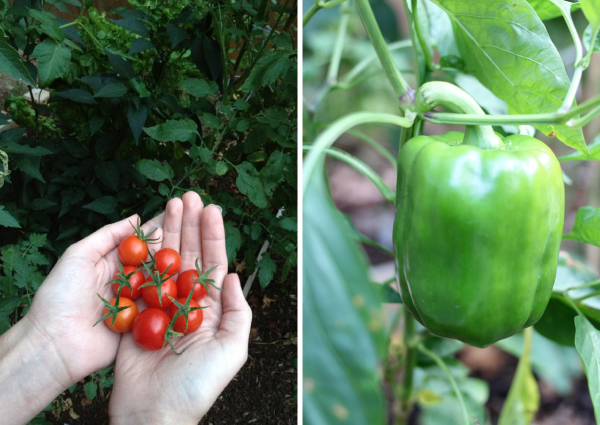
John definitely deserves the lion’s share of credit for (literally) seeing this thing through to fruition — he was the chief water-er — but we both enjoyed plucking and pruning and puttering. If you have the space and the sun, I would DEFINITELY encourage you to consider a backyard vegetable garden! It’s amazing how much you can produce in such a small amount of space, and we loved eating things we watched grow. We were also able to give away extras to friends and family, and to our local food pantry, which was awesome! We can’t wait to see what we’ll grow next year, when we actually have a full season to work with.
I would love to hear: Do you have a vegetable garden? Pots of herbs? Tell me!