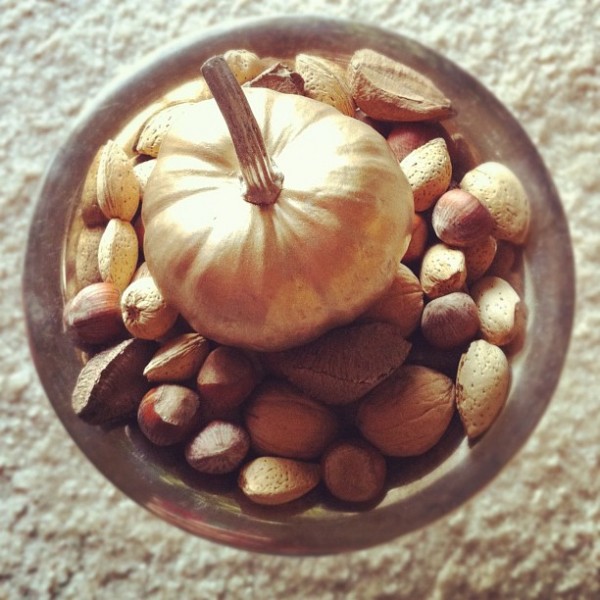
Gilded pumpkins!
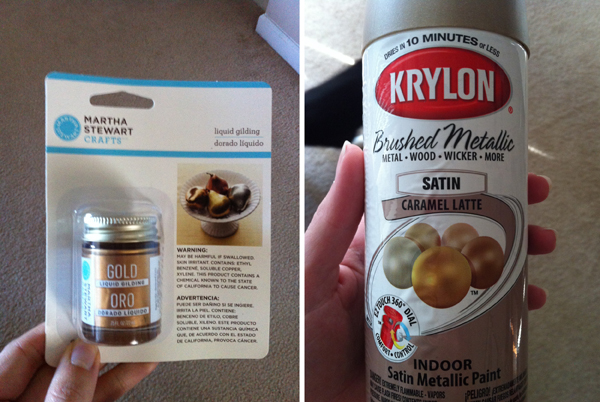
I did it! We braved the corn maze last Friday, and picked up a few small pumpkins at the same time. I started the transformation by applying a base coat with some spraypaint I already had in the house. It wasn’t the perfect color (a silvery gold, not the rich metallic I was going for), but it worked to tone down the orange!
I let them dry overnight, then painted on a rough coat of liquid gilding I picked up at Michael’s (with a 50% off coupon, it was about $3.50). The gilding was extremely forgiving — it kind of melded into a smooth coat all on its own, and only one coat was needed. The only bad thing about it was that it needed to be cleaned up with turpentine, which, if you haven’t used that stuff in a while, let me remind you — it stinks HORRIBLY. So much so, that I’d recommend one of the following two courses of action to myself if I were to repeat this project:
1) Buy the correct color of gold spray paint and forgo the gilding all together.
2) Use a paintbrush that you don’t mind throwing away at the end of the project.
In the end, though, the outcome was so cute for so little effort and expense! Highly recommended.


They turned out beautifully! I’m so bummed, I have yet to make it to the pumpkin farm, but this looks great!
(fyi- you’re URL box doesn’t allow .net’s!)
yay!! Yours turned out great! Like Shelby, I still haven’t bought my pumpkin, I need to get to it!