15 May 2015
Let’s talk about another new routine! Well, new-ish. Until last year, I used Cetaphil to wash my face, and the Josie Maran argan oil moisturizer. I loved that moisturizer, and loved that it had SPF 40. (I even wrote about it here!) Sadly, a few months after that post, Josie Maran reformulated my beloved moisturizer, and I hated the new version.
Casting about for a new option, I decided to try One Love Organics. I first heard about OLO on 100 Layer Cake in 2011, and thought it sounded neat – no GMO ingredients, parabens, or synthetic perfumes or dyes, and made by a small company in Georgia. However, the price point was pretty high, so it took a few years and hearing that my friend Lisa used and loved the products for me to take the leap.
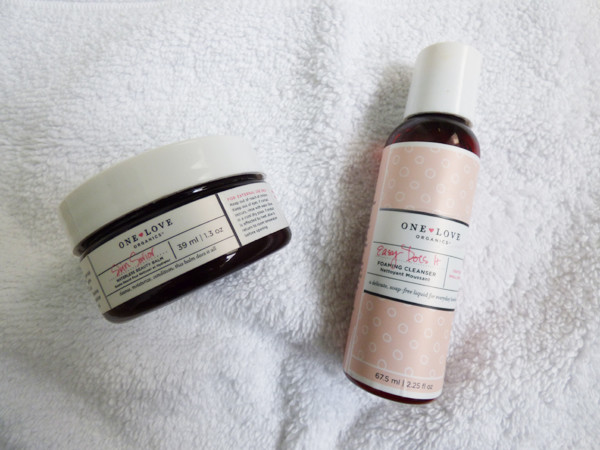
I started with a trial size of OLO’s Skin Savior waterless balm ($19) and Easy Does It foaming cleanser ($9). I used Easy Does It to wash my face morning and night, and Skin Savior as a moisturizer morning and night. I loved it! My skin immediately started to rebalance from the drying disaster that was the reformulated Josie Maran. It seems paradoxical, but often the reason skin (at least mine) seems greasy is because it’s not getting enough moisture. The OLO products also seemed to help improve the texture of my skin.
I happily reordered both products six months later, and then again six months after that (to give you an idea of how long the “trial” sizes last me). I purchase from the Dermstore site, because they often offer discounts – I received 20% off one time and 30% off another!
In the last two months I’ve stepped up my game even more thanks to this video on the OLO site. This is now my evening routine:
— Start with clean hands. Scoop out a small amount of Skin Savior and gently massage all over face for about 1 minute. I usually work in sections: forehead, then right cheek, then left cheek, etc.
— Wet a washcloth with warm water and lay it over your face and eyes for about 30 seconds. I keep a small stack next to the sink because I like to use a new one every night. The warmth and moisture will help to gently lift away makeup, dirt, and grime. Gently wipe the balm away, then rinse the cloth and wipe again using the clean side.
— Pat skin dry.
— Dot Easy Does It on your forehead, cheeks, chin, and temples and gently massage in circles (sometimes I’m not so good about doing it gently!). OLO recommends doing this for one minute but I usually do it for a bit less because I find the Easy Does It doesn’t stay moist on my skin that long – maybe I don’t use enough?
— Rinse thoroughly. Apply small amounts of Skin Savior to any dry areas.
The whole process takes about three minutes. Since my skin is so thoroughly cleaned in the evening, now in the morning I just rinse and apply Skin Savior to moisturize.
As you all know I am FAR from a skin care expert, but there are not many products that seem to really work for me and that I feel passionately about, so when I find one, I want to share!
Would love to hear if anyone else has tried One Love Organics and what you thought!!
P.S. My only complaint with this routine is that I haven’t found a good way to work in sunscreen. My Bare Minerals powder is SPF 20, but I don’t feel like that’s enough. OLO currently does not offer any products with sunscreen, though according to their site they plan to in the future. They recommend wearing a hat, shirt/cover-up, and sunglasses instead, but I don’t find a hat to be practical in all situations…
11 May 2015
I was running an errand at the mall the other day (always a dangerous beginning to any story). The West Elm storefront happens to be on the route between my usual parking spot and the store I was headed to, and their window display literally stopped me in my tracks. Their summer collection is seaside-inspired, and it’s speaking my language.
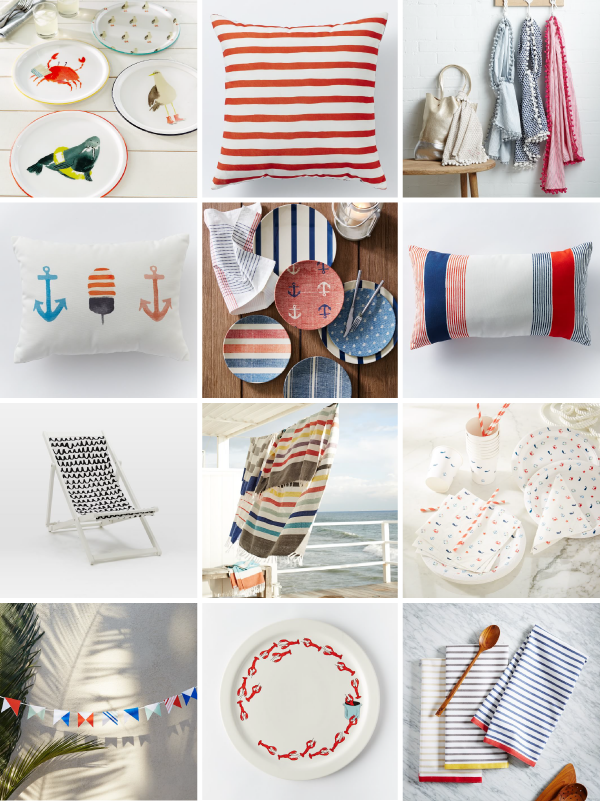
I just… I can’t… it’s SO cute. Bravo, West Elm. You have hit the nail on the nautical head. Thankfully, our house’s color scheme does not include primary colors, or else I would probably buy one (or more) of everything. Even so, I think I’m going to have to purchase those striped salad plates for outdoor dinners – too good!! Here are the rest of the pieces:
Row 1: Beach buddies trays ($29) | Outdoor hand-drawn stripe pillow | Printed pom pom scarf ($31)
Row 2: Outdoor anchors + buoys pillow ($31) | Nautical outdoor plates ($19) | Outdoor hand-drawn color block striped pillow ($31)
Row 3: Sling chair ($79) | Multi stripe picnic throw ($39) | Nautical paper dinnerware ($4-$5)
Row 4: Nautical garland ($12) | Lobster destiny serving platter ($32) | Nautical stripe towels ($9)
Any favorites from this collection?
8 May 2015
With all the things on which modern medical professionals differ, it’s nice to know there seems to be at least one thing they agree on: we should all be drinking more water. Every system in our bodies depends on it! How much? The Mayo Clinic recommends 72 ounces of fluid a day. Some people recommend drinking the numerical value of your weight in pounds, in ounces. Others suggest half that. Others recommend drinking only when you’re thirsty.
If left to my own devices, I would drink approximately zero ounces a day, making the “only drink when you’re thirsty” advice not terribly useful. I rarely drink anything besides water, and am great about drinking during meals, but have always had difficulty putting away anywhere close to the recommended amount. (In fact, I wrote about this a few years ago, too!) However, just recently I’ve put in place a system that seems to be working for me, so I thought I’d share!
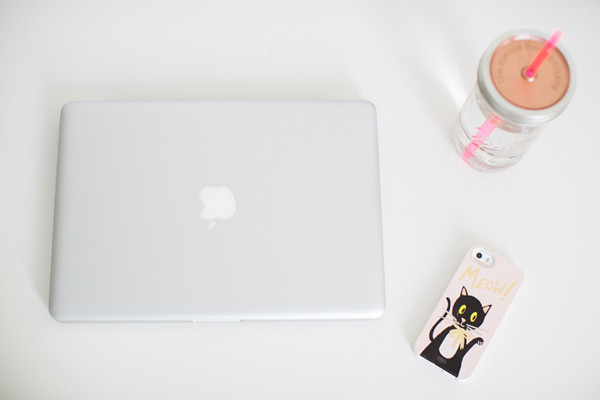
My desk at work! Photo by Robyn Van Dyke.
Apparently I really thrive on mini challenges, because this is what I do. Every morning at work, I fill up my 24-ounce water jar. Before I eat lunch, I have to finish it. I drink another full jar with lunch, then fill it up again for the afternoon, and I have to finish that one before I leave to go home. (I leave my jar at work every day except for Friday so I don’t have the excuse of forgetting it! I wash it over the weekend.) I drink another 24 ounces with dinner, bringing my daily total to about 96 ounces. A tip: every time I pick up my jar, I drink five sips instead of one – helps it go down quicker!
As for the amazing skin, health, and energy benefits drinking water is supposed to give you? Two weeks in, I haven’t noticed too many changes, except that I’m peeing more frequently (ha!) and I haven’t had a headache in the afternoon like I sometimes do. Then again, I’m not the best about recognizing change over time. I’m just happy I finally seem to have found a system that works for me!
I’d love to hear: do you feel like you drink enough water? What helps you get there? Does it come naturally to you?
6 May 2015
Loved hearing your thoughts on last week’s camping post! Looks like we have some other outdoorsy gals in the group :) Like I mentioned in my last post, once you have a basic stock of camping supplies it’s a delightfully cheap hobby, but it can be intimidating and expensive when you’re just starting out! We collected our supplies over several years and learned a few things along the way, so I’m sharing a few tips and favorites today!
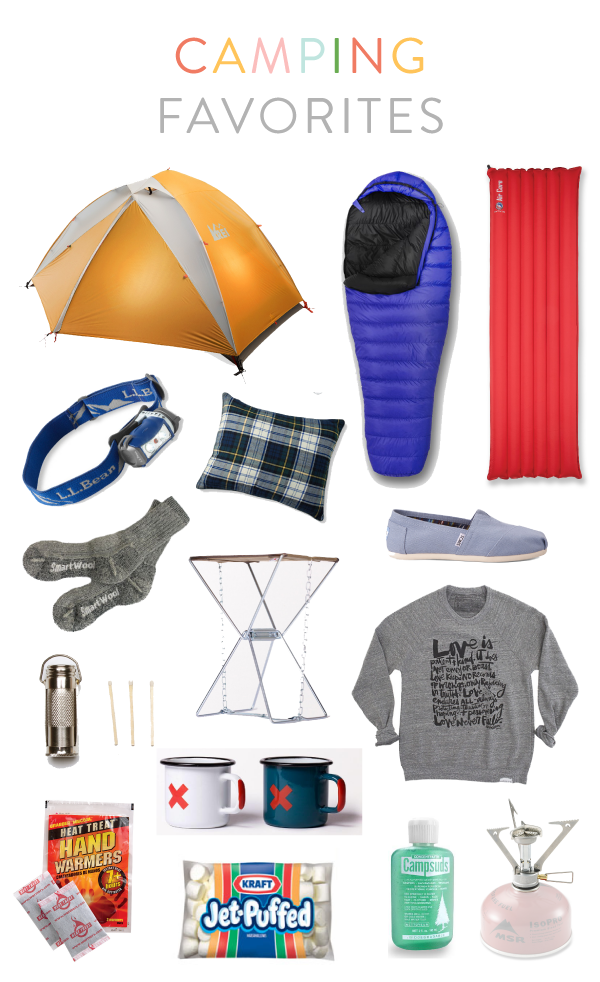
As a note, many of our supplies were purchased with backpacking in mind, where lightweight items are worth their weight (and more!) in gold. You’ll pay for excellent construction, so if you’re not at all interested in backpacking, you could probably find heavier/less compact versions of many of these items for less money!
For each couple or person, you will need:
— Sleeping bags. My sleeping bag is by Feathered Friends and I love it! It is extremely lightweight and warm. Also very expensive. John’s bag is by Coleman and is less expensive. Buy a version that comes with a stuff sack for easy packing. I like to bring my own full-size pillow when car camping while John uses this one.
— Sleeping pads. For several years I slept directly on the ground and lived to tell the tale, but no more. John and I both have inflatable sleeping pads and they make a HUGE difference in our comfort and ability to fall asleep. Highly recommended if you camp at least once a year.
— A tent. Our tent was less than $100 on Amazon and we’ve been happy with it. Unfortunately it doesn’t look like it’s available anymore, but if we were to purchase a new tent, it would absolutely be the Half Dome 2 by REI – it’s legendary for a good reason. Update: With our growing family, we received the Kingdom 6 as a gift and we LOVE IT!
— Hand warmers. Better to be over-prepared than cold, I always say. Very nice down by your feet in your sleeping bag :)
— Head lamps. Better than flashlights because you don’t have to hold them while building a fire or carrying things. We have one of these and one of these.
— Warm clothes. It probably goes without saying, but bring comfortable clothes you can be active in and don’t mind getting dirty! Leggings and a sweatshirt is my go-to, with sweatpants for later in the evening when it gets colder. I also love SmartWool socks and always pack a pair of slip-on shoes (my Toms) for around camp in addition to my sneakers. If you’re at a site with a shower, bring shower shoes.
For the group, you will need:
— Food prep supplies. A little forethought avoids a lot of frustration. Think through every tool or supply you will need to bring your menu together. A knife for cutting, a mixing bowl, a pot for bowling water, a spatula, etc. We try to do as much prep (cutting vegetables, washing tomatoes, etc.) before we leave to make this easier. John’s parents gave us a set of Kuhn paring knives with sleeves that are great (and safe!) to pack.
— Cooking equipment. If you’re not planning to cook all of your meals over the fire, you’ll need some additional cooking equipment. Our normal camping accomplices, the Rays, usually bring their gas griddle and we bring our Pocket Rocket.
— Serving pieces. Cups, forks, utensils, plates, etc. You can go paper/plastic or something sturdier here. We like to go sturdy and have a set of enamel coffee mugs that are lightweight and feel very camp-y :)
— Fire supplies. Most campsites have reasonably-priced wood for sale. We bring matches (in a nifty match safe) and firestarters. Will loves his axe for chopping firewood into kindling. You should also include s’mores supplies on your packing list. Obviously.
— Camp life items. In addition to your head lamp, a lantern that can sit on a picnic table is great for after dark. Camp suds for environmentally-friendly dish washing. A few trash bags and paper towels. Bug spray and sunscreen. We always bring seating for everyone, too – we have stadium seats, folding chairs, and this minimalist stool.
To keep everything corraled in the car and easily accessible throughout our trip, I like to pack in the largest size Bote & Tote (it’s enormous) as well as big Rubbermaid tubs.
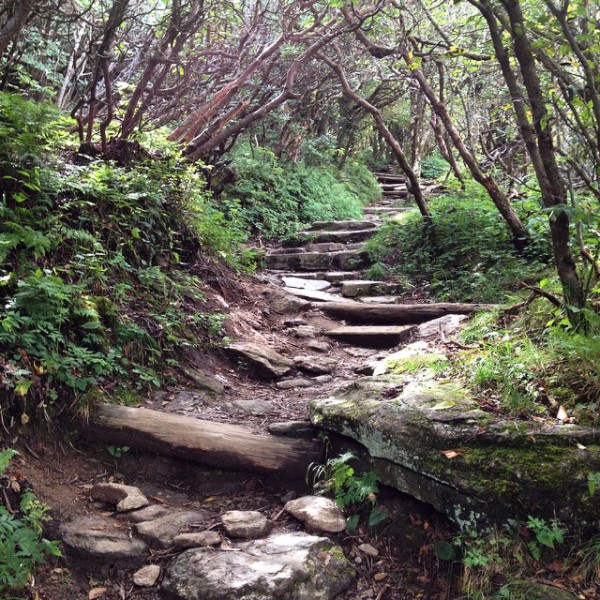
I think that about covers it, my friends! For camping and hiking reviews and ideas, you can check out John’s blog (he doesn’t update it regularly but the archives are great!). In the meantime, here are a few spots we’ve camped in NC!
Carolina Beach State Park
Hanging Rock State Park
Blue Bear Mountain Camp
Boone KOA
Stone Mountain State Park
Any questions, just let me know! And local friends, I’d love to hear any of your favorite camping or hiking spots in the Southeast! We are always looking for new spots to explore!!


