20 November 2013
I ordered my Emily Ley Simplified Planner last September. Over the last year, t’s become an essential part of our household, so I thought I’d give you a little tour!
But first, a brief note on nomenclature: Emily has changed her product offerings in the last year, so what was known as the Simplified Planner is now being marketed as the Simplified Life Binder (I like the pool stripes in the new version!). If you’re interested in a more traditional day planner, that’s the job of the new Simplified Planner. I have to say, I think this change-up is a good move on her part, because as you’ll see, it’s much closer to how our family uses this product!
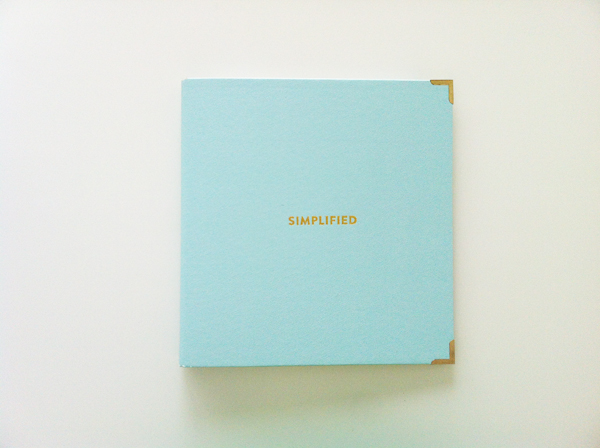
Along with the Simplified Planner itself, I started with Emily’s monthly calendar pages, tabbed dividers from the Martha Stewart line at Staples, and some of Martha’s lined paper (my favorite — very thin lines in a pretty turquoise color).
In our house, Emily’s binder is command central. It travels to and from work with me every day, and when I get home, I generally set it on the bar in our kitchen so John and I can both access it. Currently, we have sections for our calendar, Em for Marvelous, meal planning, household maintenance, and the community garden I work with. As you can see, not all the tabs are marked, because some sections are still awaiting a final purpose!
Each of the dividers has a pretty reminder taped to the front:
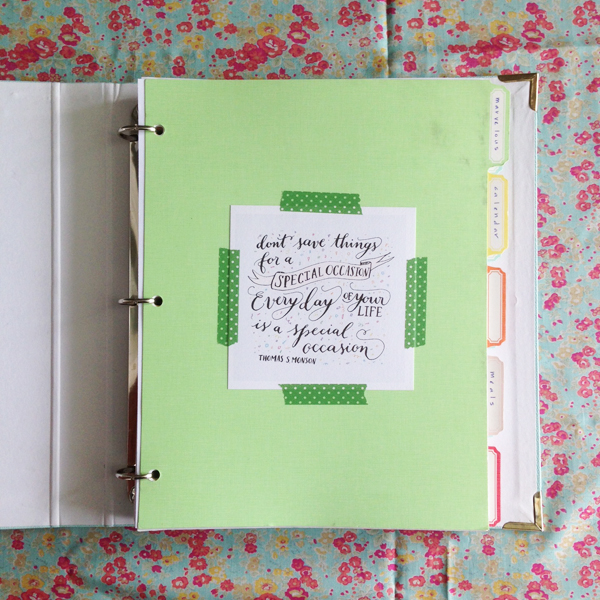
This one is courtesy of the lovely Kelly Cummings. I love flipping open the cover and seeing it greet me every day!
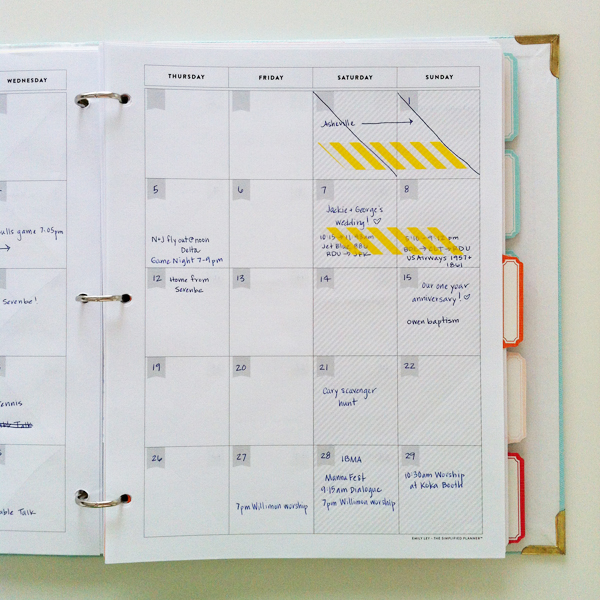
One of the main reasons I choose to use a paper calendar instead of an electronic one is that it is most helpful to me to see every event on every day of the month at the same time. So much of what I’m scheduling needs to happen in relation to other things, and I hate having to click back and forth between days or switch between the day view and the month view so I can see every event happening on a certain day.
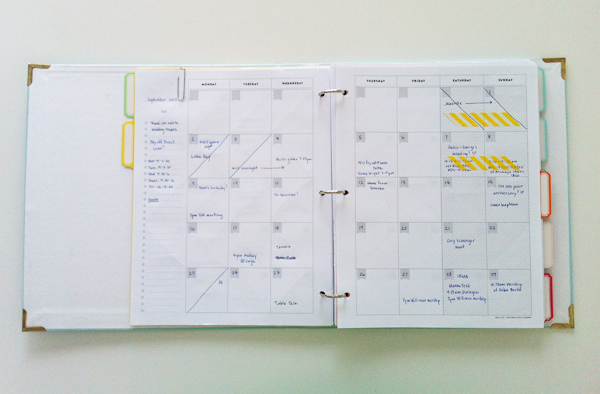
I like to stick colorful washi tape over the days we’re traveling or on vacation.
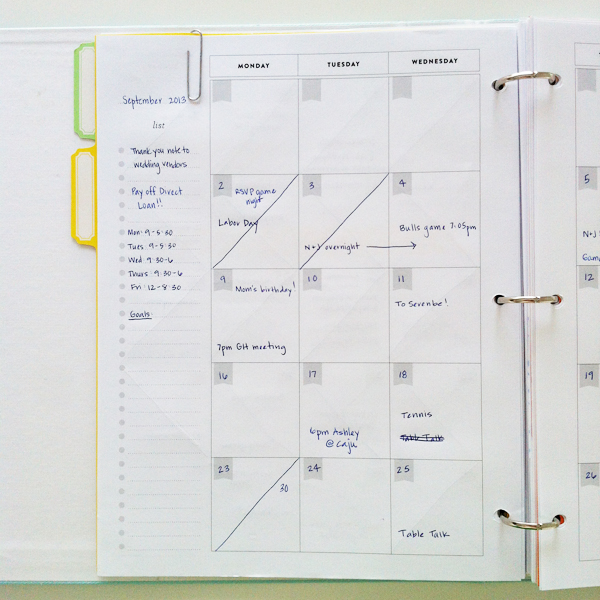
Emily’s calendar pages have a “list” section on the left-hand side. I use this space for two things: to jot down my goals for the month (after writing my monthly goal post) and to keep track of John’s schedule (he works different hours each day of the week, and his schedule switches four times a year). Apparently I hadn’t written my goals for September down yet when I took these photos, but I promise you that that’s what I do.
There are about 16 months in my planner right now. To make it easy to find the current month, I paper clip it to the divider so I can flip to it immediately.
I’m going to post separately on our blogging, meal planning, and household maintenance sections, and each post will have accompanying printables! In the meantime, I wanted to comment on the quality of the planner. Given the abuse I’ve put it through (namely being stuffed in my work bag every day with a jumble of other things), I’d say it’s held up well. It’s still very clean looking, though it does have a few tears along the bottom edge on the front. It looks like Emily’s new binders are made out of a different material which looks even sturdier. I know some people wish it was more portable, but that’s really not an issue for me, because I already carry a tote bag (with my laptop, etc. in it) to work every day, not just a purse.
What do y’all use for your calendar? A day planner? iCal? GCal? I’ve used many things over the years, including a pink leather Filofax when I was in high school :)
12 November 2013
First things first: the Minted giveaway winner has been posted!
Now, out of the hundreds of posts I’ve written on Em for Marvelous, probably fewer than five discuss makeup. This is for a couple reasons. First, I am nowhere near an expert on the topic, and it’s not something I spend a lot of time thinking about or experimenting with. Second, I still think I’m on the hunt for my ideal products, so I don’t really feel as though I’m in a position to make recommendations.
But. In April, I posted about wanting to try Josie Maran’s Argan Oil Daily Moisturizer. I ended up buying the travel size, used it every day since, and then — the ultimate test — repurchased in September (the larger size!). I knew this lotion was special from the first day I tried it, but I didn’t want to recommend it until it passed the ultimate test :)
Everyone’s skin is different, so I have no idea if you’ll have a good experience if you try this lotion. But, if your skin sounds like mine, I’d say give it a shot! Before I tried Josie Maran, my face would be slick by the middle of the day — but then dry, sometimes, too! The JM moisturizer has made my skin drastically less shiny, and I think it’s improved my complexion a bit, too (the star ingredient, argan oil, is touted as skin-repairing and damage-reversing, for what it’s worth). And, as a huge stickler for sunscreen, I’m so happy it has SPF 40!
In case you try it, I use 3 pumps in the morning and 3 at night. It does take some rubbing in, but once it’s absorbed, there’s no white cast, which I’ve heard can be an issue with some zinc oxide sunscreens. I also think it smells good — kind of like blueberries :) And, it’s comforting to know there are no parabens, sulfates, fragrances, or dyes in it.
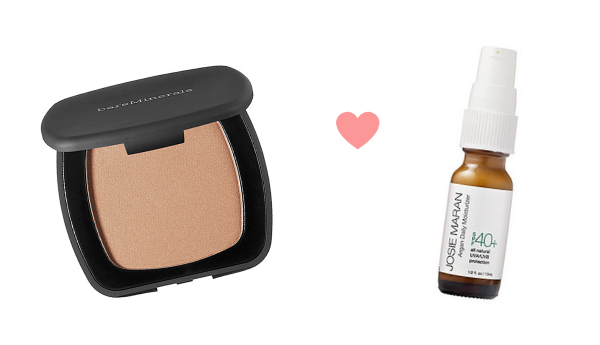
When I bought the JM moisturizer from Sephora, one of my samples was a Bare Minerals foundation. I ended up using it every day, too, and loved it as well! I purchased a full size Bare Minerals Ready Foundation at the same time as I reordered the JM, and couldn’t be happier. The final effect looks almost airbrushed to me — full but light and natural.
It will probably be another few years before I venture to make another skin/makeup recommendation on here, but I’ve been so happy with these two products that I had to give them a nod. I hope they might be a good solution for some of you!!
Have you found your perfect moisturizer? I’d love to hear!
6 November 2013
Wowee! Thanks for all your thoughts on our Christmas cards! I haven’t tallied up the opinions yet, but we appear to be almost evenly split between the five designs :)
In other news, you may recall that one of my September goals was to paint a chalkboard wall in our kitchen. John was actually not pleased when he saw this goal, because he was not yet on board with the idea of a chalkboard wall at all. However, we discussed, and realized that his hesitation was not about the wall itself, but about whether it would a) take a long time to execute and/or b) require his manual labor. Once I assured him that neither of those concerns were warranted, he was on board :)
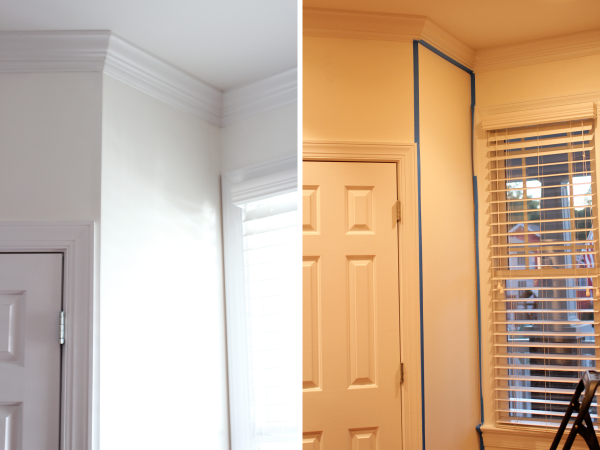
I loved the idea of a chalkboard wall because I loved the idea of an easily-switched-out art installation in a casual part of our home. I wanted somewhere to practice my lettering, to record our weekly menu, to count down to exciting events, and to post a weekly scripture verse. The scripture verse has by far been the best part: it takes me so long to write them out that by the time I finish, I’ve memorized them. Committing favorite verses to memory has been something I aspired to but never made happen, so I’m especially thankful for this chalkboard by-product.
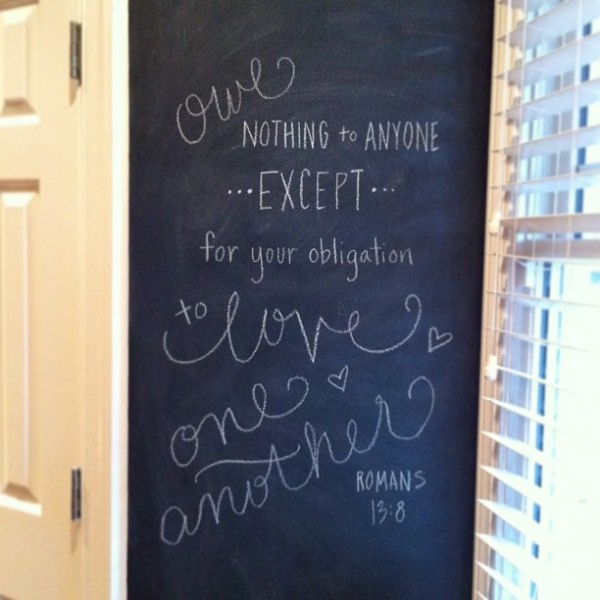
One of my favorites! A few thoughts for those of you looking to make your own:
— There are lots of Pinterest DIYs for mixing custom color chalkboard paint. I love these in some applications, but we decided to go with classic black and white.
— Choose your spot carefully. I knew I didn’t want a potentially messy-looking space where it would be part of a guest’s first impression (say, in our foyer), so the little sliver of wall between our kitchen windows and pantry was perfect.
— Be prepared to roll on lots of coats… and then a few more. I think I did five coats in the end. I used a mini foam roller and Valspar paint, both of which I would recommend.
Do y’all have a chalkboard wall? Any verses I should consider for our weekly installation? :) I’m looking forward to choosing favorite hymns/carols in December!
4 November 2013
THIS GIVEAWAY IS CLOSED! Congratulations to our randomly-selected winner, RachelC!
Y’all know I’m the last person to breeze right past Thanksgiving on the way to Christmas (I believe my opinions on appropriate holiday music start times are well-documented). However, it is definitely true that preparing in advance makes the season itself so much more enjoyable… which is why Christmas cards have been on my mind! I LOVED sending out our first photo cards last year, and am looking forward to doing so again. Sadly, I don’t think it’s socially acceptable to use another wedding photo, so 2013 will have a hard time beating 2012. But I’m willing to give it a try! We are of course using Minted again, and here are the top five designs we’re considering:
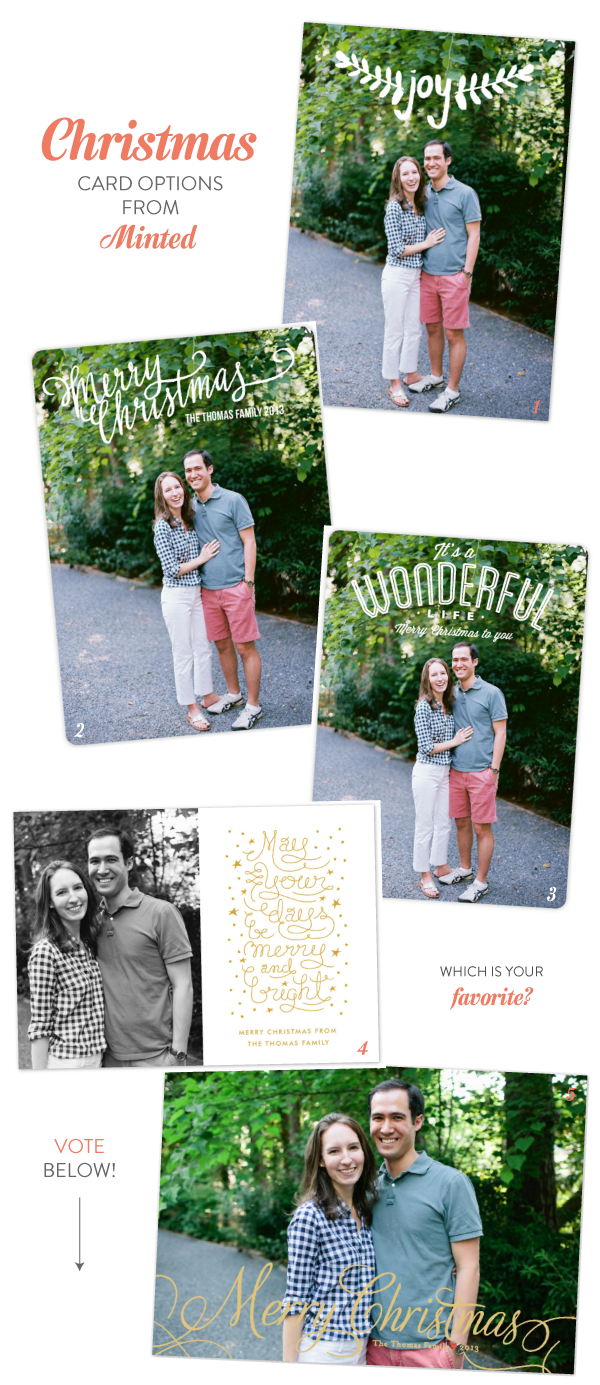
We’re still deciding on a photo, but big thanks to our friends Graham and Meredith for these happy options!
1. Hand-Painted Branches | 2. Merry Scriptmas | 3. A Wonderful Life | 4. Merry and Bright Script | 5. Classic Merry
As usual, I’m loving the script and hand-lettered options! This year, I especially appreciated the ability to move almost every design element around in Minted’s software — it was so helpful when working with our photos. They also have some amazing foil-pressed options (I love this one, but it wasn’t a good fit with our photos) and lots of die-cut shapes.
Now for the extra-fun part: I have a $200 Minted gift certificate to give away!! To enter, just comment below with either your favorite option from our Christmas card finalists, or the Minted design you’d most like to order for your family! (Or both!) I’ll randomly choose a winner next Monday!
Minted has graciously gifted us our Christmas cards, but I chose to write this post, and the opinions are my own! I have loved everything about Minted — especially their crowd-sourced designs — for many years, and I love sharing what they’re up to with y’all.


