Today is the fifth anniversary of Articles Club! Five years ago this month, Stephanie and I posted an invitation on our respective blogs: would anyone be interested in reading articles together and discussing them once a month? It would be like a book club, but with articles! That first night, we sat around my living room with snacks and drinks in hand, 10 or so strangers who just happened to have a little blog in common. I didn’t know anyone in the circle except for Stephanie… which is a pretty crazy situation for an introvert to find herself in.
Five years later, the faces around the circle are beloved friends. Some of them are the very same, and some we have been so lucky to welcome in for a season or for good since then.
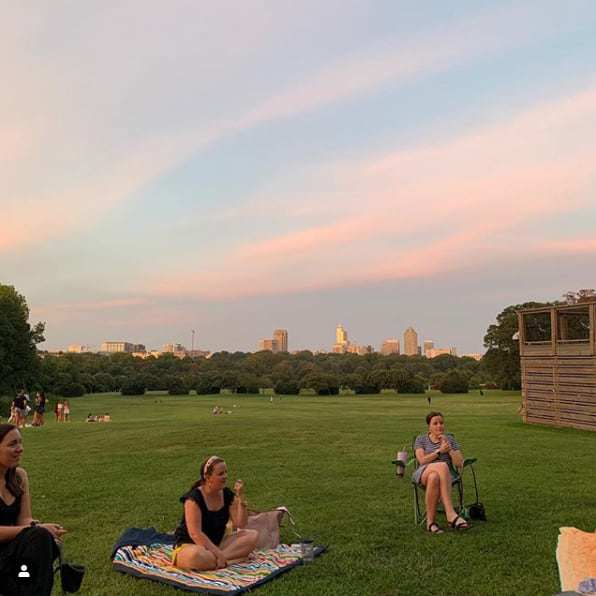
Articles Club this year, like most things this year, has looked a little different. We canceled our March gathering as the lockdown descended, then met via Zoom for several months. In August and September, we were overjoyed to gather again – outside, at Dix Park, with the most gorgeous sunset view of the city skyline and individual dinners on our laps. For our meeting this month, we’ll walk around the side of Stephanie’s home and spread out on her back deck, and we’ll toast to five years with cupcakes.
Though we have read a few sets of articles this year, many of our gatherings have simply been social – a chance to check in on each other and share the hard and the good of the past month. After all, the world has given us much to discuss even without assigned reading, and it has been a special gift to sift through all that 2020 has thrown at us with a group of people who care deeply about each other, who believe there is gray in the world, and who are capable of approaching differing opinions with good will and thoughtfulness – and even a little humor when needed.
Earlier this year, I came to the realization that these people are my friends. That might sound like a strange thing to realize, after five years – of course these are my friends! – but they haven’t come with all the trappings I typically associate with friendship: we don’t tend to gather much outside of our monthly meeting. I haven’t met many of their significant others or children. I don’t have all of their numbers in my phone.
And yet – I have sat around a table for hours in conversation with them. I have tried, and adopted, their favorite recipes. I have learned about their childhoods and their work lives, their meet cutes and political opinions and financial situations and beauty routines and Enneagram types, their thoughts on parenting and generosity and home design. We have laughed and cried and laughed until we cried. We have brought each other meals for new babies and exchanged books and beauty products. Our gatherings are always one of my favorite evenings every month.
So yes, these are my friends. Stephanie, Kelly, Ginna, Pressley, Chelsey, Stacy, Adelyn, Bethany, Libby, Julia, Mackenzie, Robyn, and everyone else who has joined us over the years – thank you! What a gift you have been to me.
While I don’t have my usual list of reads from the past year to share with you today – I do have this: my encouragement to step outside of your comfort zone and reach out a hand in friendship. Even if it seems scary, even if it seems risky, even if it seems complicated or likely to fail – a hand extended in love is always worth it. It might sound cliche, but it’s true.
Friends, I’d love to hear about a time when you took a risk on a new friendship, if you’d like to share! Almost all of my adult friendships have required a risk on my part, so I love hearing about other’s happy endings :)
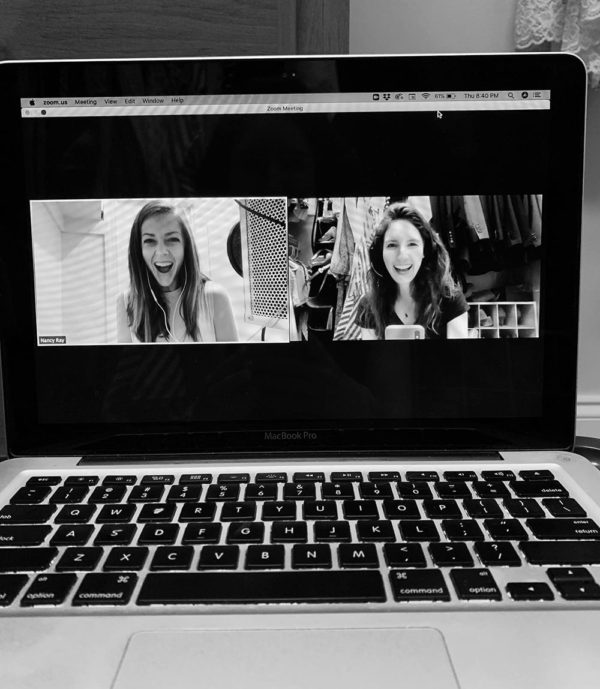
Today is a fun day — my first episode as a podcast guest (outside of work) debuts on my dear friend Nancy Ray’s podcast! Though I will likely always feel I’m better able to communicate in writing versus speaking, I was honored to be asked to come on as a guest and hope I did okay! We sure had fun either way :)
Recording live from the floor of my closet!
The episode is focused on camping, but don’t worry if you’re not particularly interested in camping – we touch on lots of other topics like friendship, slow parenting, how Nancy and I first met, the joint trip we hope to take for our 15th camping anniversary, and book and product recommendations. We also, of course, cover many nitty gritty adventuring tips. I hope you give it a listen! I’ll be hearing it alongside y’all for the first time later today – eek!
I mention in the episode that I am a super fan of the podcast, and I didn’t just say that to be nice – I really have listened to all 81 (and counting) episodes of Work & Play with Nancy Ray! I love it for a few reasons:
— Most of the episodes are bite-size – 15-20 minutes. Since I have a limited amount of time to listen in my week, I appreciate that she packs a punch in less time than it takes me to drive to the office. — Nancy gets specific and practical in her episodes, walking you through, for example, exactly what she writes in her journals, what she does in her morning routine, or the rhythm of her work week. As an Enneagram 5 who craves information and real-life examples, I find this so valuable and instructive! I’m not always going to follow what she does exactly, but it provides food for thought and a different perspective. It reminds me of what I was taught in my poetry classes: that the most personal is the most universal, because we can often more easily see ourselves in the little details than we can in the broad strokes. — As a host, Nancy is professional but not overly polished. Having had many conversations with her as a friend, I can truly say that listening to an episode is like… having a conversation with a friend :) — To know Nancy is to love her and admire her. I have learned so much from her about faith, family, friendship, work, marriage, and more in our decade plus of friendship, and I love that listening to her podcast each week helps me learn in a new way! — Every Tuesday, it’s kind of like spinning the roulette wheel of topics – I never know what’s going to pop up! But selfishly, Nancy’s definition of work and play encompasses everything I’m most interested in, so I’m never disappointed. If you love Em for Marvelous, you’ll probably love the variety of W&P, too :)
Today, in honor of my episode, I thought I’d share a few of my past favorites!
Find every episode of the podcast here and feel free to subscribe with your favorite podcast app!
I’d love to hear: if you’re already a fan of Work & Play, which episodes have been your favorite?
P.S. For more on camping, start here. For more with Nancy, check out our How We Do It series, starting here!And hey, if you’re new, welcome!! You can find out more about me and Em for Marvelous right here.
Upon watching this video for the first time, my brother-in-law said, “it looks like there’s nothing wrong in the world.” This video was filmed in June 2020 when, to be clear, there were many things wrong in the world (as there always are). But isn’t it a gift to give our little ones a world that is safe and good and kind and lovely? To imprint on them the things we hope they’ll seek out for themselves, and create for other people, for the rest of their lives? I think so. Consider this volume of our annual video a compilation of everything good in our world. I hope you enjoy a peek at our life together!
Though I was glad to have our photos organized (and VERY glad to have them backed up), the real culmination of my photo organization project was this: making printed photo albums of our life together. You all know how important family stories are to me, and having an actual book to look through to help us tell those stories was the next logical step – and to me, well worth the time and expense.
In turning to the project of family photo albums, my first decision was at what interval to print them. The vast majority of people seem to do yearly albums, but to me that seemed a bit excessive when I considered the full span of our (hopefully long) life together. Do I really want to have 60 photo albums on a shelf one day? While I would be exceedingly grateful to have 60 years of memories, I don’t think I need 60 albums.
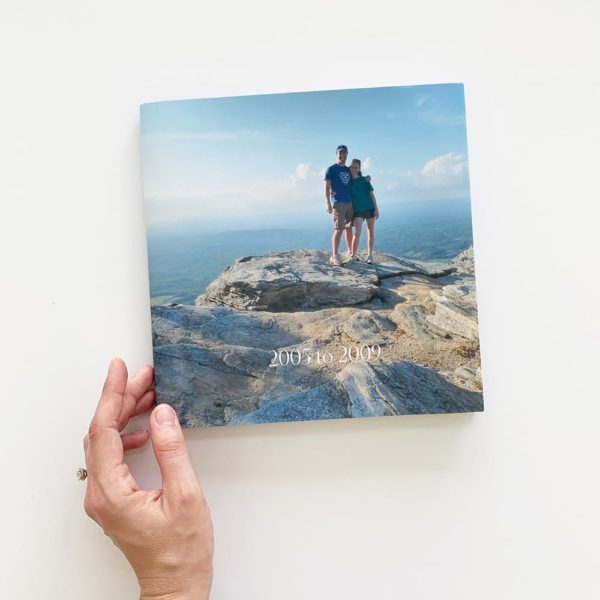
I settled on one album for every five years, beginning with the year we began dating (our senior year of high school). The first album would run 2005-2009, the second, 2010-2014, the third, 2015-2019, and on from there. I readily admit the editing is only going to get harder in the thick of these family years, but I like that a five-year boundary forces me to focus on the best, most poignant, and most illustrative memories. The albums will be heftier than they would be if we were to do annual albums, but in a more concise package!
With our photos organized and the interval set, I found myself procrastinating on making that first album earlier this year. It took me a bit to figure out why, but I eventually realized: I was afraid of missing something. Unlike a folder on a computer or a blog post, I can’t just go back and make an edit if I realize I left out an important event or a killer shot a few months down the road. That was paralyzing!
What eventually tipped me over the edge? I believe it was one of you who posed the question: wouldn’t you rather have 95% of your memories and favorite photos in book form as opposed to 0%? When framed that way, the answer, of course, was and is yes. While not perfect, I also realized I could always slip loose photos into the album pages down the line if I later found a gem that HAD to be included.
To help ease my mind, I did send a quick query to a few friends and siblings who I knew might have snaps from our earliest years together, in the hopes of gathering up any loose ends. I also scrolled through old Facebook albums to download anything I could find that wasn’t already accounted for. Finally, I had a few dozen printed photos from high school and college that I didn’t have digital copies of, so I brought them to a local photo store to scan.
With my photos at the ready and my mind at ease, it was time to begin designing! But which photo album company to choose? Though I love the idea of using the same company for all of time, I quickly realized that was a bit silly: who knows which company will be in or out of business in 25 years?! So, I made the best choice I could for this first album, and am keeping my mind open for future albums.
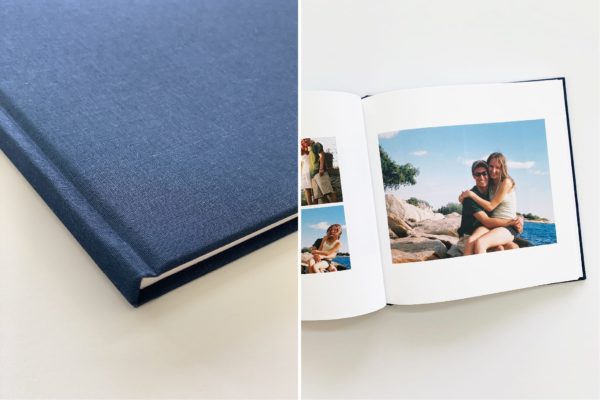
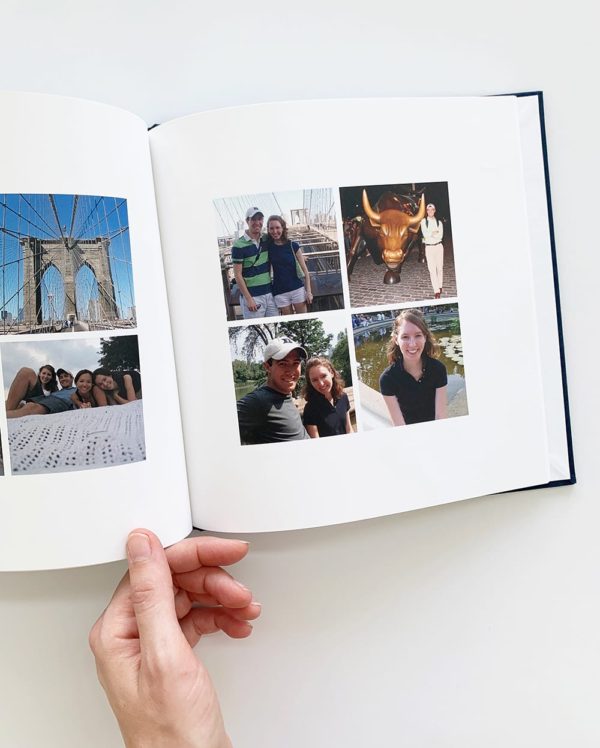
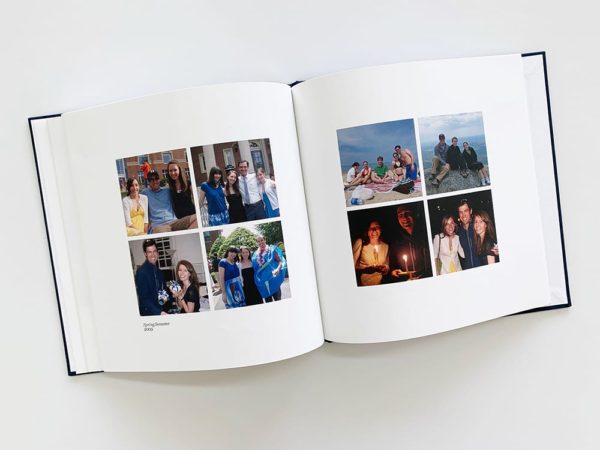
For our 2005-2009 album, I chose Artifact Uprising. AU has an excellent reputation and we had used them for our parent wedding albums with great results, so they were my natural first choice. I chose the Hardcover Photo Book, 8.5×8.5″ size, in Midnight Blue, with 50 base pages and a total of 64 pages. It came out to just over $100 with a promo code. Though I’m happy with the end result, there were pros and cons.
What I loved about Artifact Uprising hardcover photo albums: — It would be hard to make an ugly album, even if you don’t fancy yourself a designer. Their layout options are simple and classic. — The album itself is great quality, and I loved the color options for the cover fabric.
What I did not like about the AU hardcover photo albums: — When centering text on the cover, there was no way to tell whether it was perfectly centered (heck, they even have guides on Instagram!). — The most number of photos allowed on a page is four. While I appreciate the restraint of their layouts, there were some events where I really wanted to have a grid of smaller photos, as in our wedding album. — I would really have preferred to have had an embossed title right on the fabric cover, but that’s only an option in their layflat albums (which didn’t feel right for this book; they’re also more expensive). I’m the type of person who takes dust jackets off books because I find them annoying, but if I did that with this album, it would just be blank. — Not knowing how many pages I would ultimately end up with, it was hard for me to choose the base number of pages and make sure I was getting the best deal. — You can only move spreads of pages around within the book, not individual pages. — It told me a BUNCH of my photos were too low res, which I found insulting, ha! While I appreciate the caution, they seemed to print just fine.
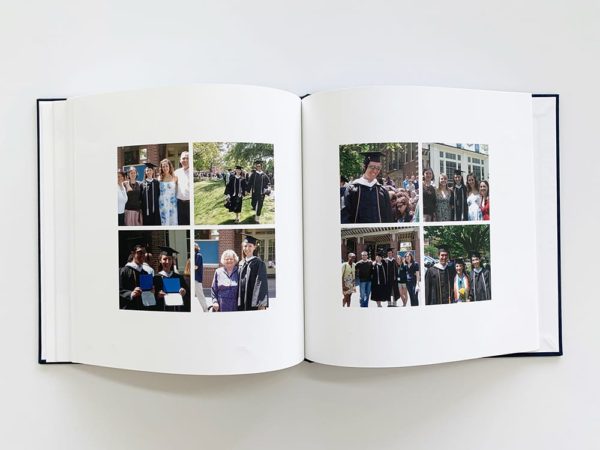
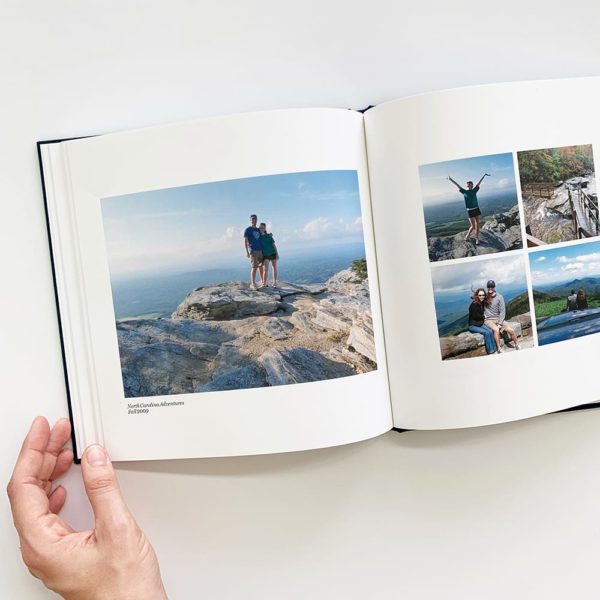
Though the list of cons is longer than the pros, I’m really happy with how our Artifact Uprising album turned out! We’ve loved having it out and flipping through it with the kids (June really likes the picture of me on a carousel, ha!). If you have any questions at all, I’m happy to answer!
For our second album, I’m considering a few other album companies, including Milk Books (who printed our wedding album!), Shutterfly, and Mix Book. If you’ve had experience with any of them, I’d love to hear!
This is also the last post in this photo organization series, so if I left any questions unanswered, ask away! So glad to have these out in the world, and I hope they’ve been helpful!!