22 January 2009
Before the holidays get too far behind us, I wanted to pass along a quick idea I thought up for an open house this year {of course, it’s adaptable to any occasion}. I’ve never cared for most store-bought wine charms, and this version is simple and inexpensive to pull off.


If you’re anything like me, you have a drawer full of ribbon scraps just begging to be put to use! Choose a handful that match the season or occasion and start tying – I did a simple knot for the thicker varieties and a bow for the thin.
Et voila! No more tacky – or loud! – wine charms.
1 January 2009

In case you were intrigued by the photo in my last post, here are a few more details about the book I made to chronicle my 101 in 1001 journey.
The book itself is made by Canson: white, 6 inches by 6 inches, 40 pages, and spiral bound. I bought it for $5 at Michael’s with a coupon.

I laid out the pages, including the cover, in Microsoft Publisher. For each, I made a 5×5 inch box with a thin border and then added the text and lines in different layouts. I printed them out on normal computer paper, cut on the thin black lines, then glued one to each page, front and back. I used only two fonts to keep the design consistent.

If the goal had multiple parts, I included a way to check off or record them (for example, in the above page, I included a line for each classic book I plan to read).

Some pages even have space for a picture. The one above was taken just before I completed #88 – it’s me standing outside her studio (eek!!).

Let me know if you have any more questions!
30 December 2008


This simple project is a little late for Christmas, but I think it’s appropriate as a winter decoration, as well.
Here’s what you need:
— a chandelier (ours is over the dining room table)
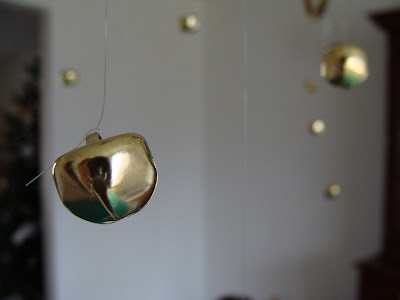
— a pack of jingle bells (the ones I chose are gold – they were about $2.50 at Walmart, and I only used half of the package)
— a spool of fishing line

Once you’ve assembled your supplies, you can begin hanging the bells.
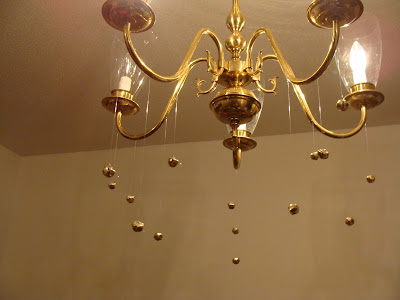
Cut a length of fishing line and knot one end through the bell’s loop (a single knot worked for me). Tie the other end to an arm of the chandelier with a double knot. Trim both ends of the line. Continue until the chandelier is as full of bells as you like, alternating the lengths of the strings and the size of the bells (if you have more than one size to work with). I strung three bells on each arm.
Et voila! A simple and festive winter decoration

{All photos by me – and I promise it looks better in person!}


